
From Lawn to Harvest: Building A Raised Bed
Vegetable Garden
n May of 2023, we began planning the conversion of a large section of lawn into a raised bed vegetable garden. While it would have been easier to simply remove the grass, amend the soil, and start planting, gardening in the Pacific Northwest comes with a unique set of challenges.
Rain is a fact of life here. Our area averages about 36 inches of rainfall each year, with the wet season typically running from October through April. In reality, you can often add another month or so to either end of that timeframe. To make matters more challenging, our yard sits slightly below the grade of the sidewalk, has a layer of clay hardpan about 12 to 14 inches below the surface, and a naturally high water table.
Those conditions made it clear that good drainage would be critical if we wanted a successful vegetable garden, and that played a major role in deciding to build raised beds rather than planting directly in the ground.
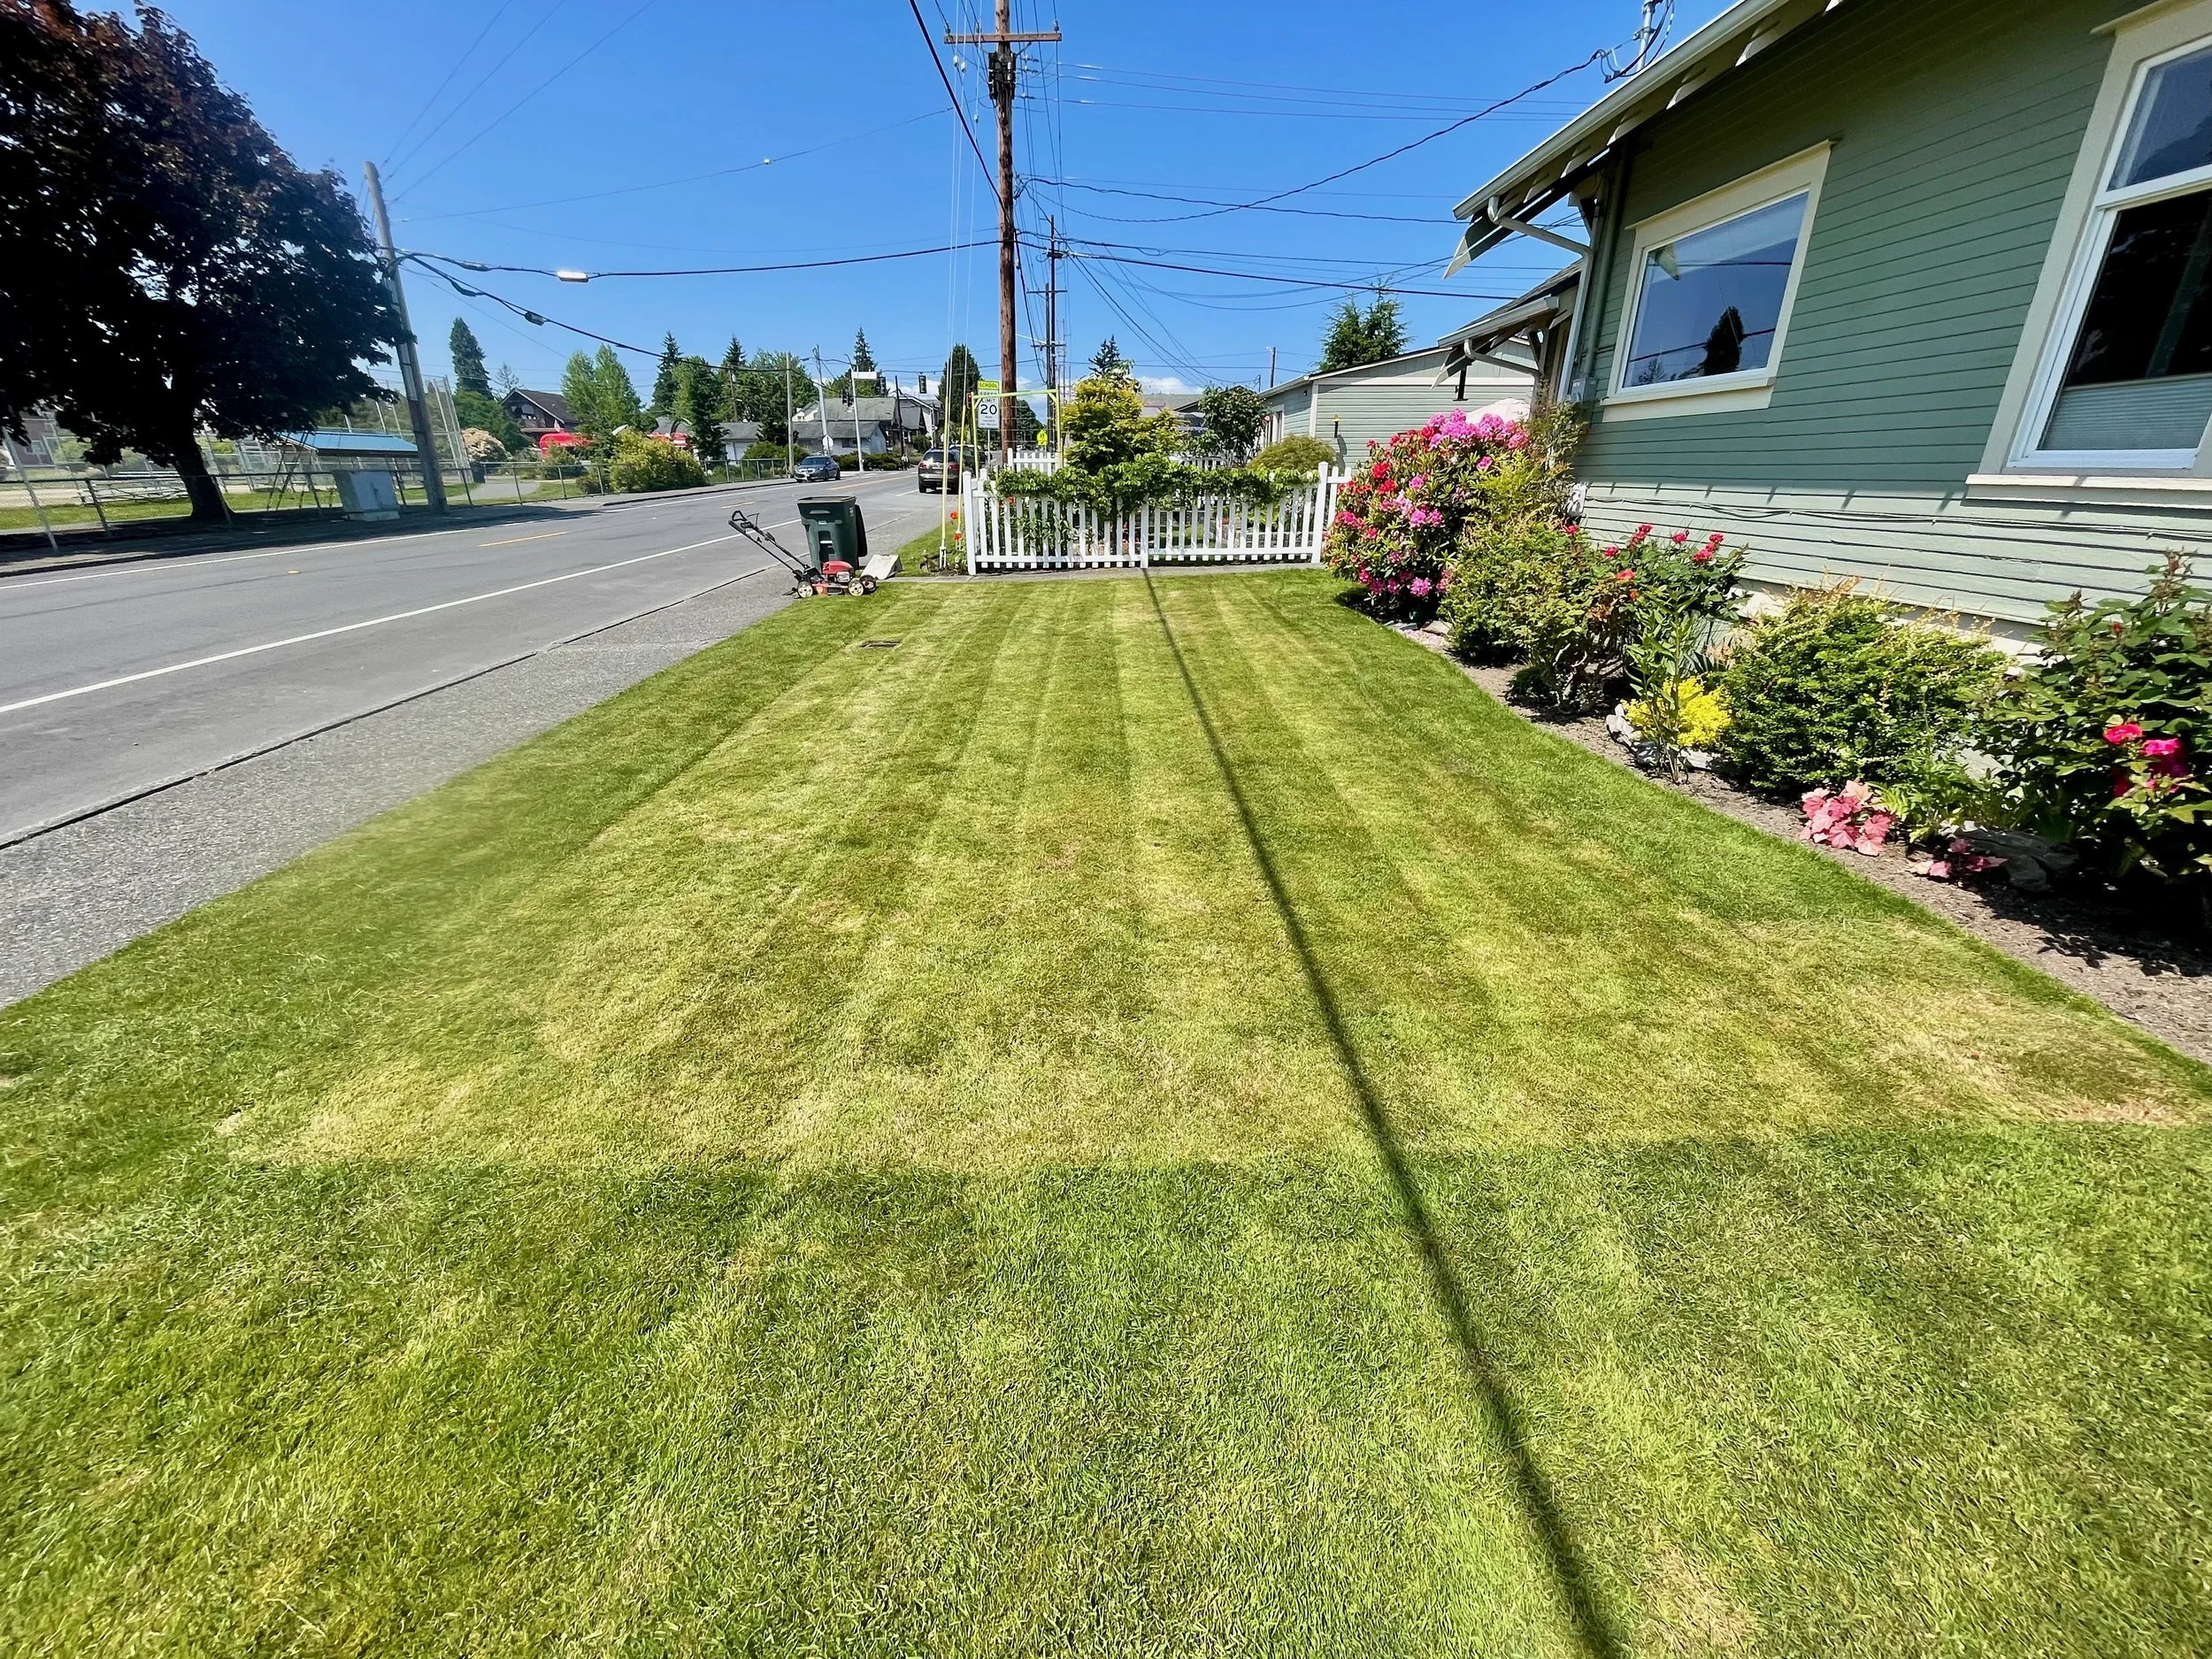
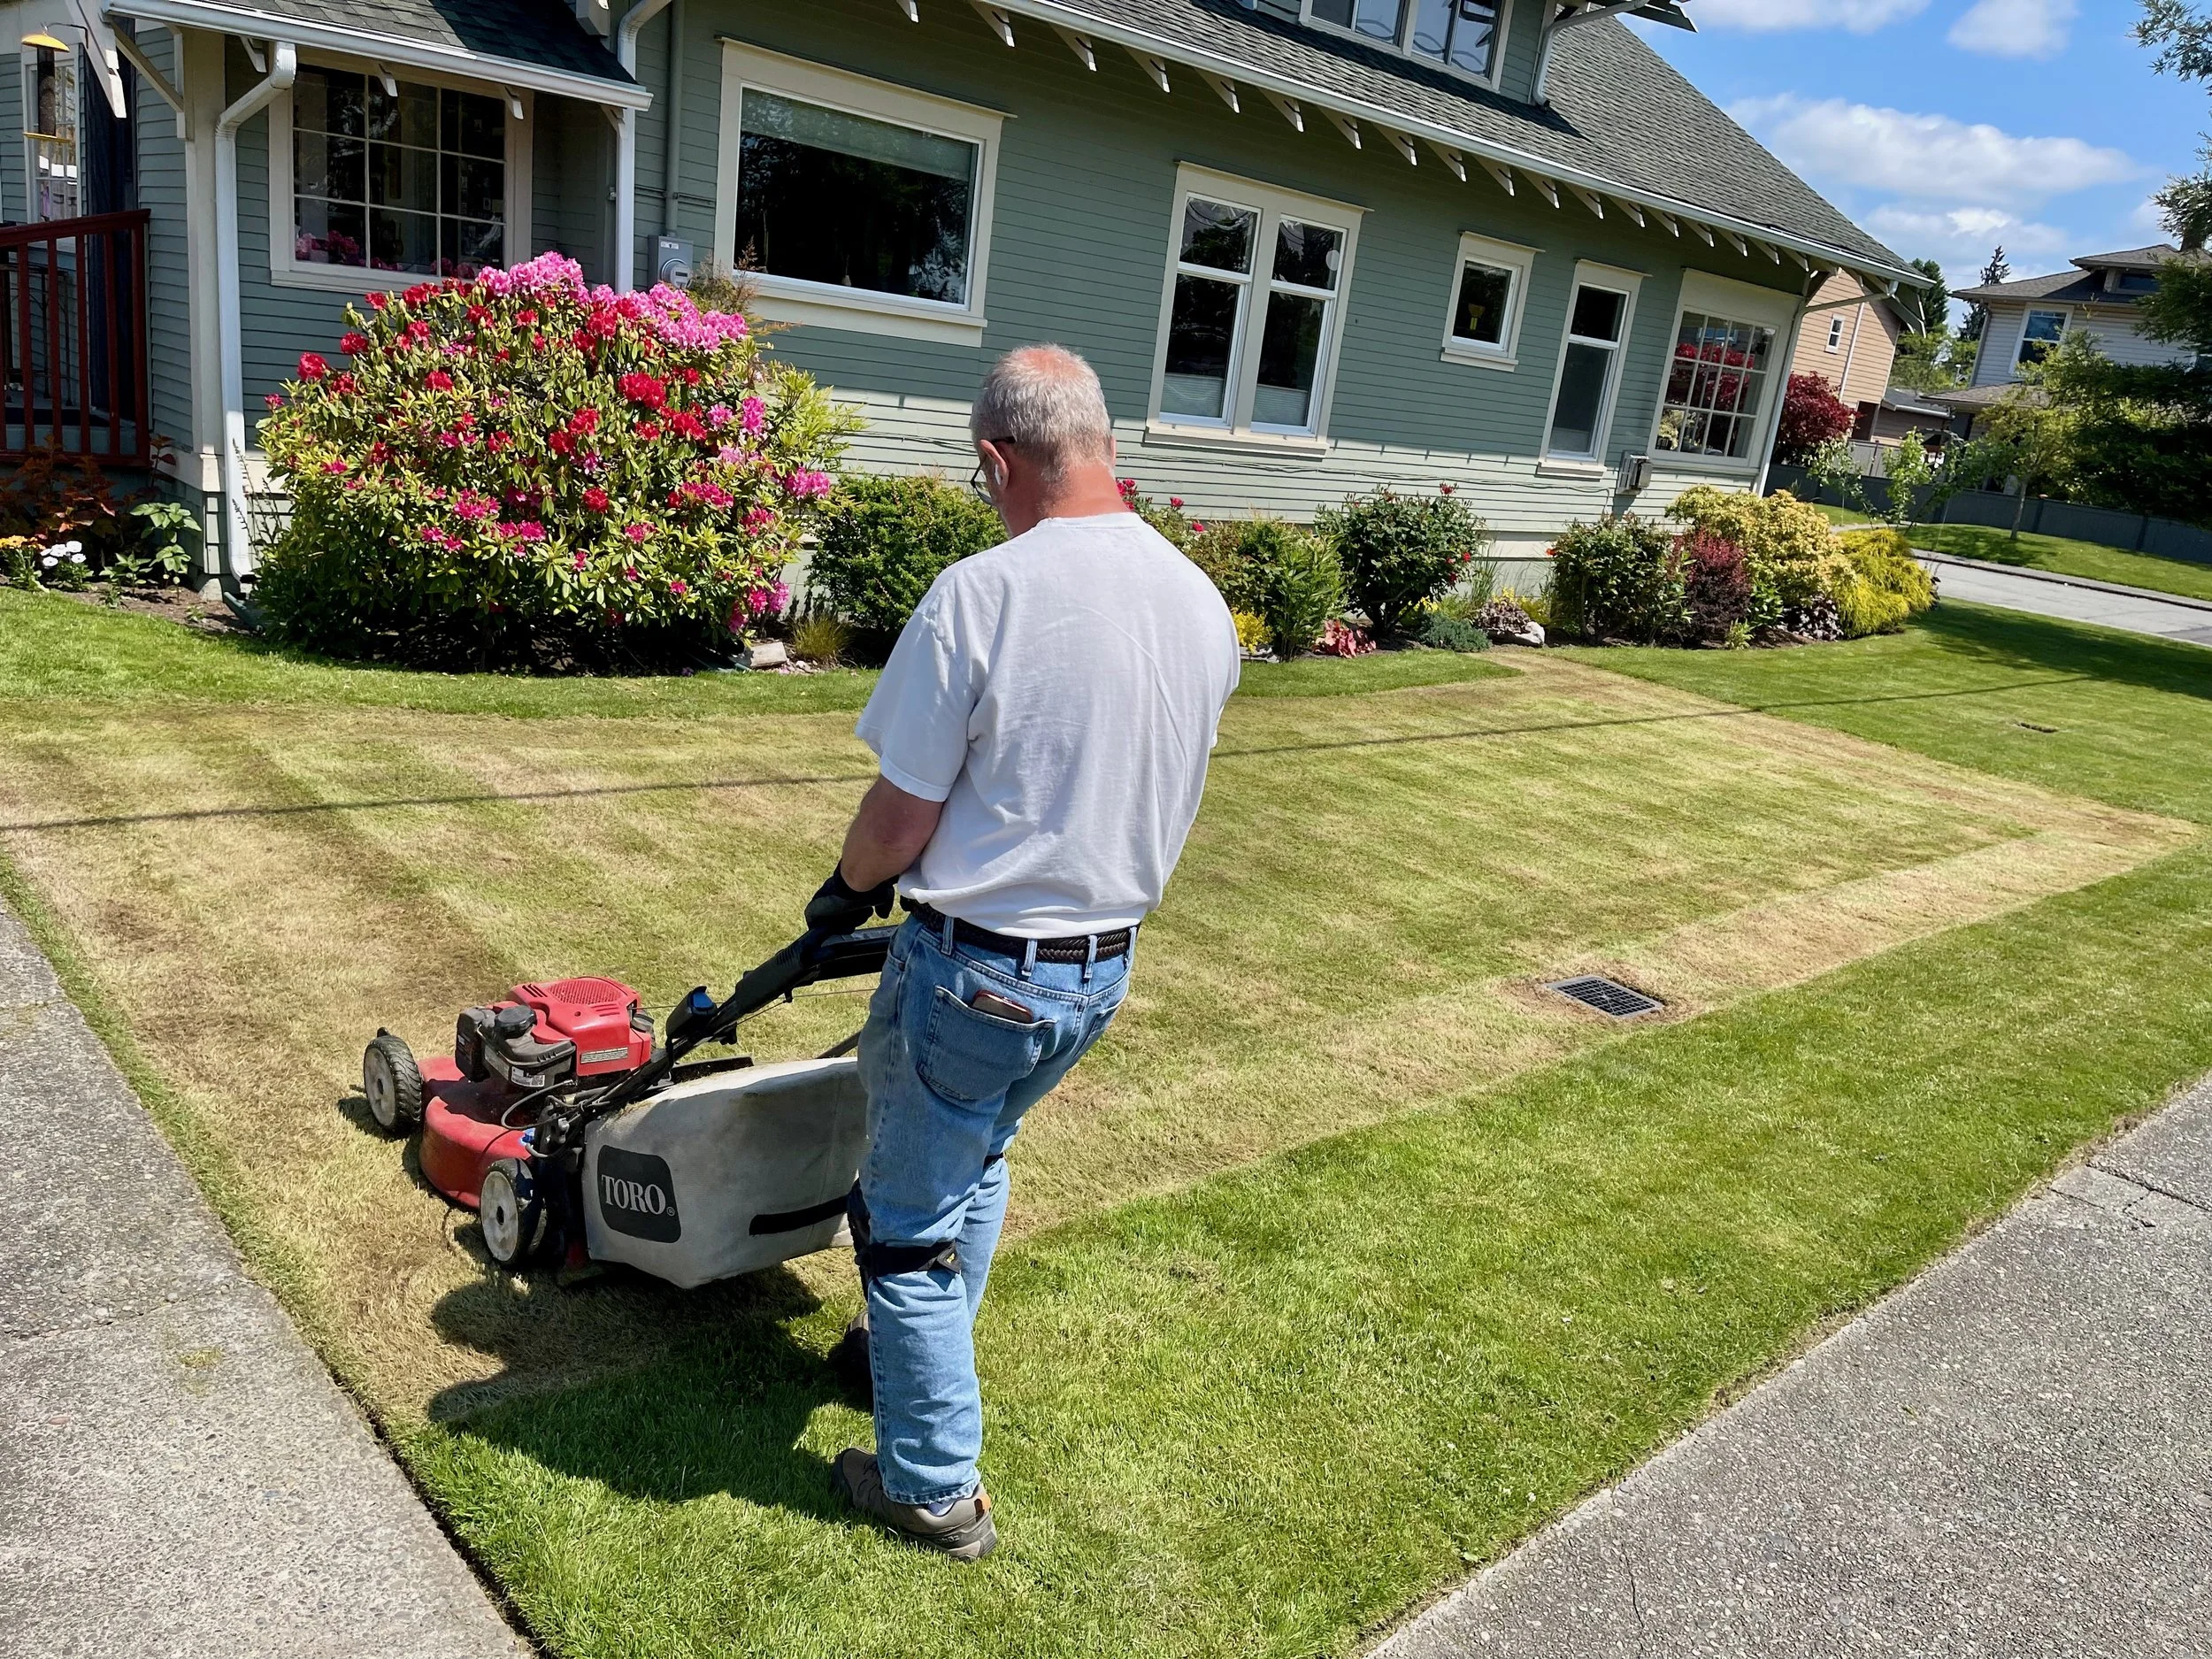

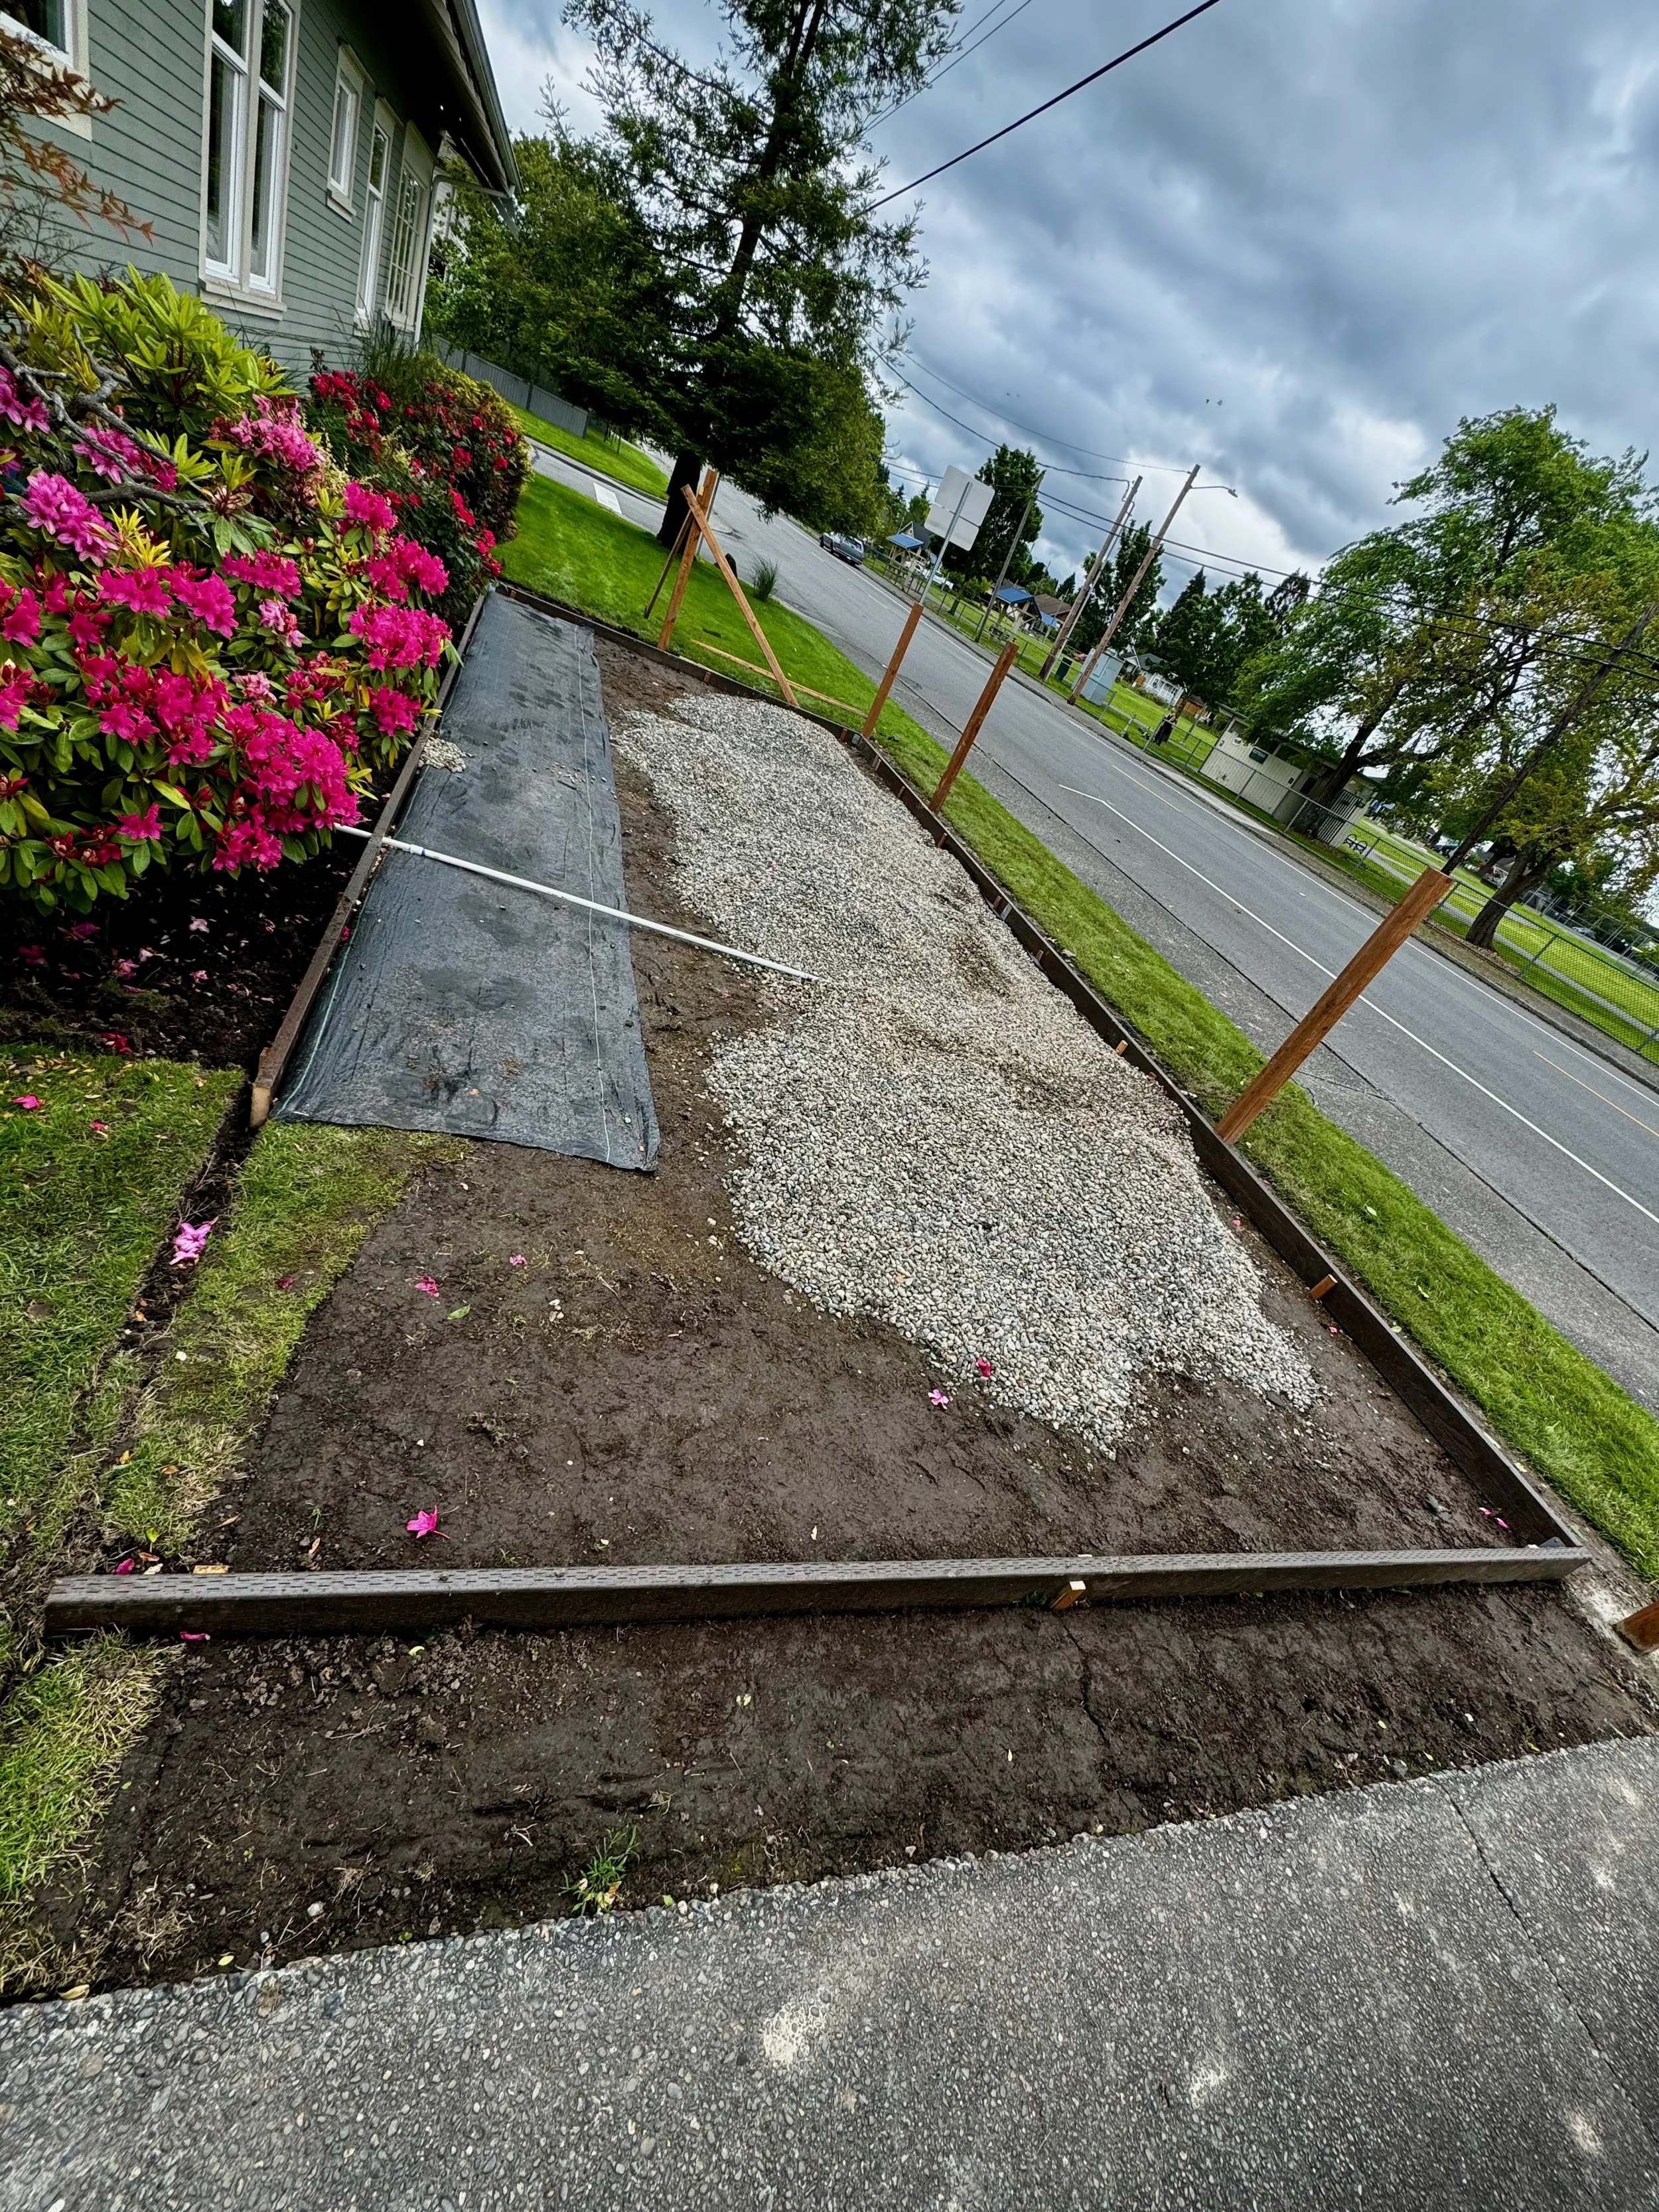
The area we selected for the raised bed garden measured approximately 31 feet by 14 feet. To begin, we mowed the grass as short as possible and then covered the entire area with black plastic.
We chose not to remove the existing turf because doing so would have lowered the grade of an area that was already lower than the surrounding yard. Instead, we used the black plastic to smother the grass and weeds. The plastic remained in place for nearly a year, allowing plenty of time for the vegetation underneath to die off completely.
By the time we removed the plastic, the grass was gone, the site was cleared, and we were ready to move on to the next phase of the project.
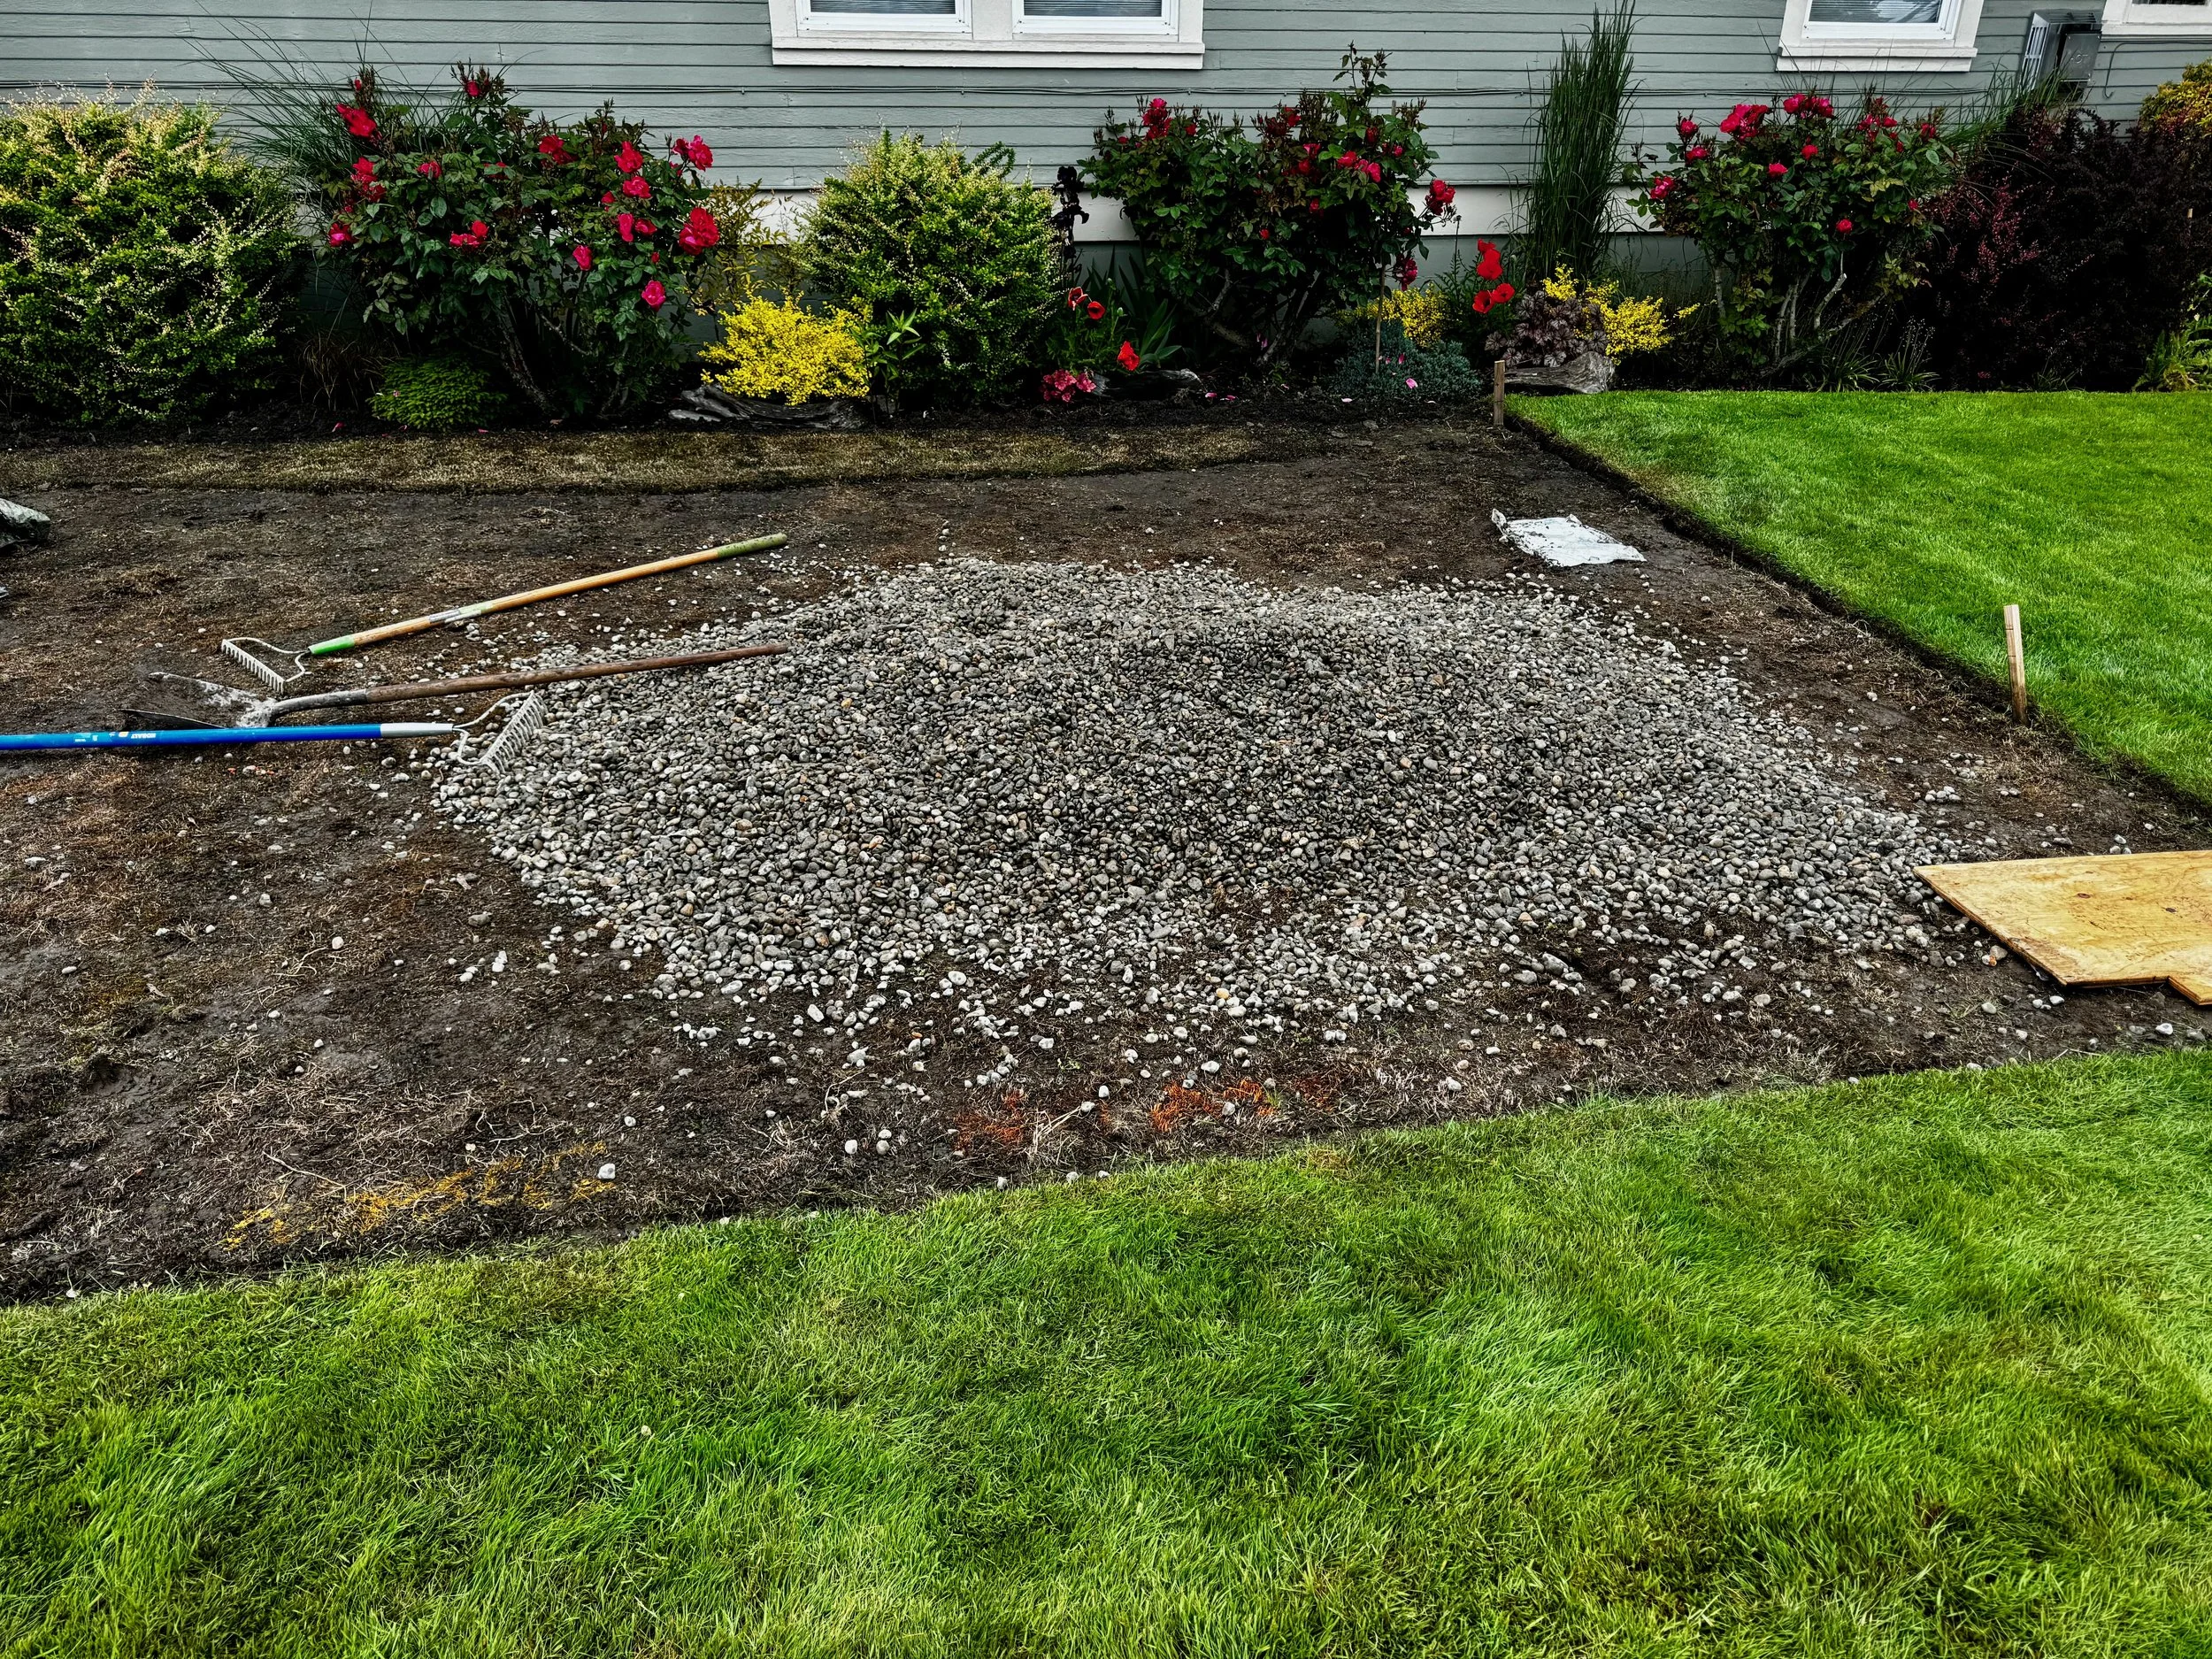

With the grass successfully eliminated, it was finally time to begin construction. The first step was removing the black plastic and preparing the site for the garden infrastructure.
Using pressure-treated lumber, we built a perimeter around the entire area. This border would serve two purposes: helping define the garden space and keeping the gravel base contained. Because of our poor drainage and high water table, creating a solid, well-draining foundation was an important part of the project.
Next, we brought in four yards of drain rock and spread it throughout the area. The gravel provides a stable walking surface between the raised beds and helps water drain away during our long Pacific Northwest rainy season. It also keeps the garden accessible during wet weather when bare soil would quickly turn into mud.
At the same time, we installed the fence posts for the white picket fence that would eventually surround the garden. Setting the posts before the beds were built made the process much easier and ensured everything would be properly aligned. With the perimeter in place, the gravel spread, and the fence posts installed, the garden was finally beginning to take shape.
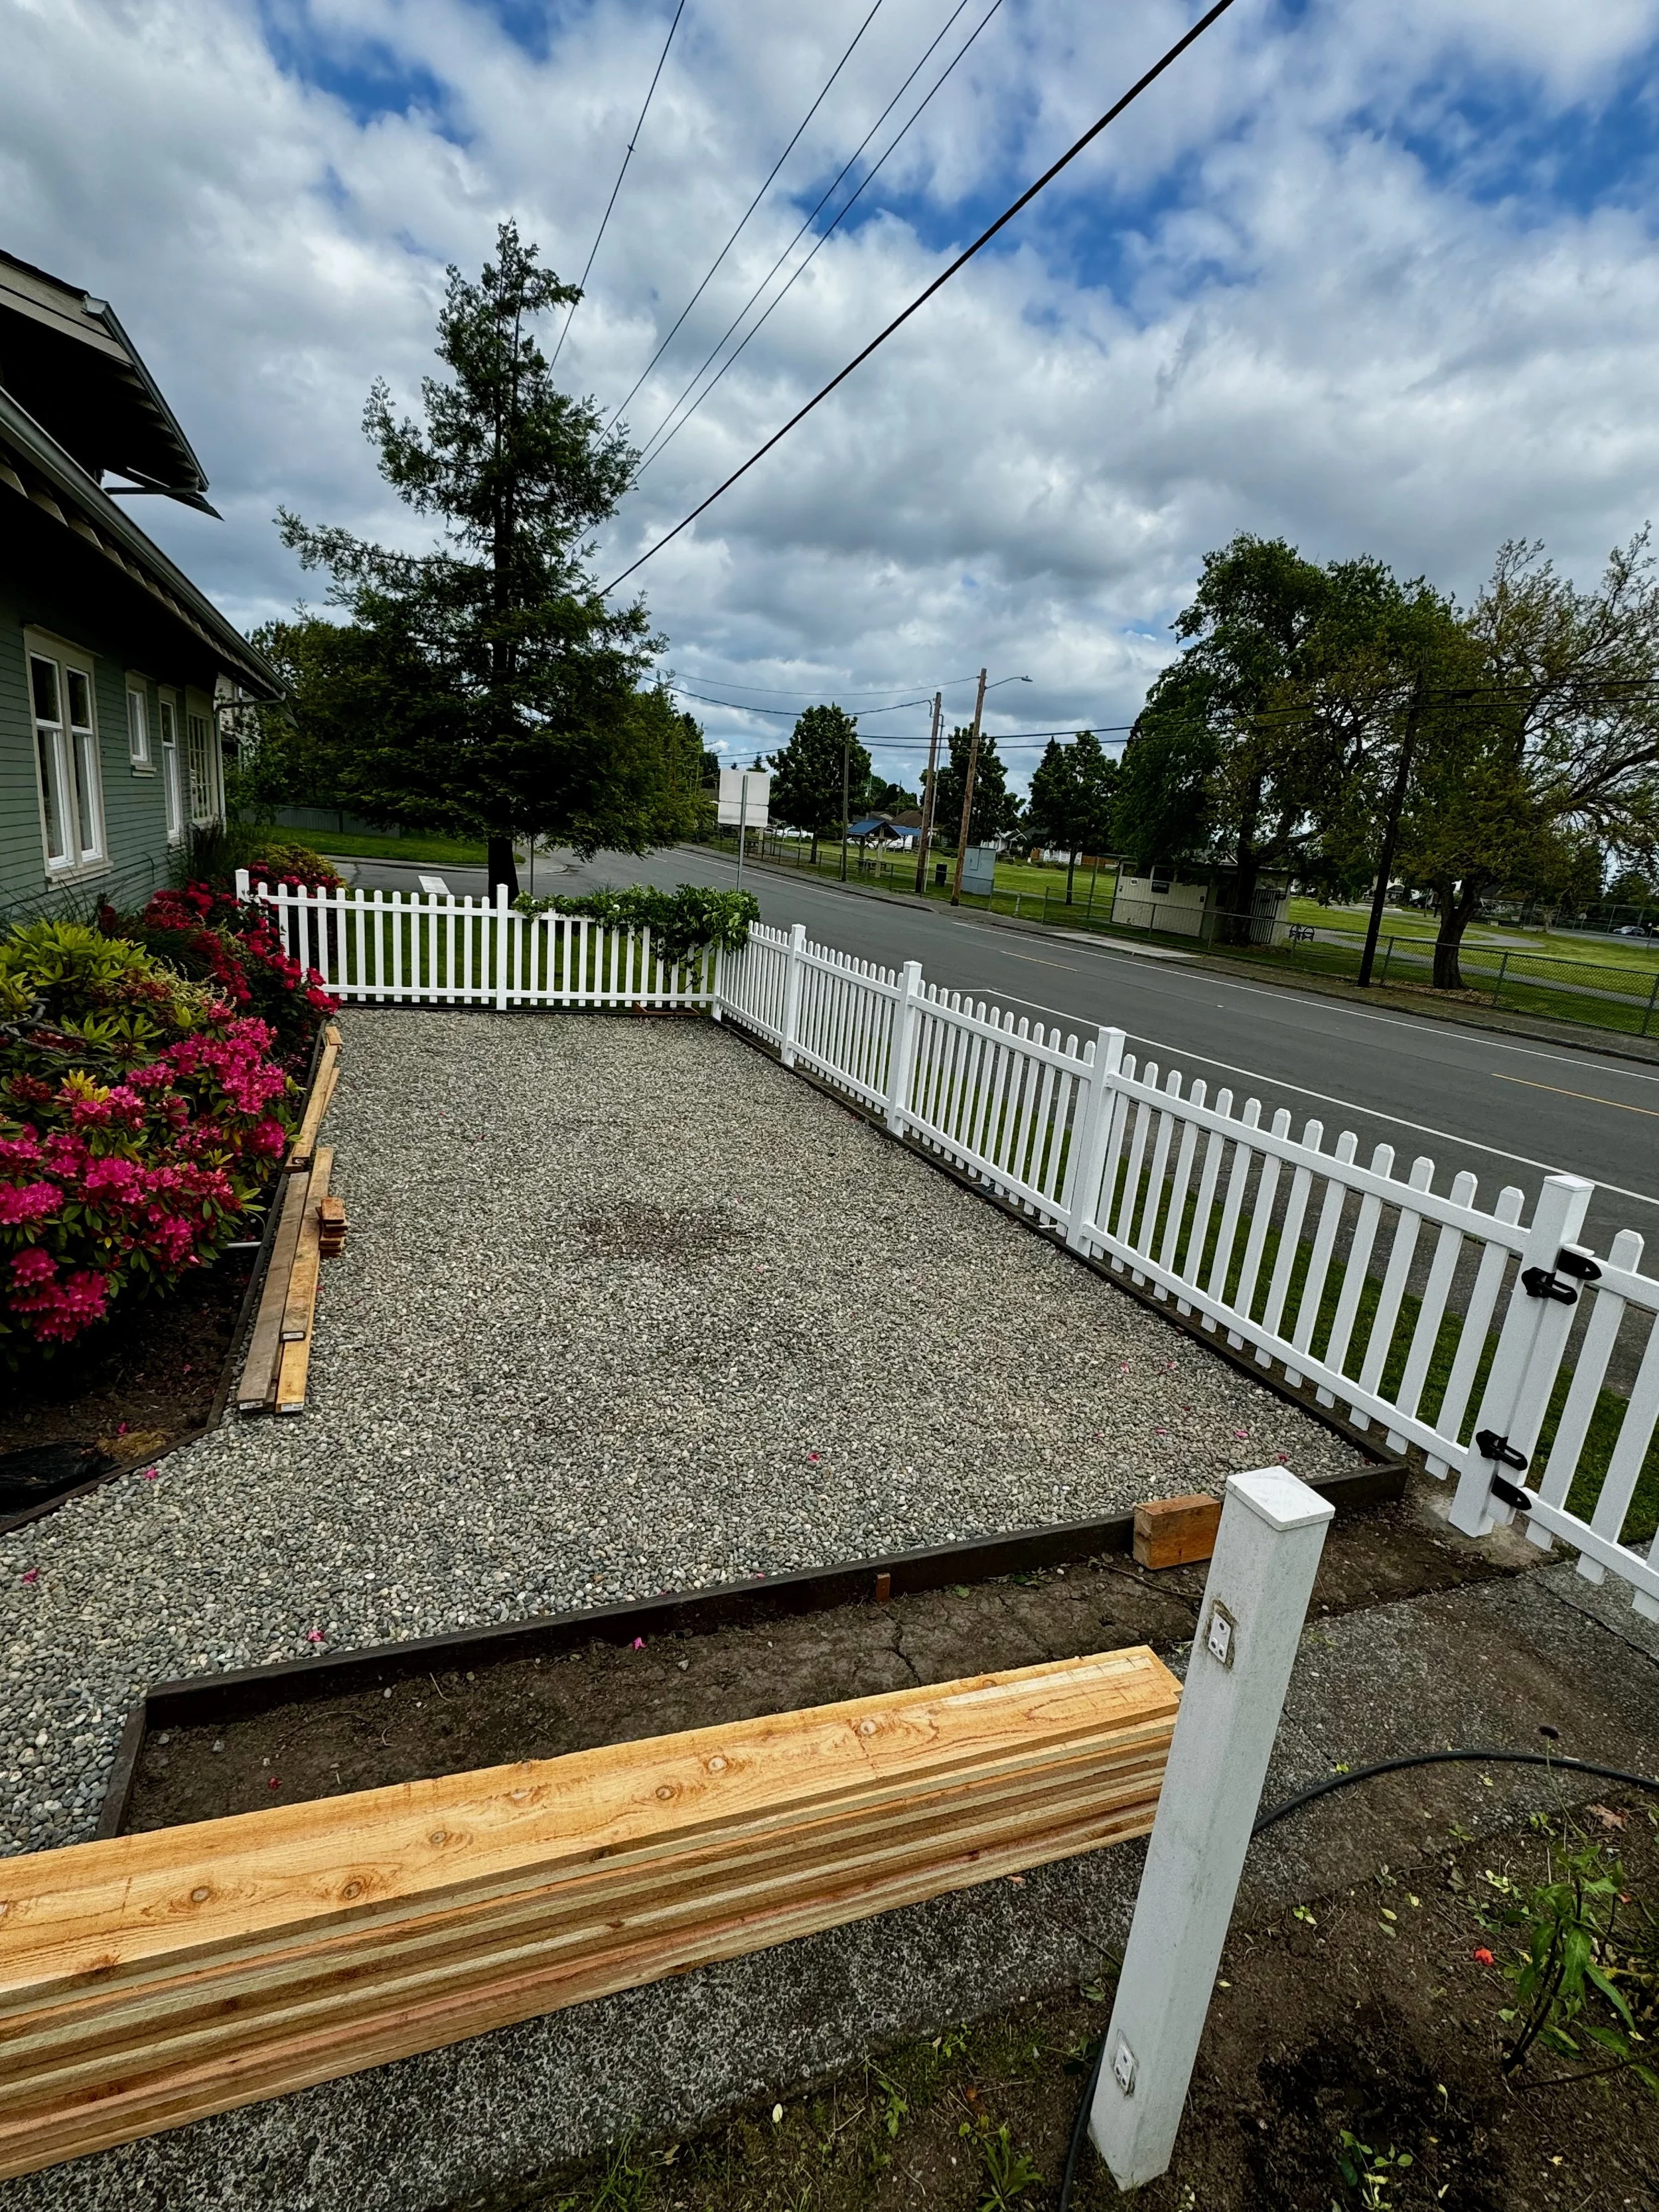
With the fence posts already in place, the next step was installing the white picket fence. Not only would it help define the garden space, but it would also give the vegetable garden a finished, cottage-garden look that fit well with the rest of our yard.
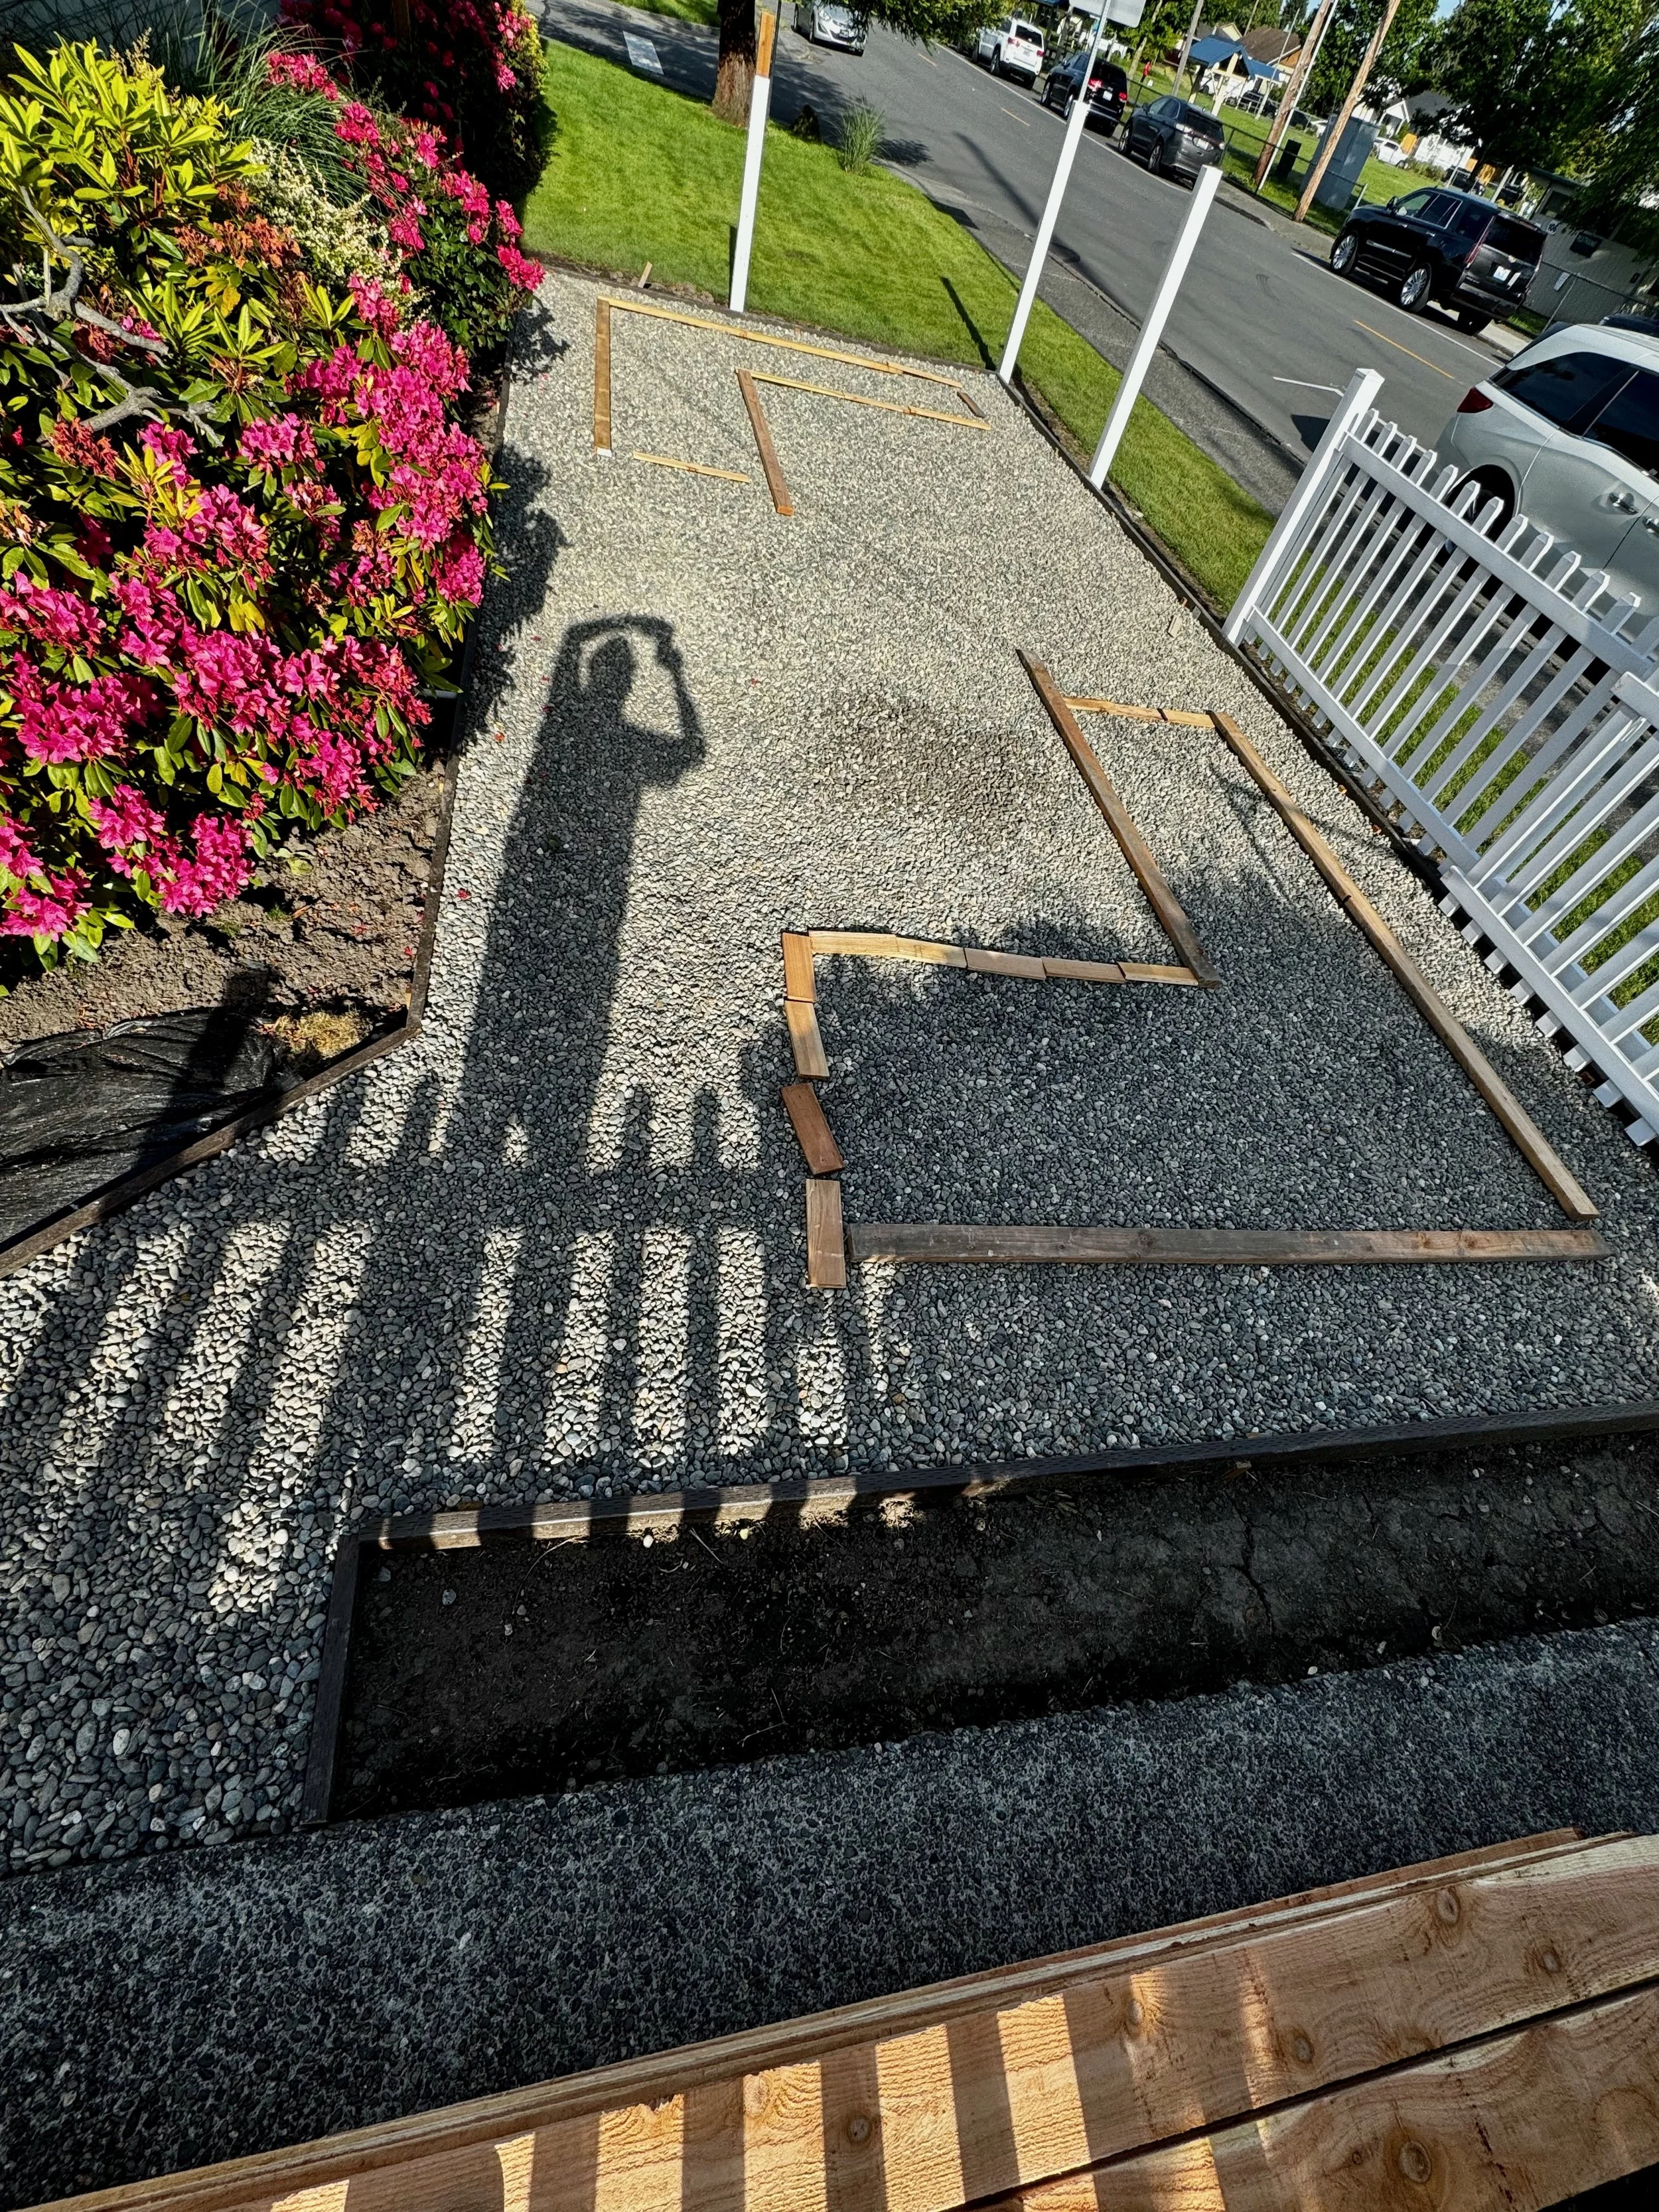
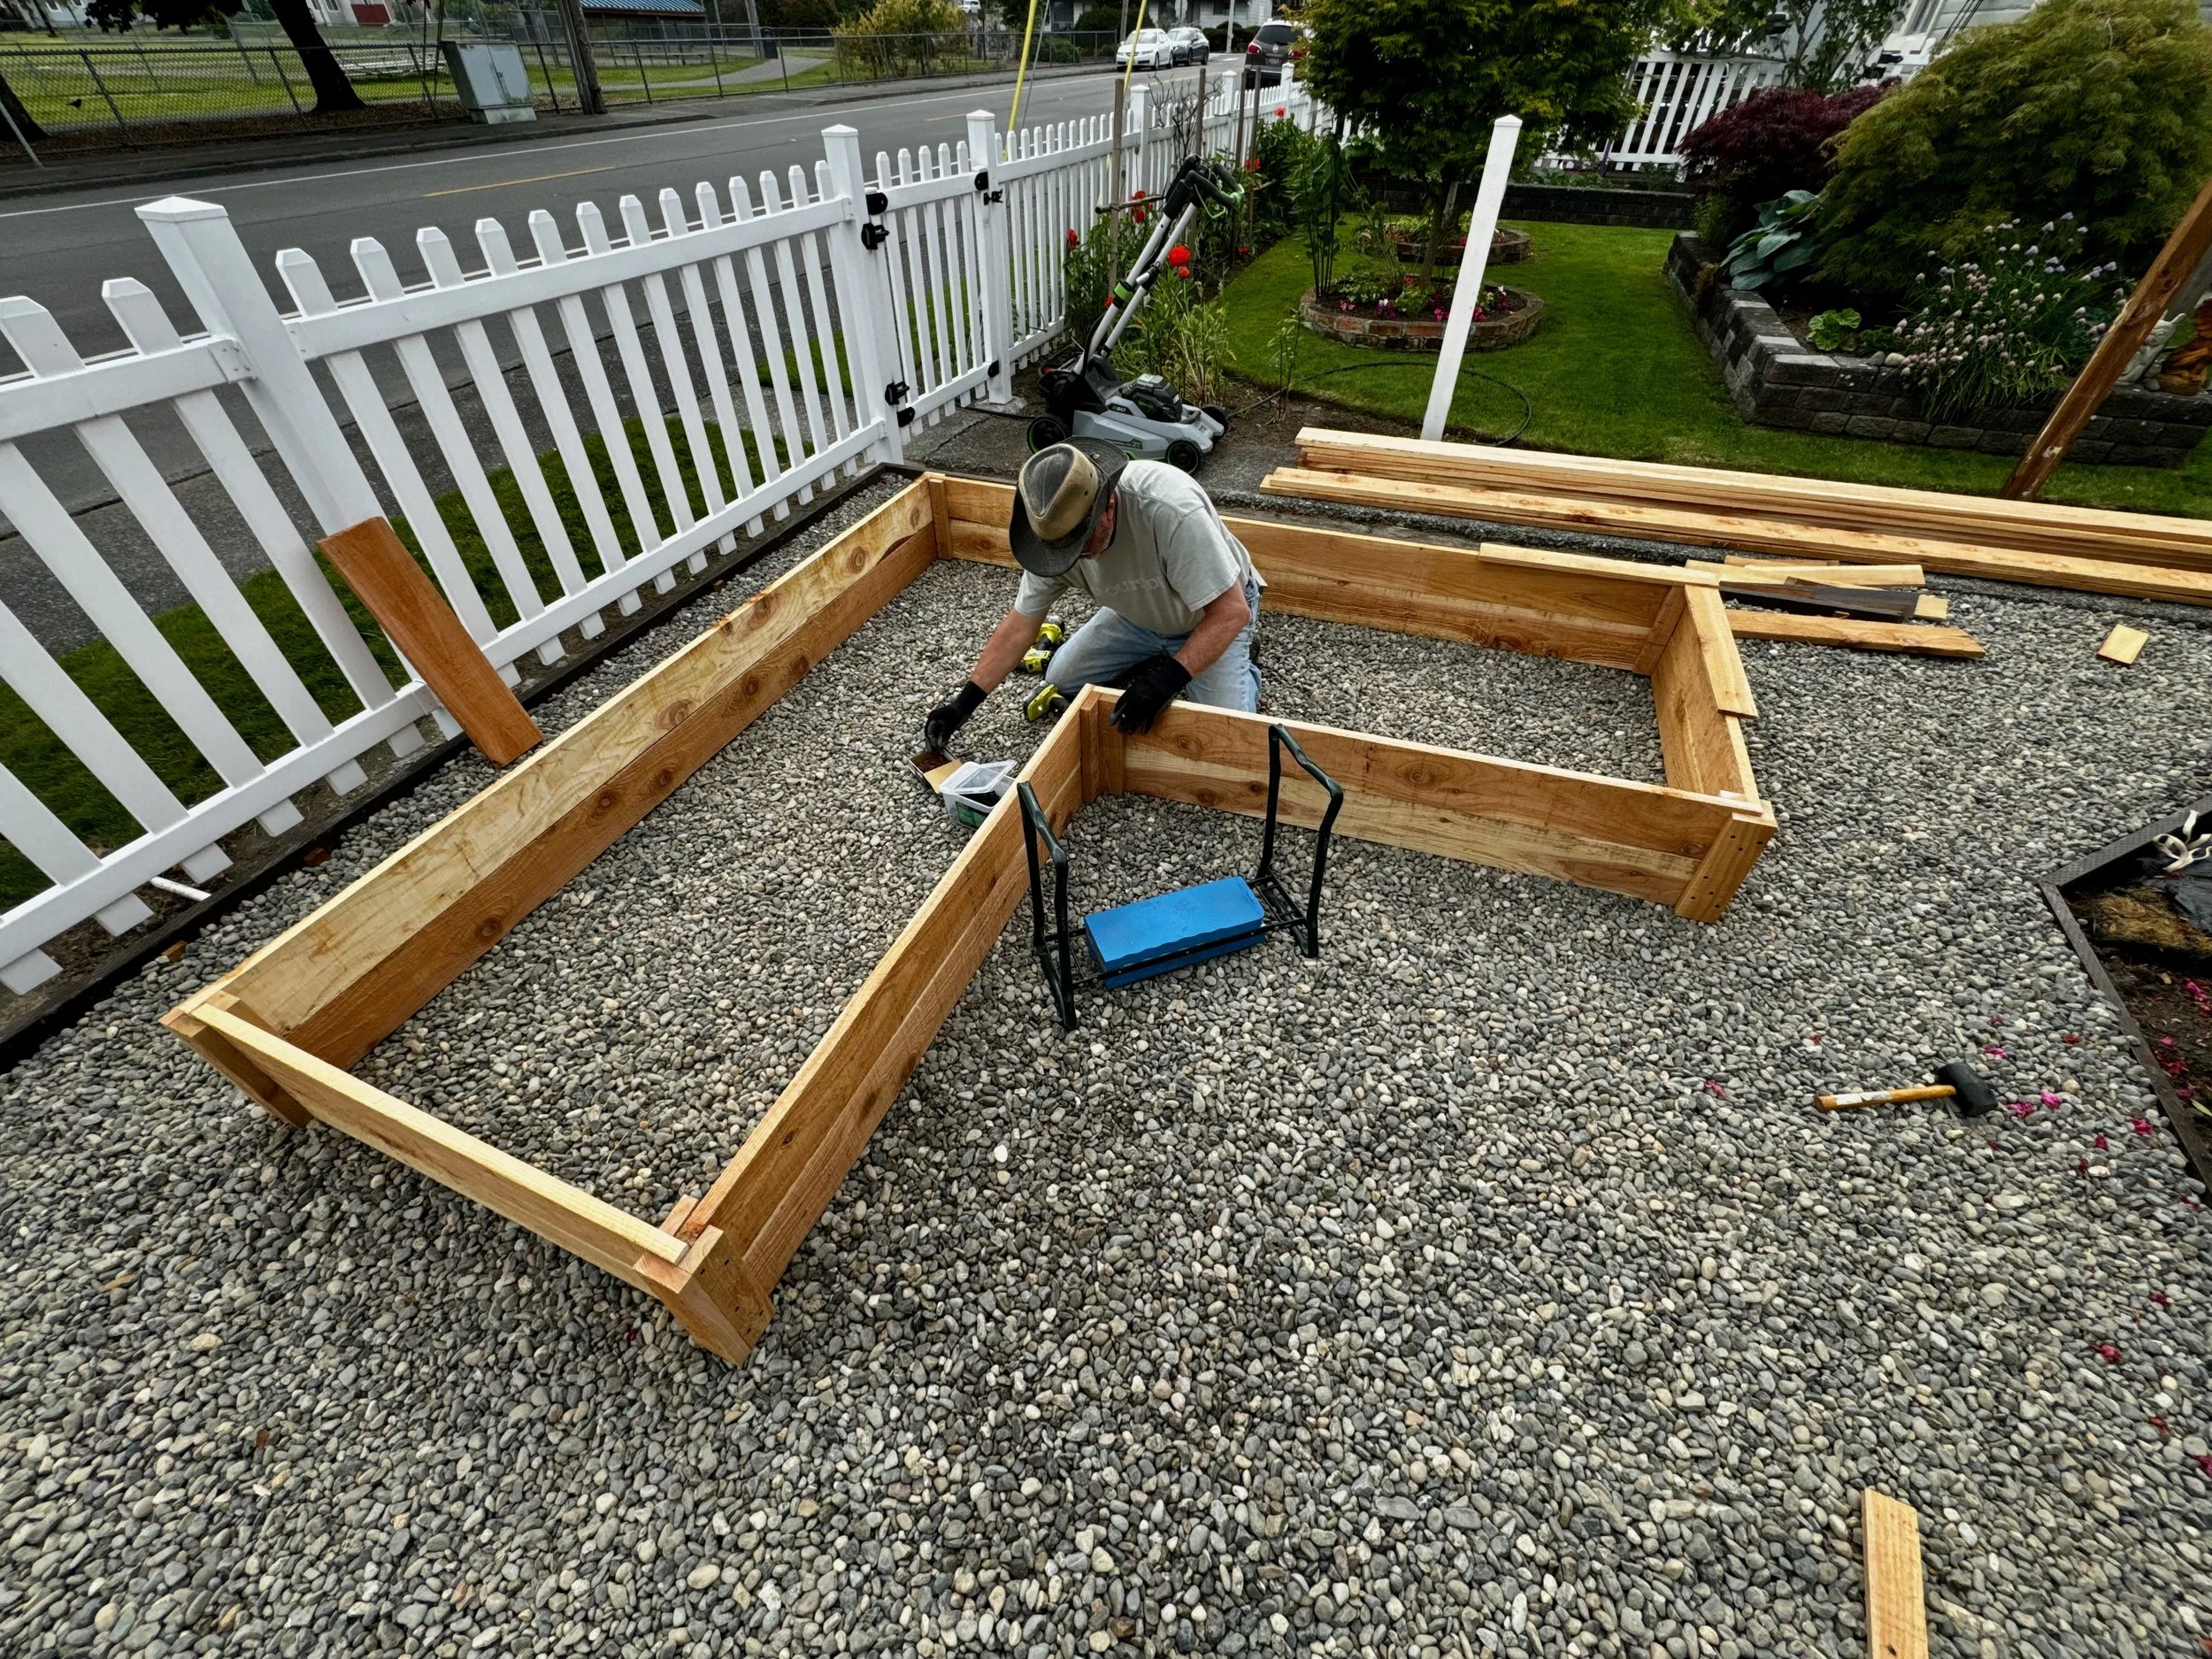
Before building the raised beds, we laid boards out on the gravel to experiment with different sizes and configurations. We wanted to make sure every bed would be easy to reach from all sides, while still maximizing the available growing space. After moving things around and testing several layouts, we settled on a design that provided a good balance of planting area and comfortable walkways.
For the raised beds themselves, we chose untreated Western red cedar. Cedar is naturally rot-resistant, long-lasting, and safe for growing vegetables. We purchased true 1-inch by 6-inch boards in varying lengths from a small local mill just north of us in Mount Vernon. Supporting local businesses while sourcing quality materials was an added bonus.
Each bed was built 12 inches high using two stacked courses of cedar boards. The corners were reinforced with solid corner blocks, creating sturdy beds that would withstand years of use. Once assembled and positioned, the layout really began to transform the space from an ordinary lawn into a productive vegetable garden.
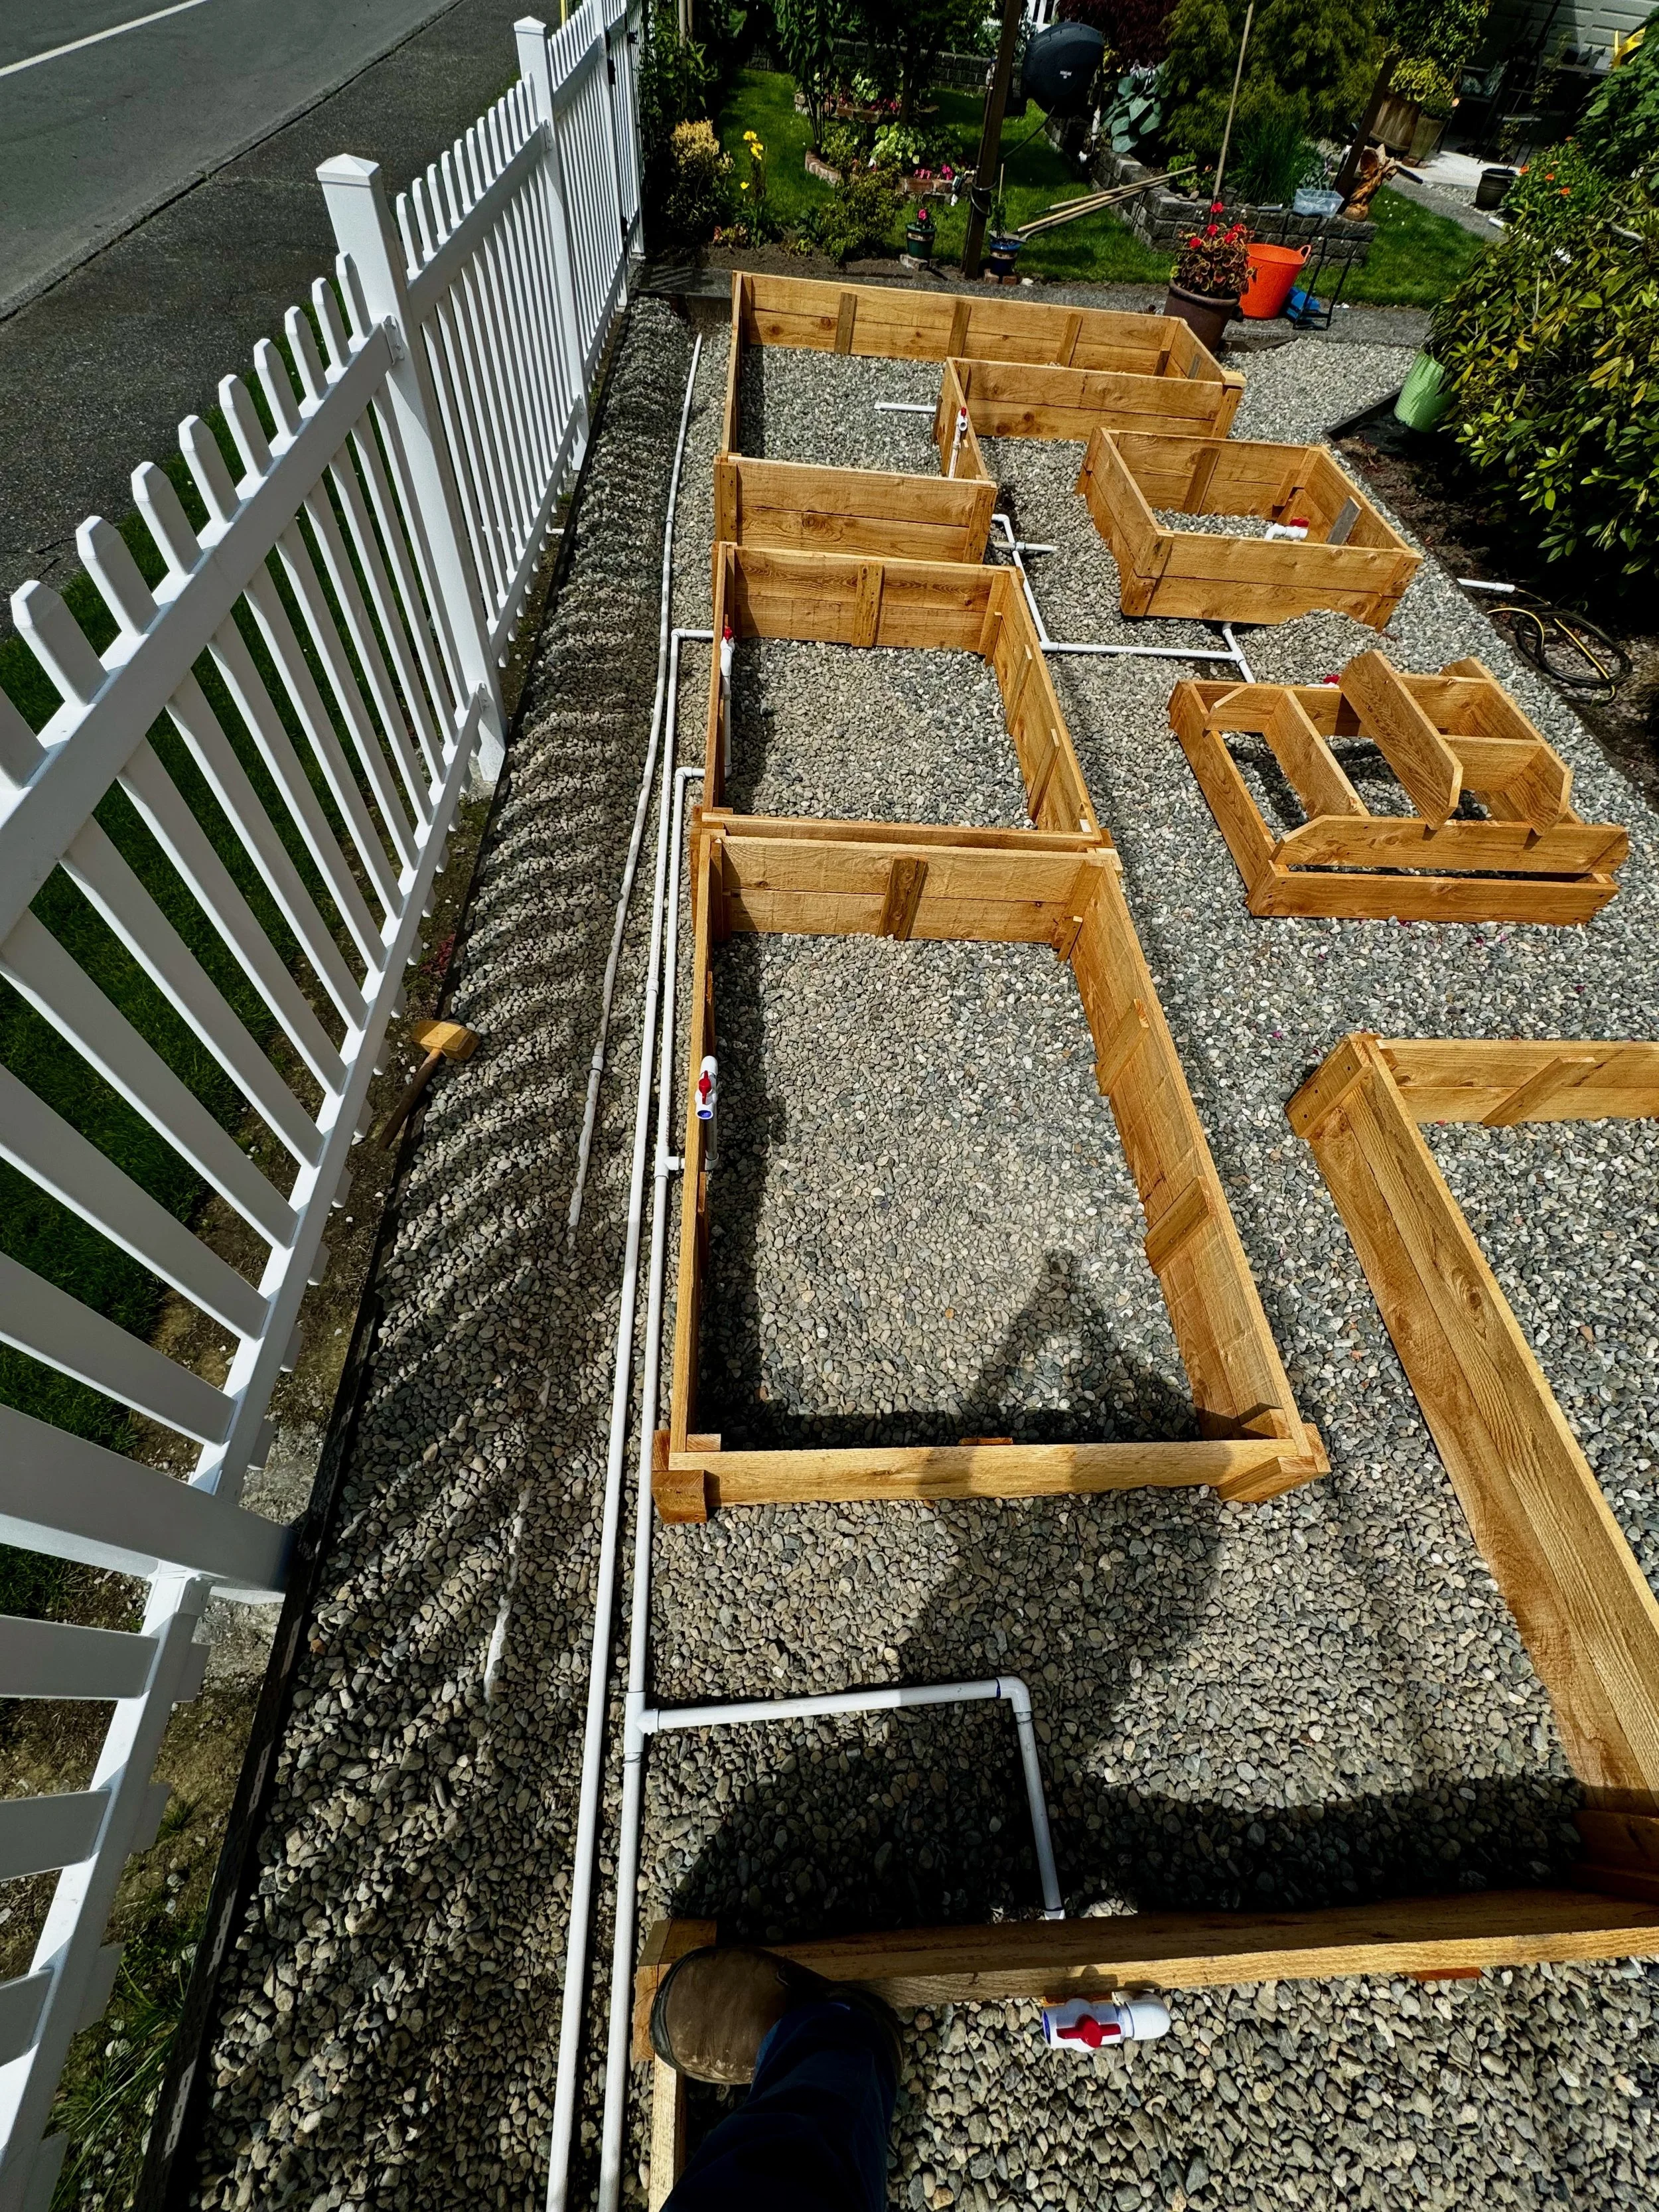

Once the raised beds were assembled and the 3/4-inch PVC irrigation lines were secured in place, it was time to prepare the beds for soil.
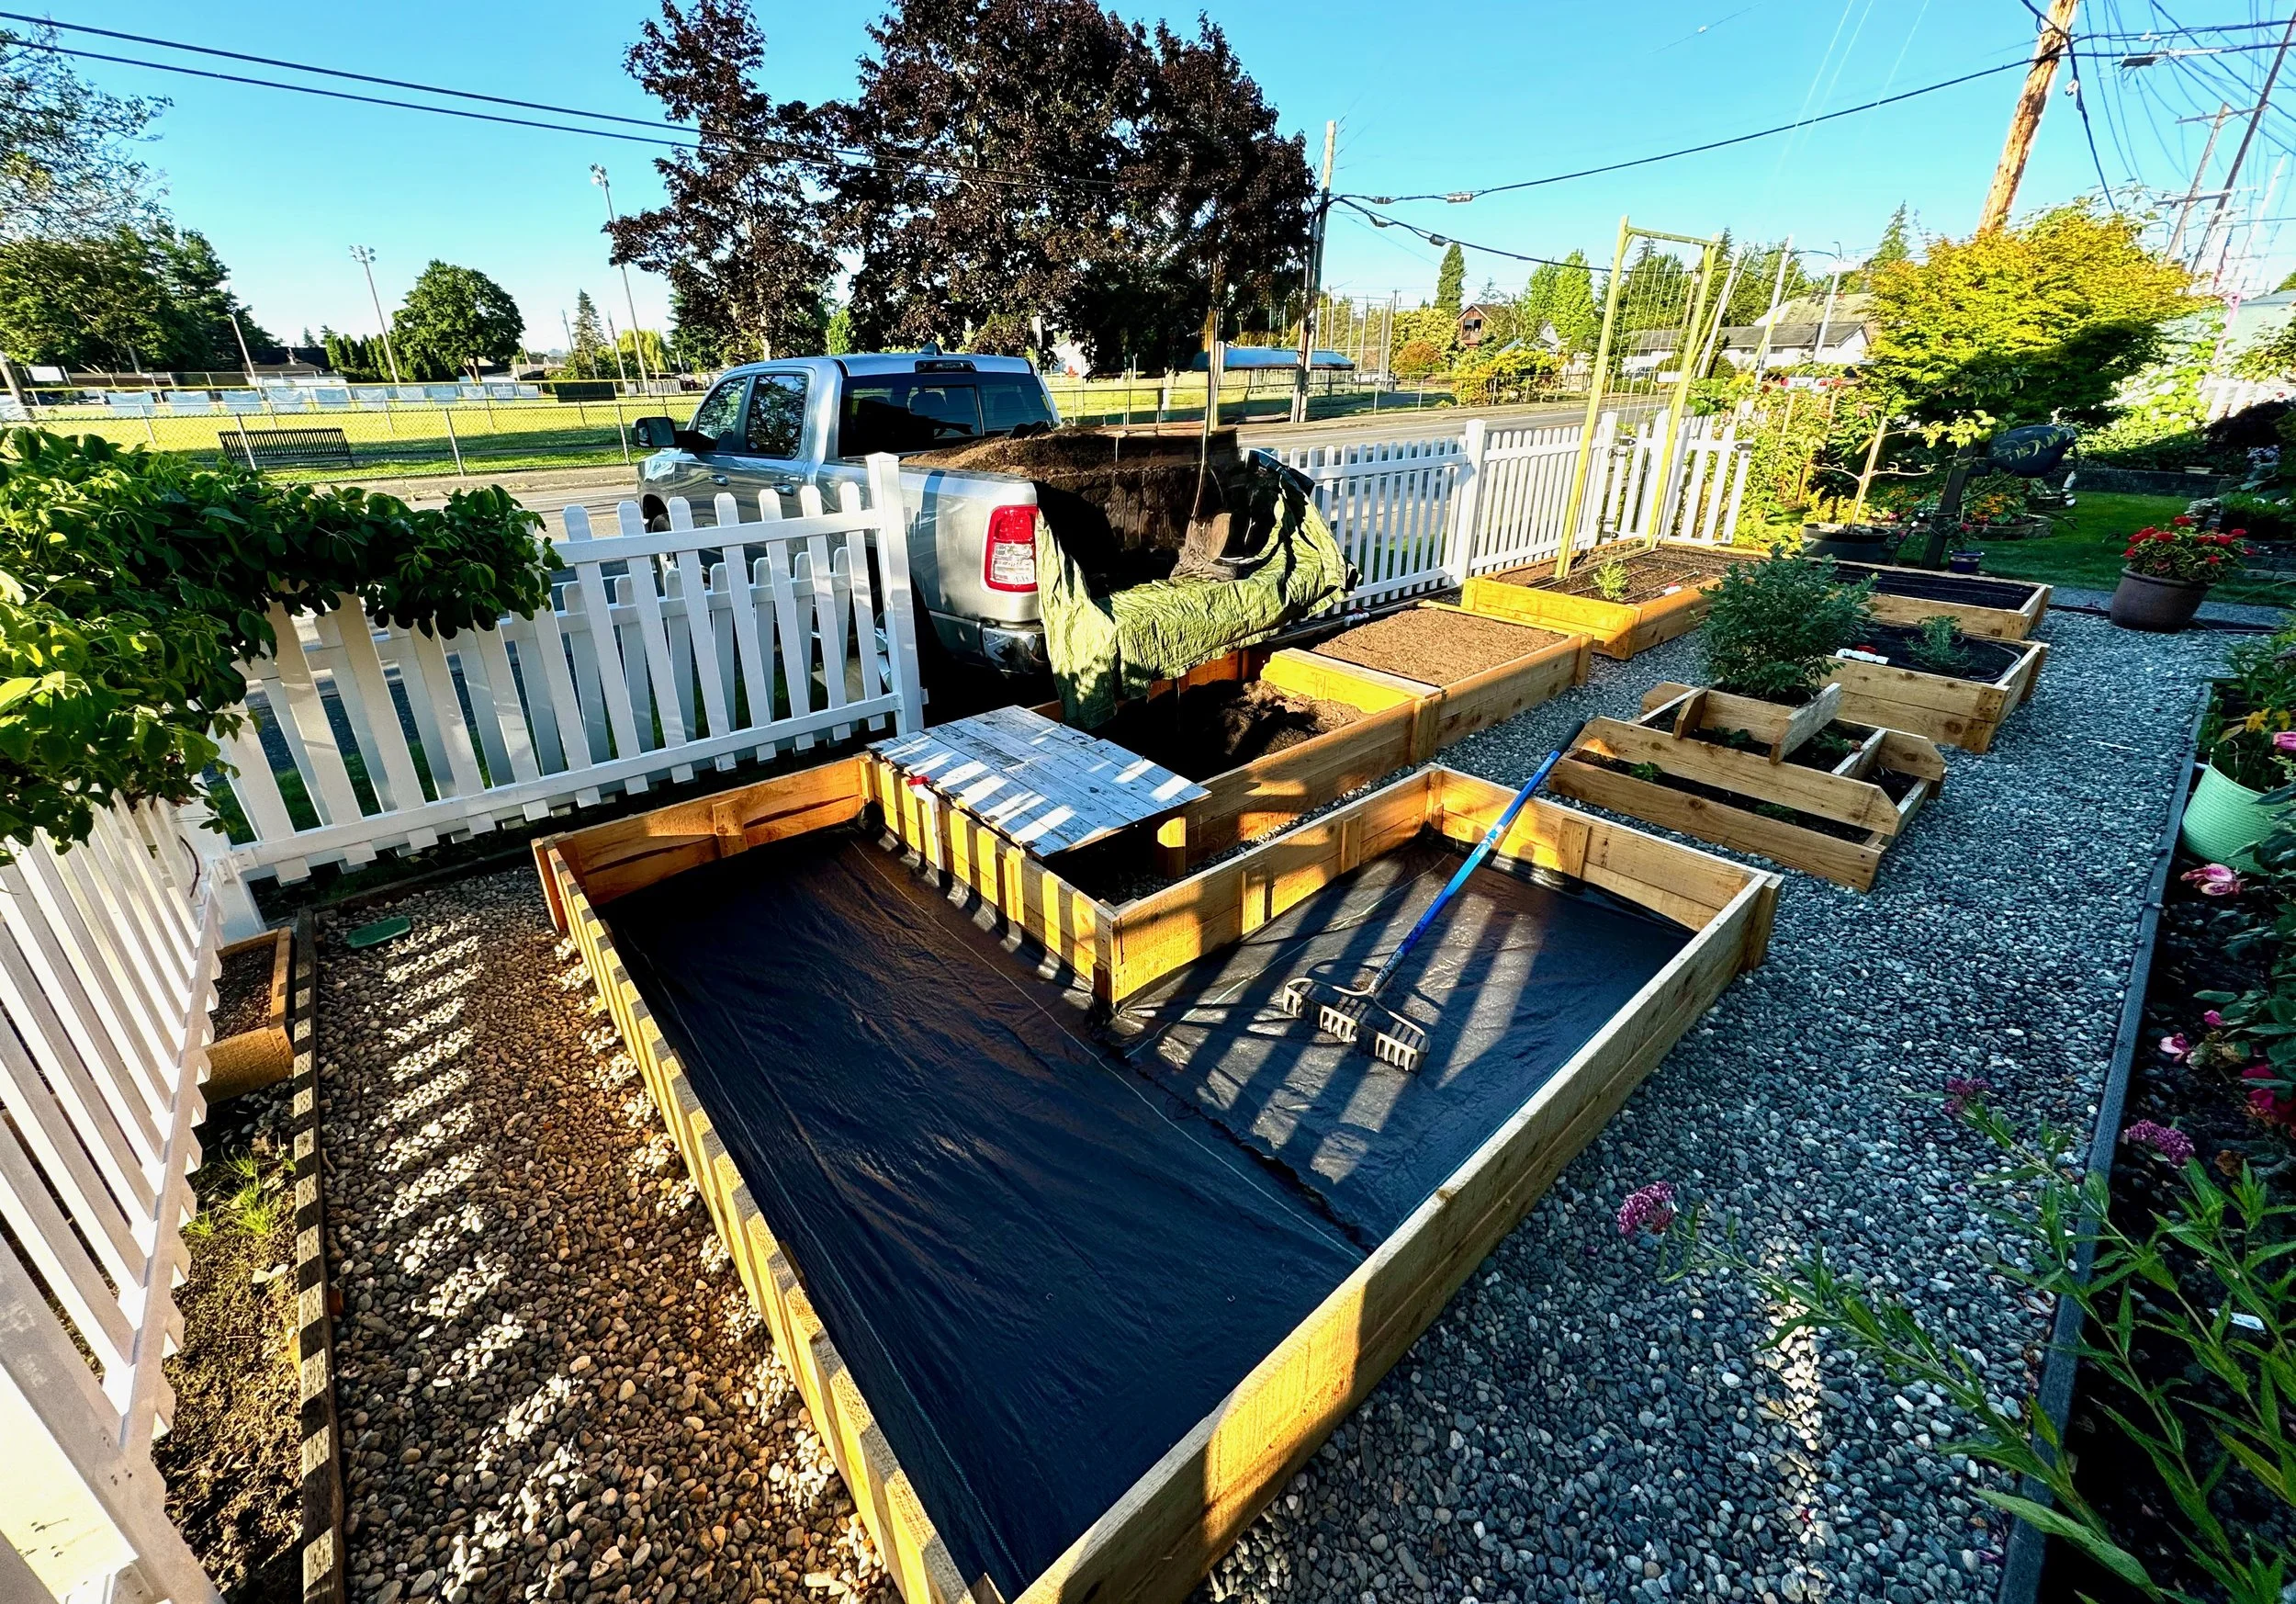
The next step was installing landscape fabric over the drain rock. I’ll admit that landscape fabric isn’t usually one of my favorite garden products, but in this situation it served an important purpose. We needed a barrier that would allow water to move freely through the beds while preventing the raised bed soil from working its way down into the gravel below. The fabric provided that separation without interfering with drainage.
With the landscape fabric in place, we moved on to what was probably the most time-consuming part of the entire project—filling the beds with soil. Yard after yard of soil had to be moved, shoveled, and spread until each bed reached its final level.
For the growing medium, we chose a Garden Mix from a local topsoil supplier. The blend consists of three-way topsoil, Ferti-Mulch, and a rich black compost. After researching several options and using it ourselves, we’ve found it to be one of the best raised bed mixes available locally. It provides a good balance of drainage, moisture retention, and organic matter, creating an ideal environment for vegetables to develop strong root systems and produce healthy harvests.
Irrigation System
Although we receive plenty of rain during the fall, winter, and spring, the Pacific Northwest typically enters a dry period between early July and early September. Our summers are generally mild, with average daytime highs ranging from the low 70s to upper 70s. Even without extreme heat, vegetables still require consistent moisture to produce their best harvests, so an irrigation system was an important part of the garden design.
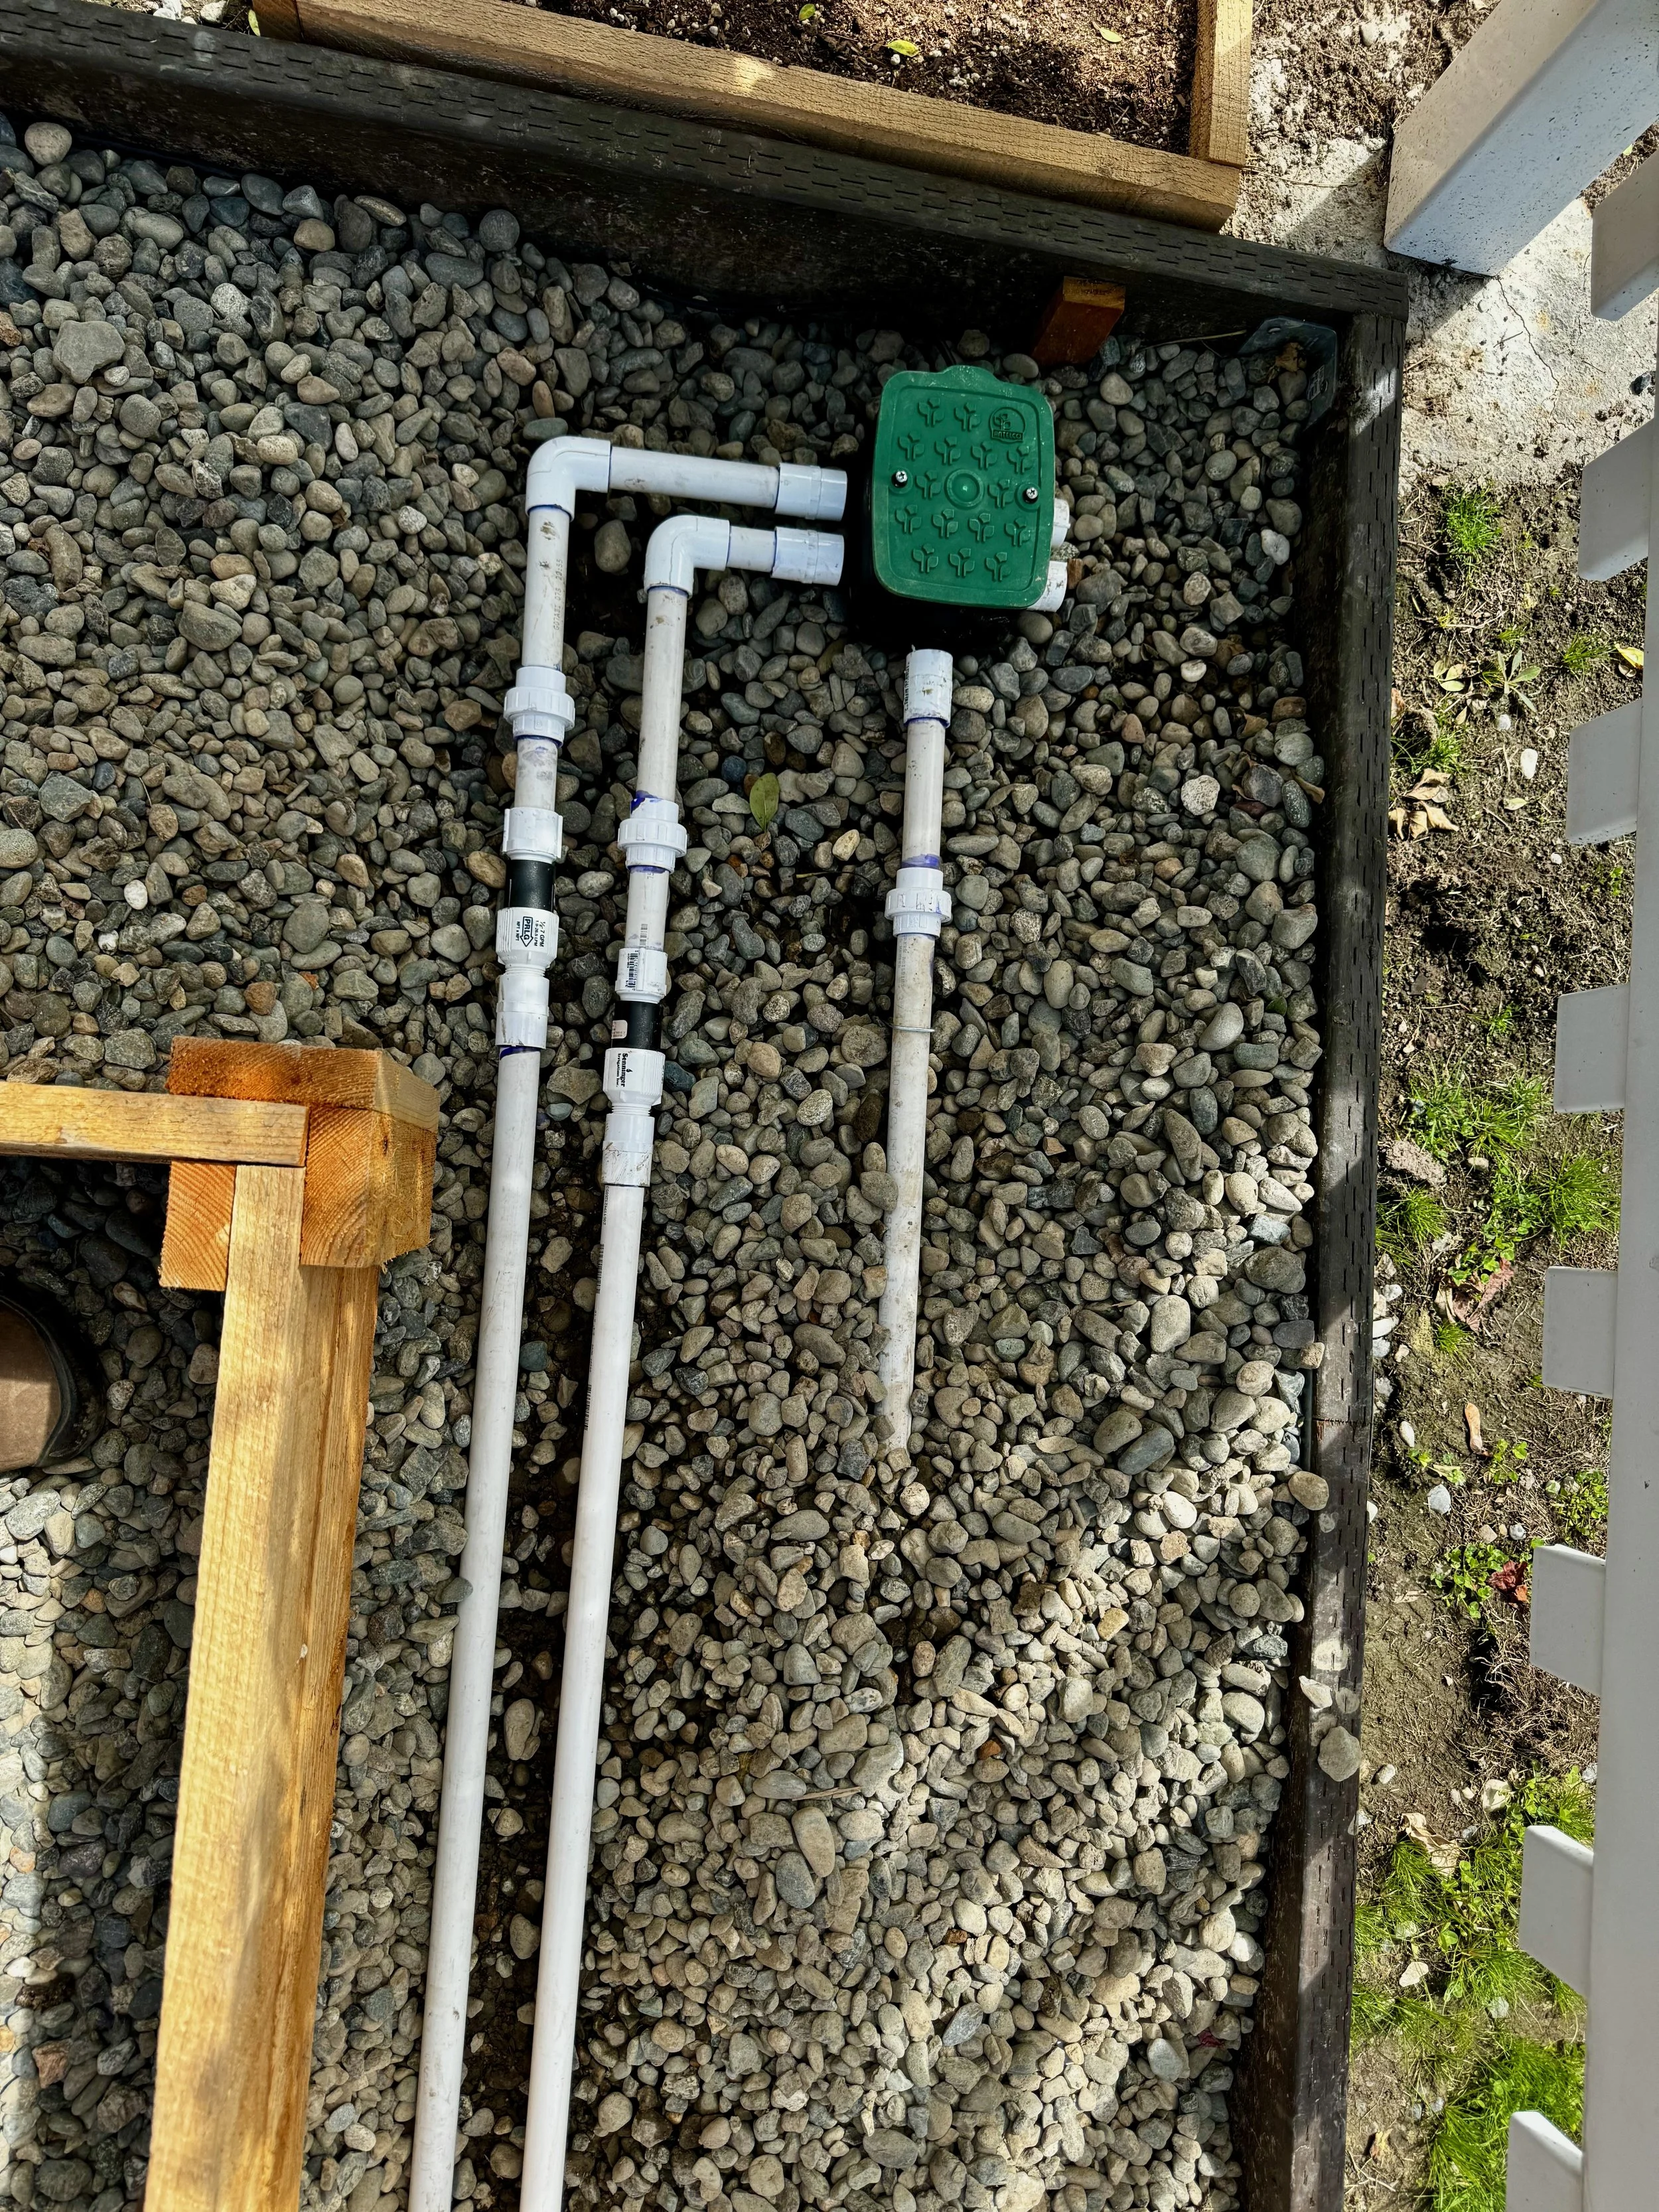
To keep watering simple and efficient, we installed an in-ground irrigation system built around a four-zone valve manifold. Two of the zones are dedicated to the raised beds, one serves a berm located elsewhere in the yard, and the fourth zone was left available for future expansion.
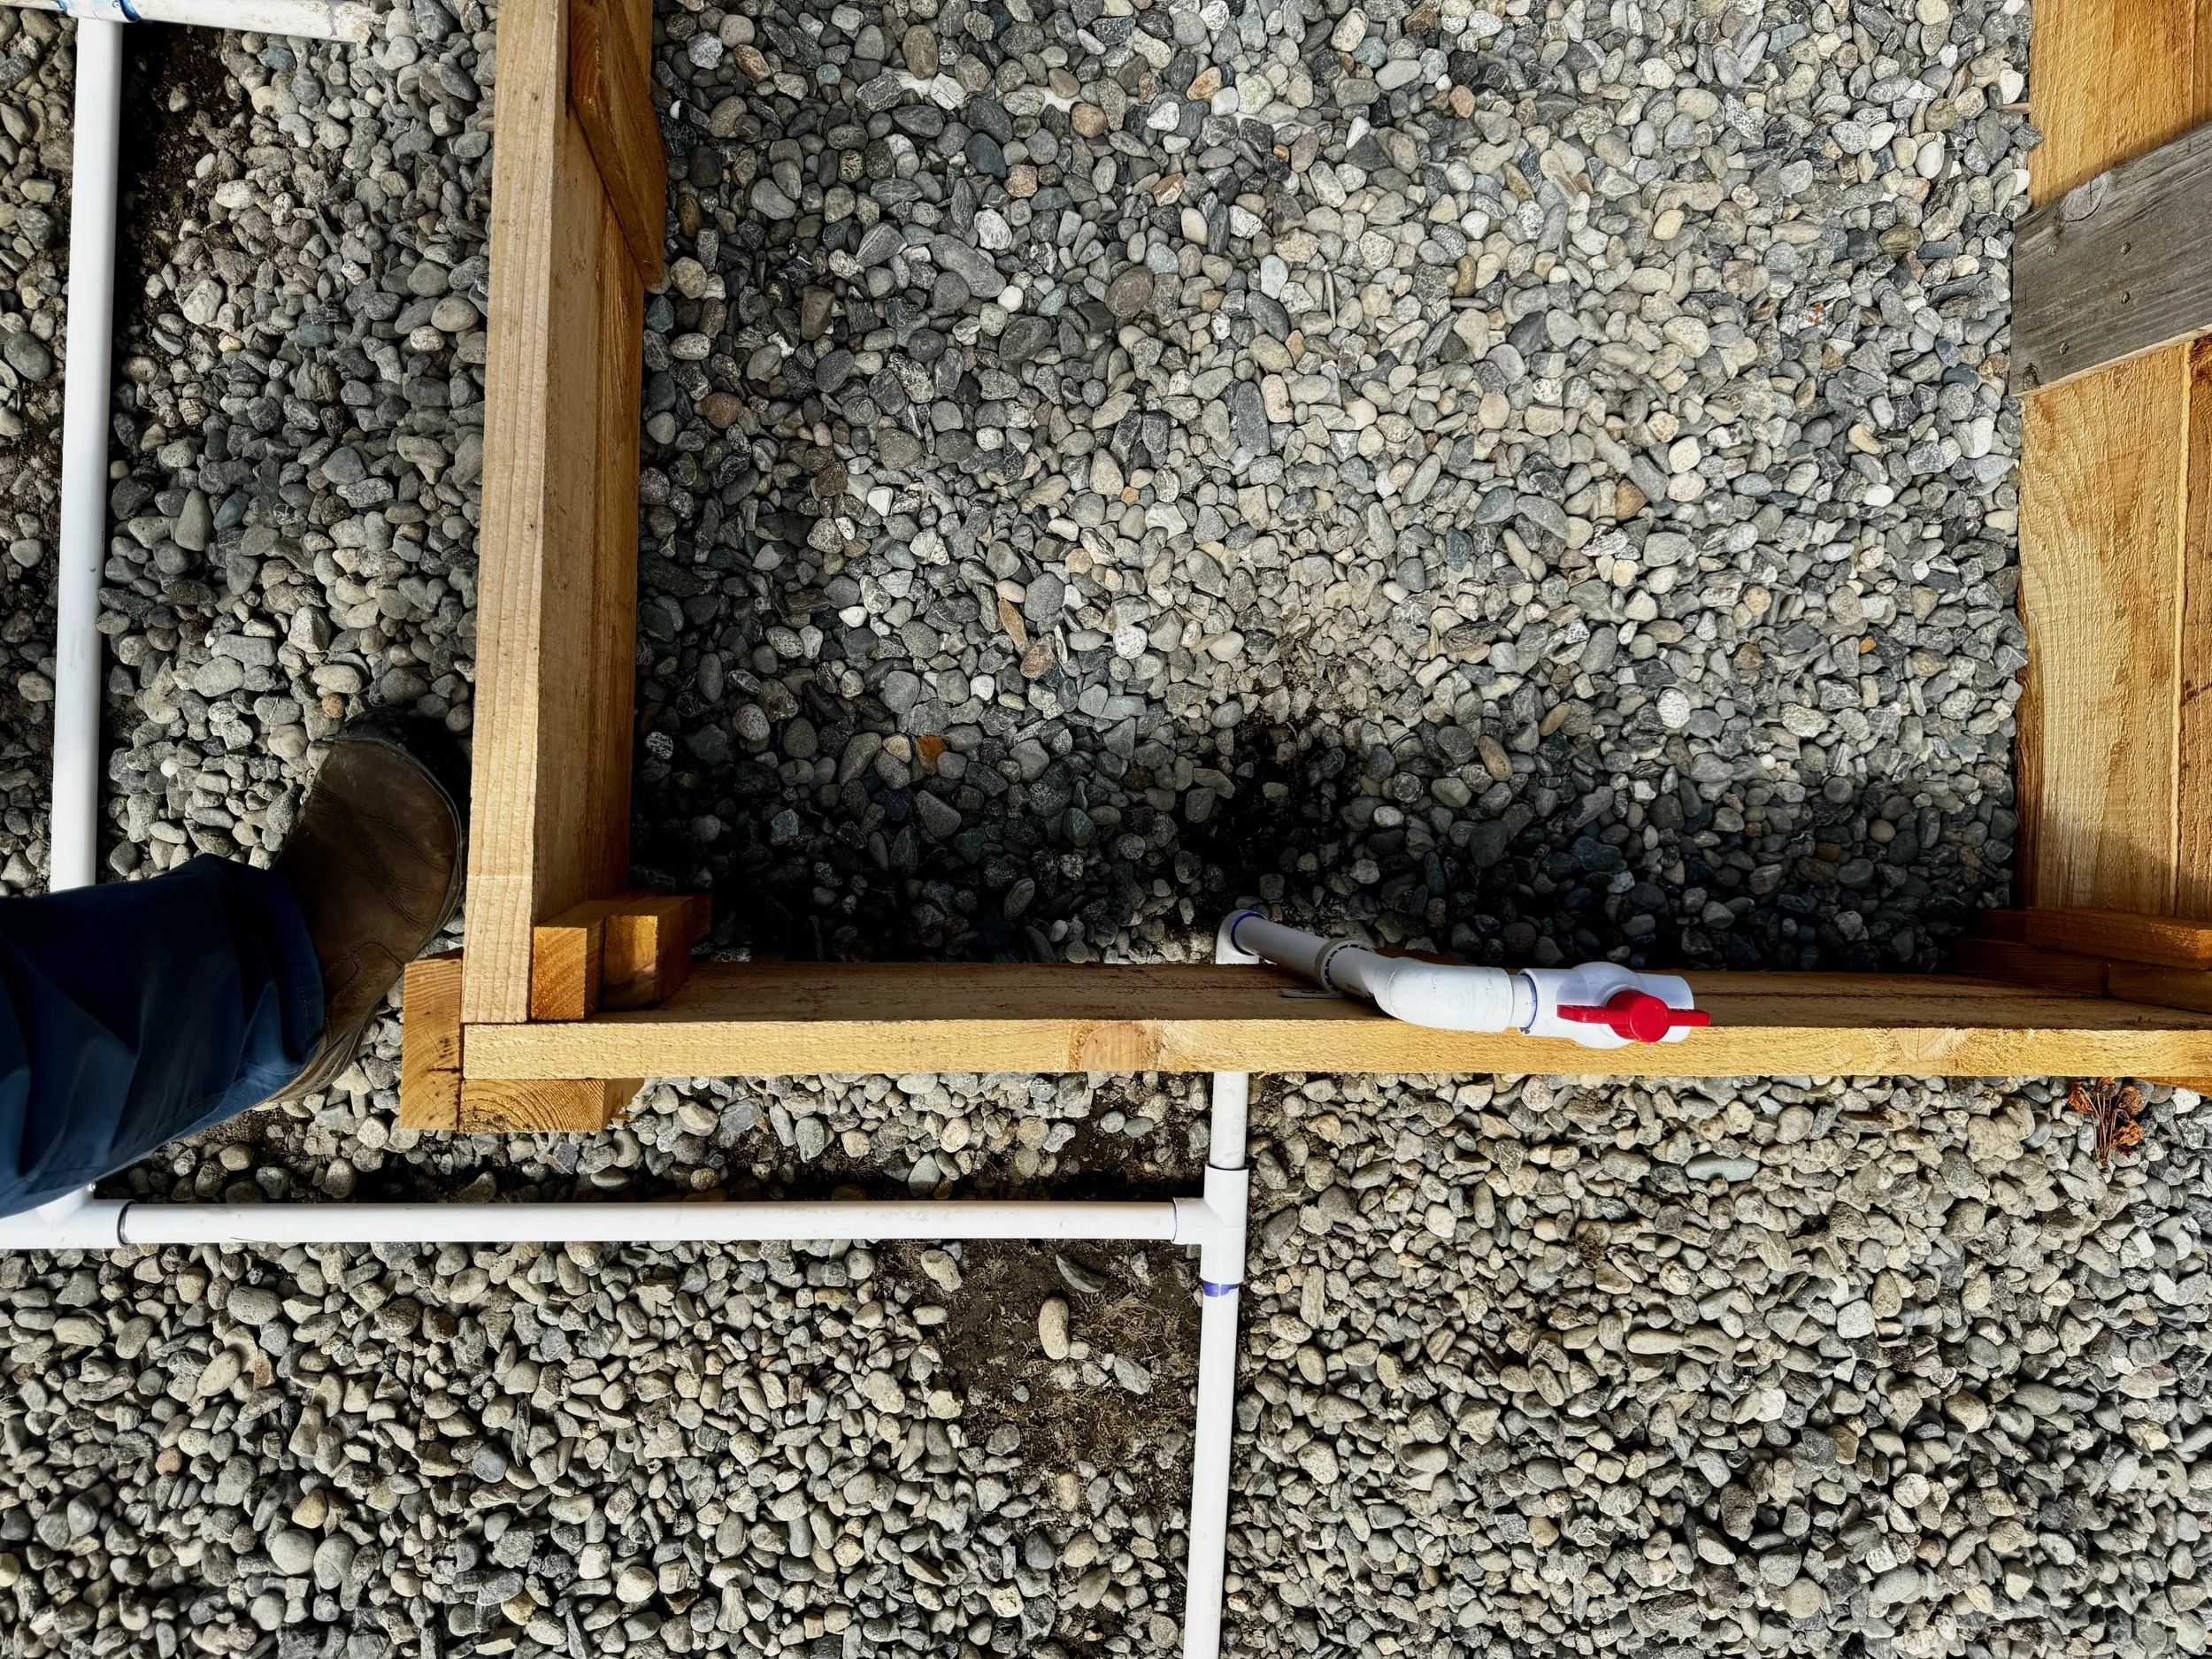
The raised bed irrigation is divided into two zones. Zone 1 supplies water to one of the L-shaped beds and two of the 4-foot by 4-foot beds. Zone 2 serves the second L-shaped bed along with the two 4-foot by 6-foot beds. In addition to the zone valves, each individual bed is equipped with its own manual shutoff valve, allowing us to easily turn water on or off to specific beds as needed.
The entire system is controlled by an eight-zone Rachio Wi-Fi-enabled controller. While we currently use only four zones, the additional capacity provides plenty of room for future projects and expansion. The Rachio controller also allows us to monitor and adjust watering schedules from anywhere using a smartphone or computer.
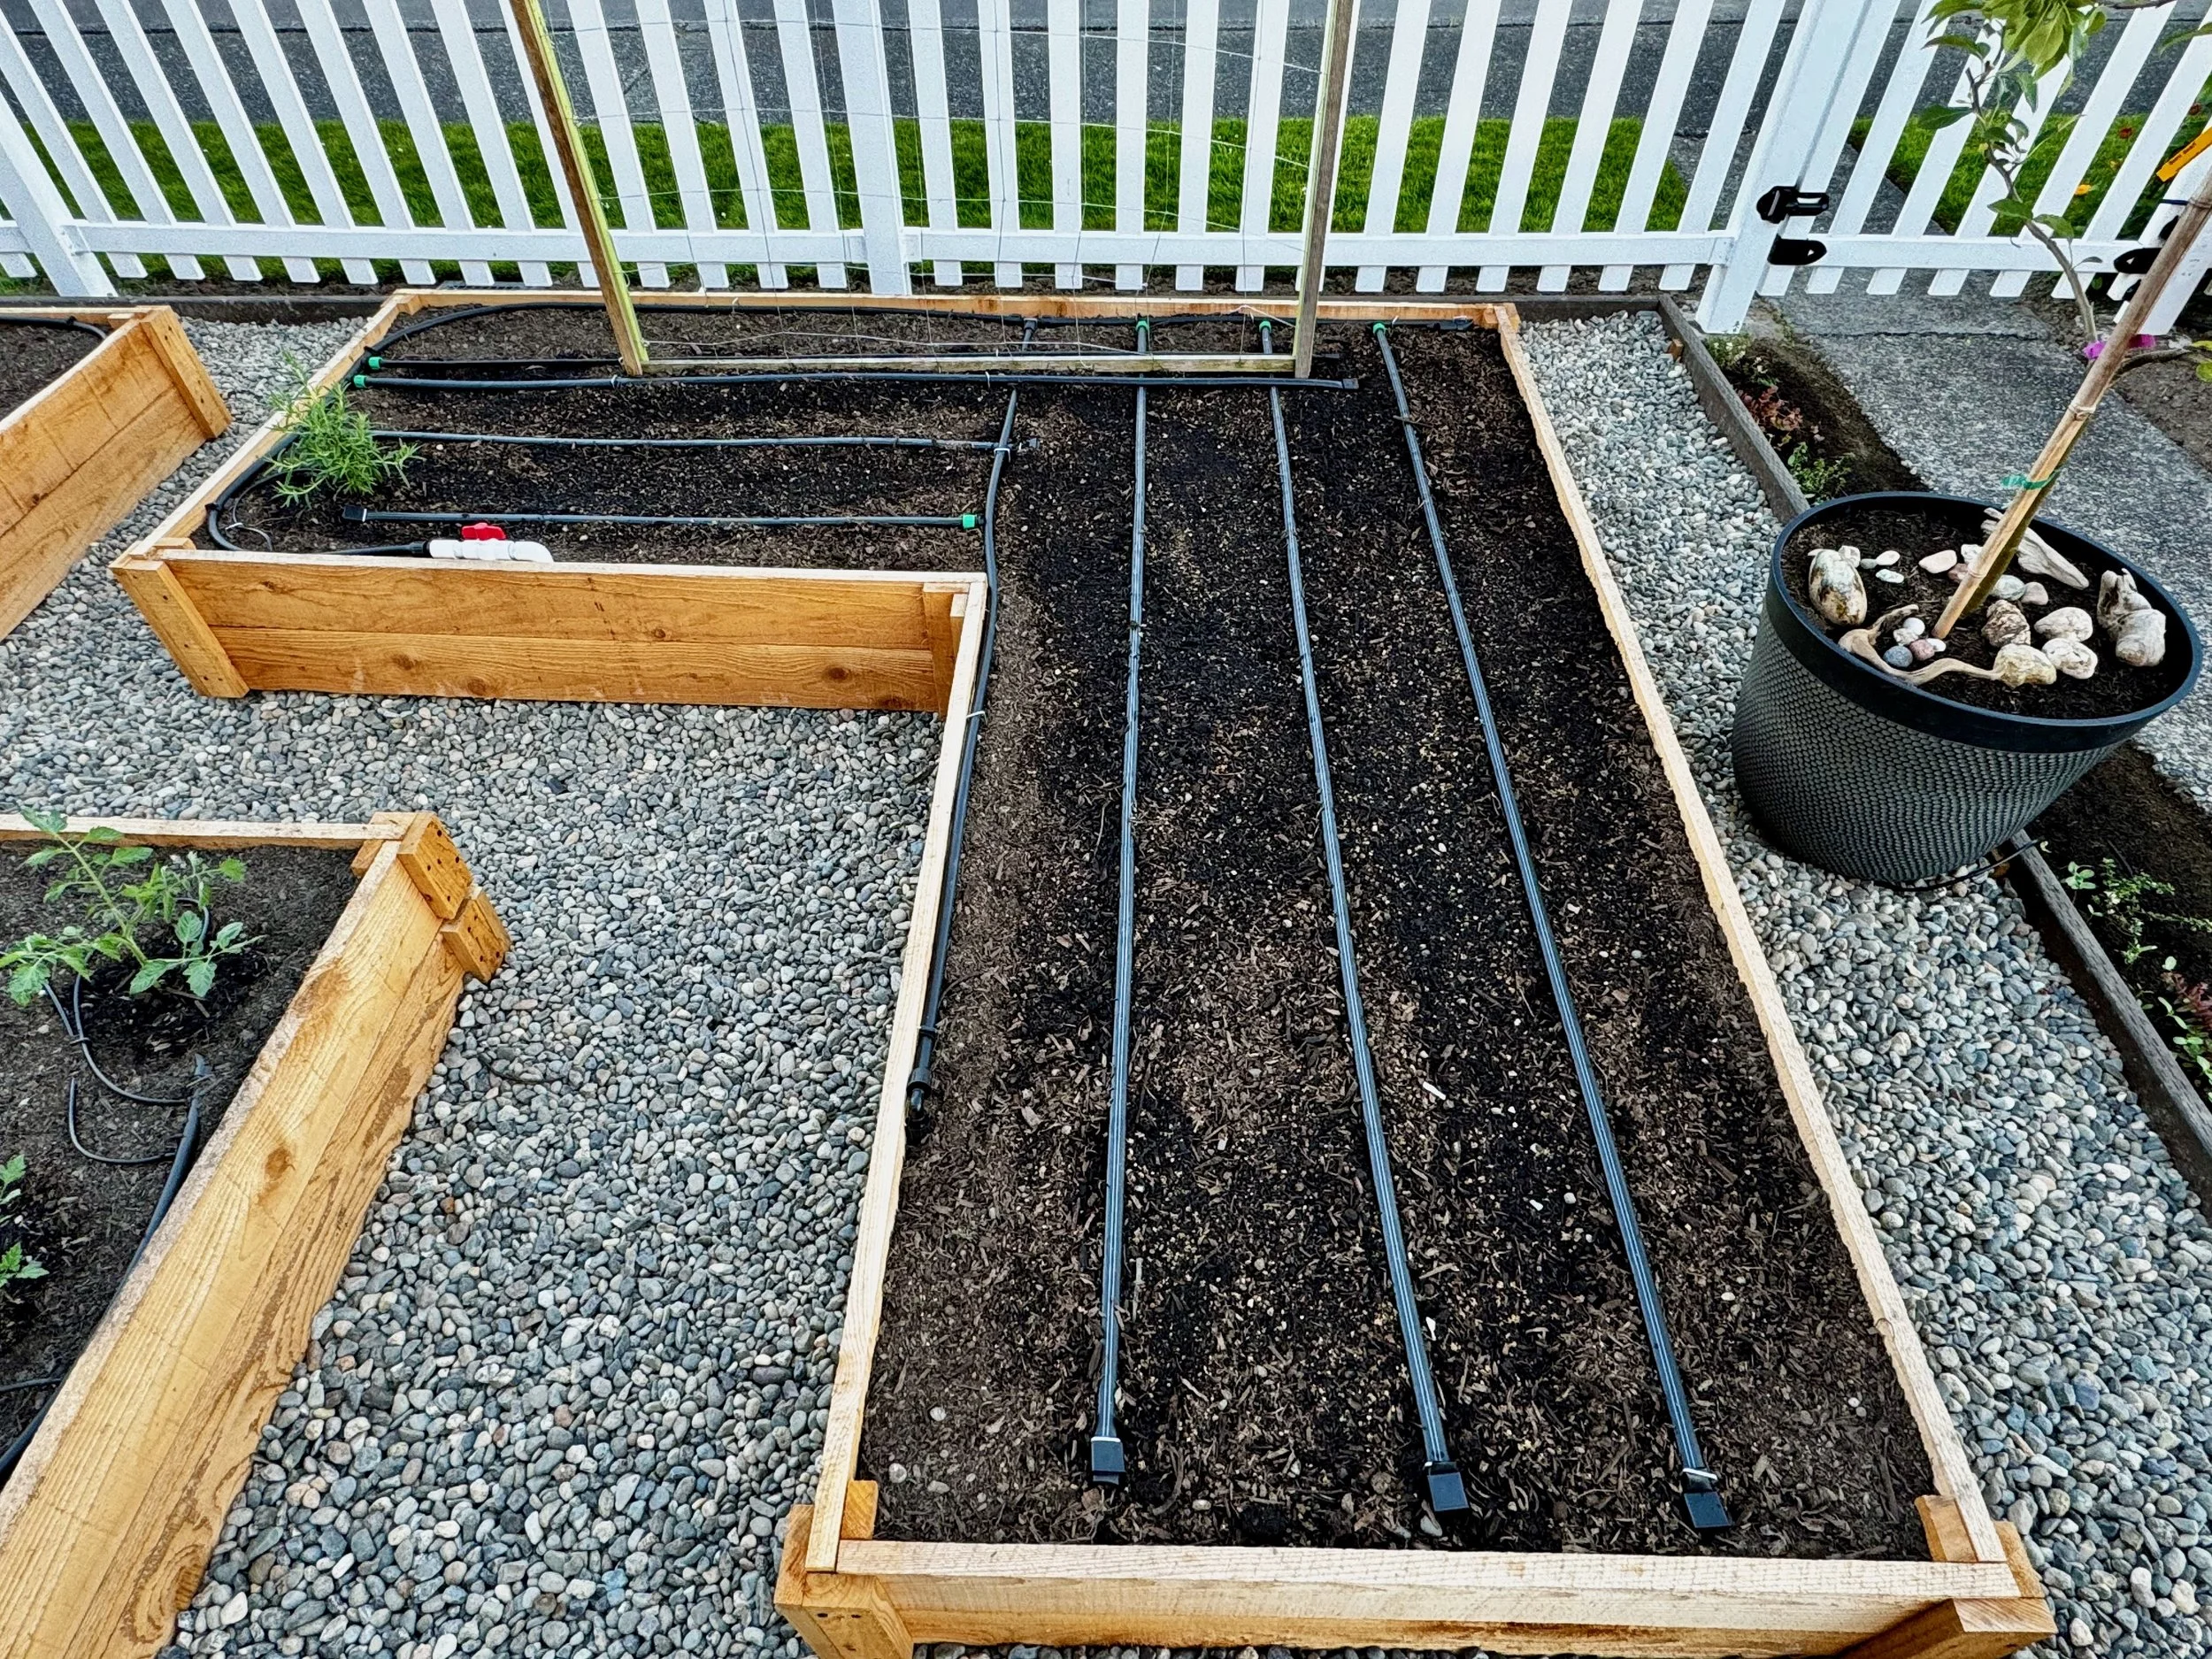
Water is delivered to each bed through 3/4-inch PVC piping. Once inside a bed, the system transitions to 1/2-inch black poly tubing that runs around the perimeter of the planting area. Individual emitters, as well as drip tape, are connected to the mainline using 1/4-inch tubing. This setup provides excellent flexibility and allows water to be delivered directly to the root zone where it is needed most.
One of the biggest advantages of this system is its adaptability. As crops rotate from season to season, emitters and drip tape can be easily moved, added, or removed to match the planting layout. Whether growing tomatoes one year and lettuce the next, the irrigation system can be quickly adjusted to fit the needs of the crop while minimizing water waste.
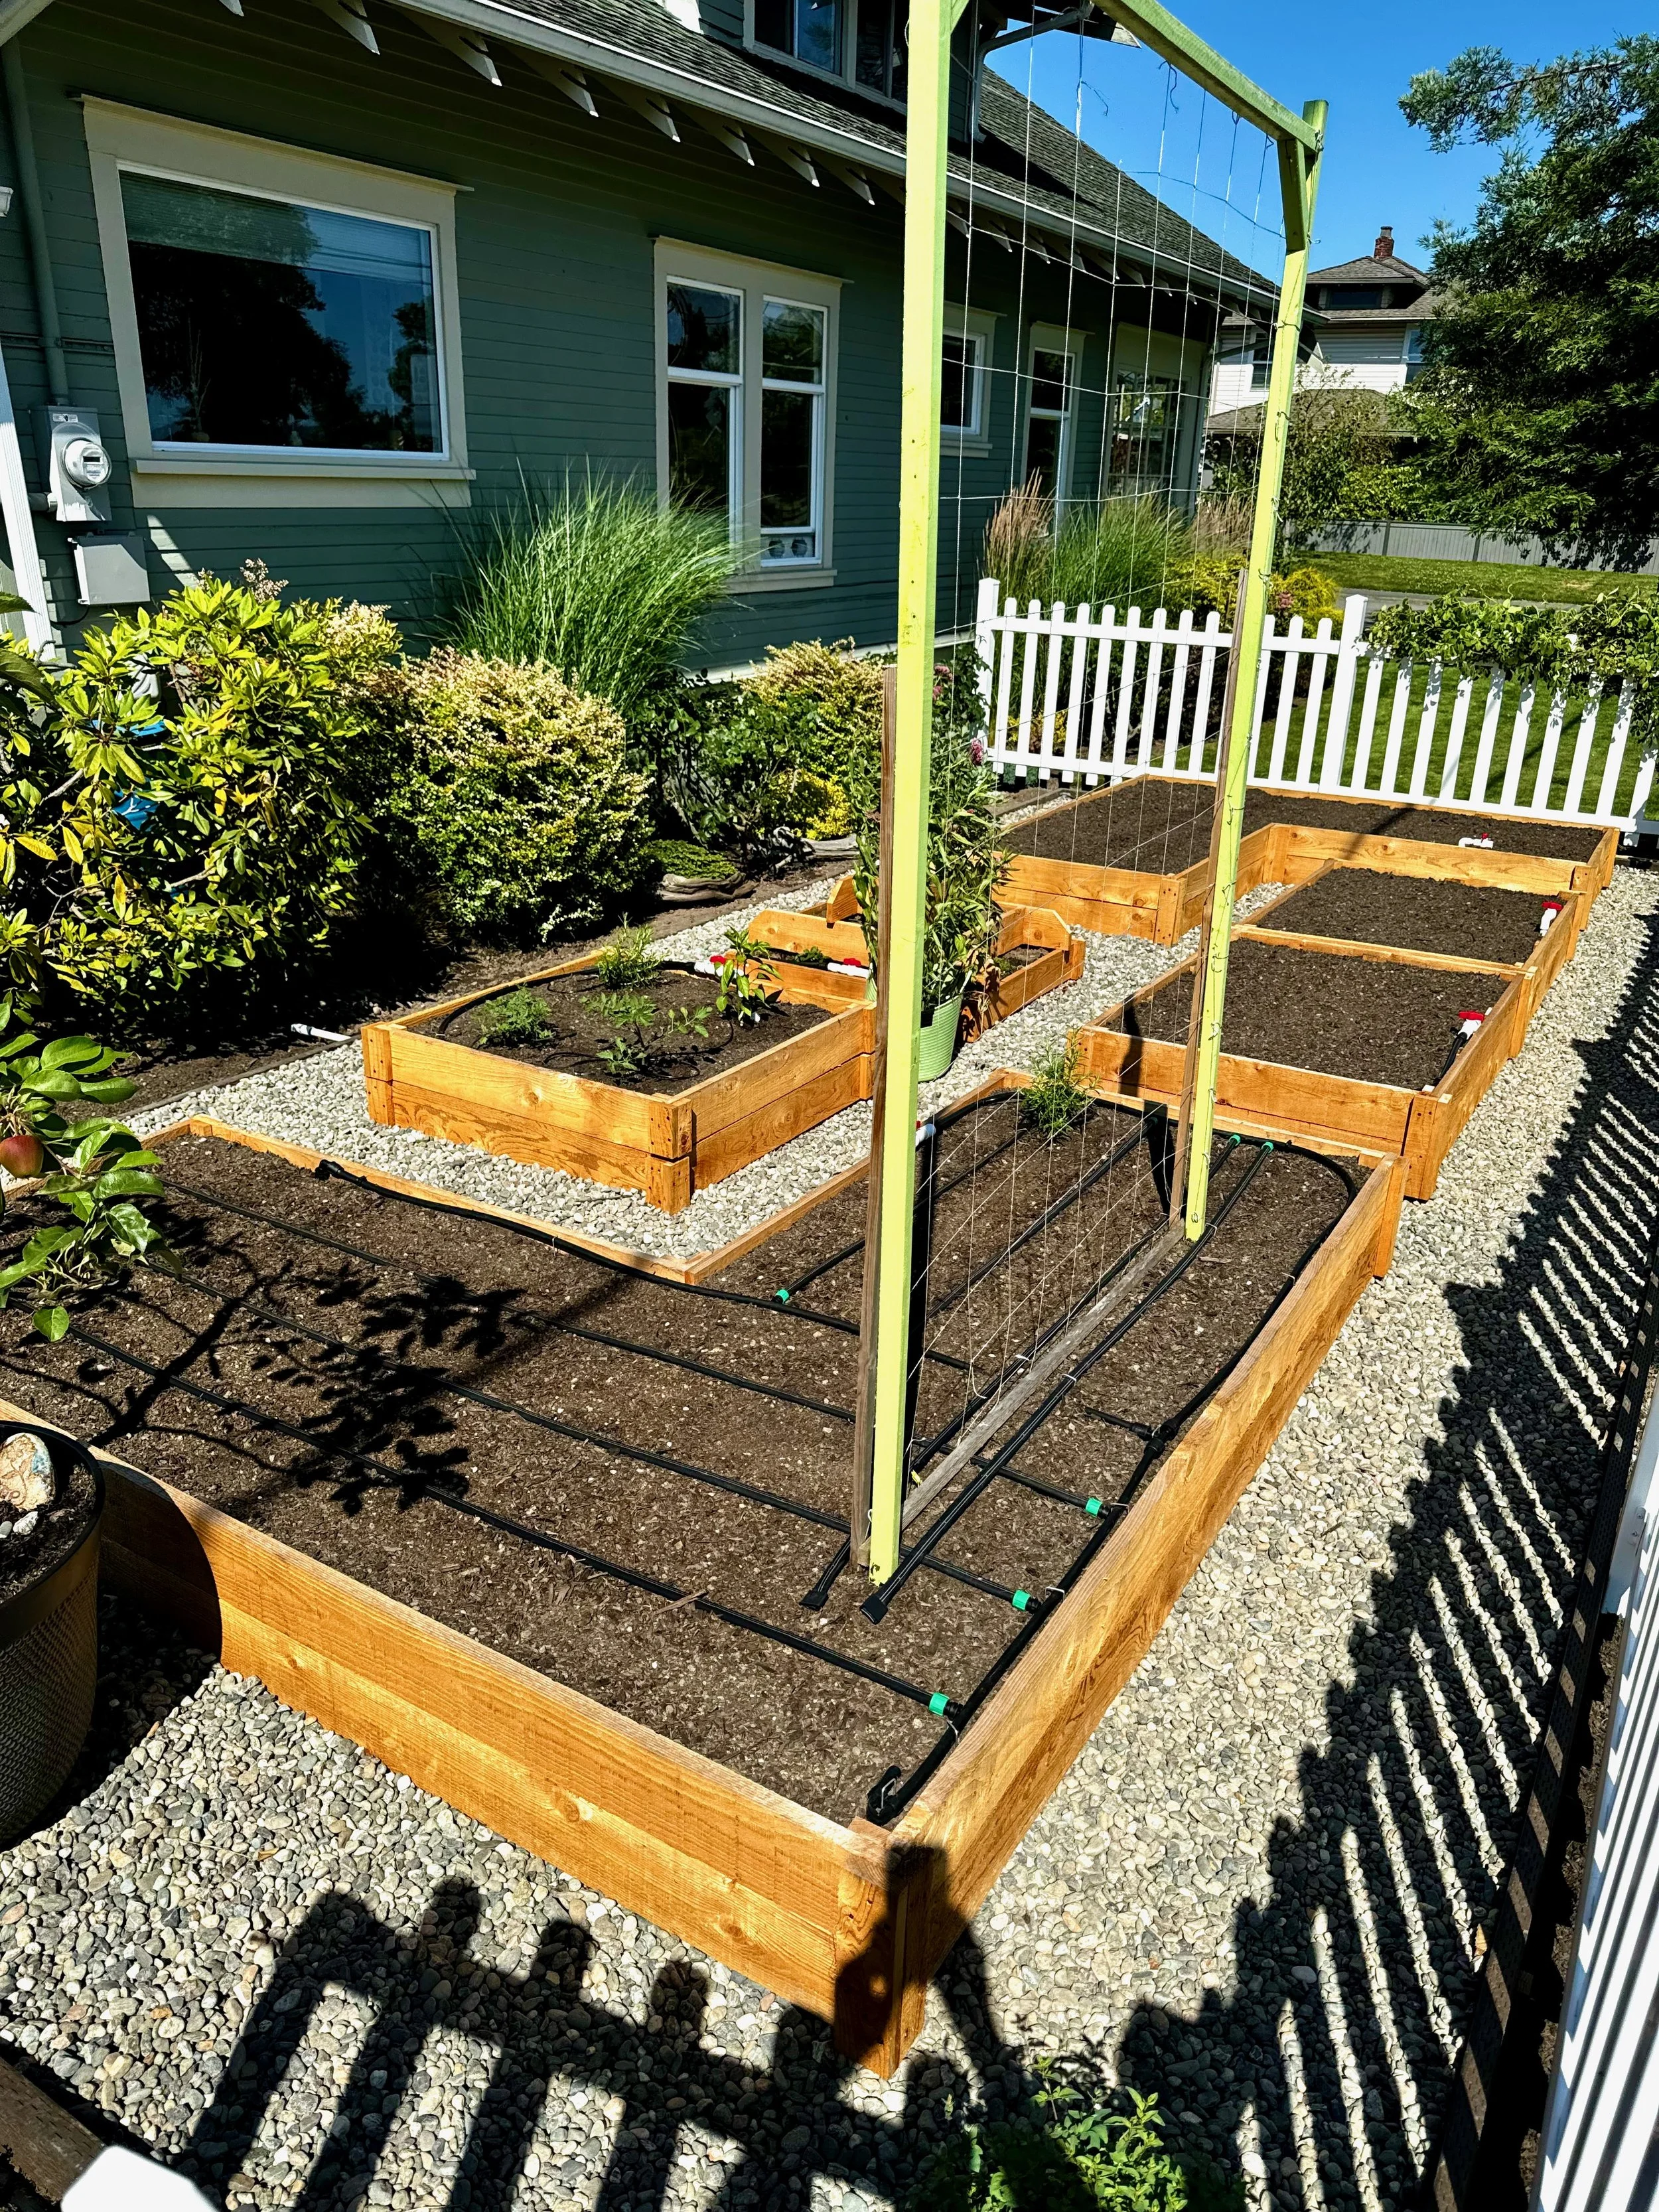
Once the beds were filled, the transformation was complete. What had started as a section of lawn was now a fully functioning raised bed vegetable garden, ready for planting and many seasons of growing ahead.
Irragation supplies: