
Starting Seeds Indoors in the Pacific Northwest
Living in the Pacific Northwest, our springs tend to be cool and damp, which isn’t always ideal for starting many types of seeds outdoors. To get a jump on the growing season, I usually start most of my seeds indoors by mid-April. Over the years, I’ve found that this method produces the best results.
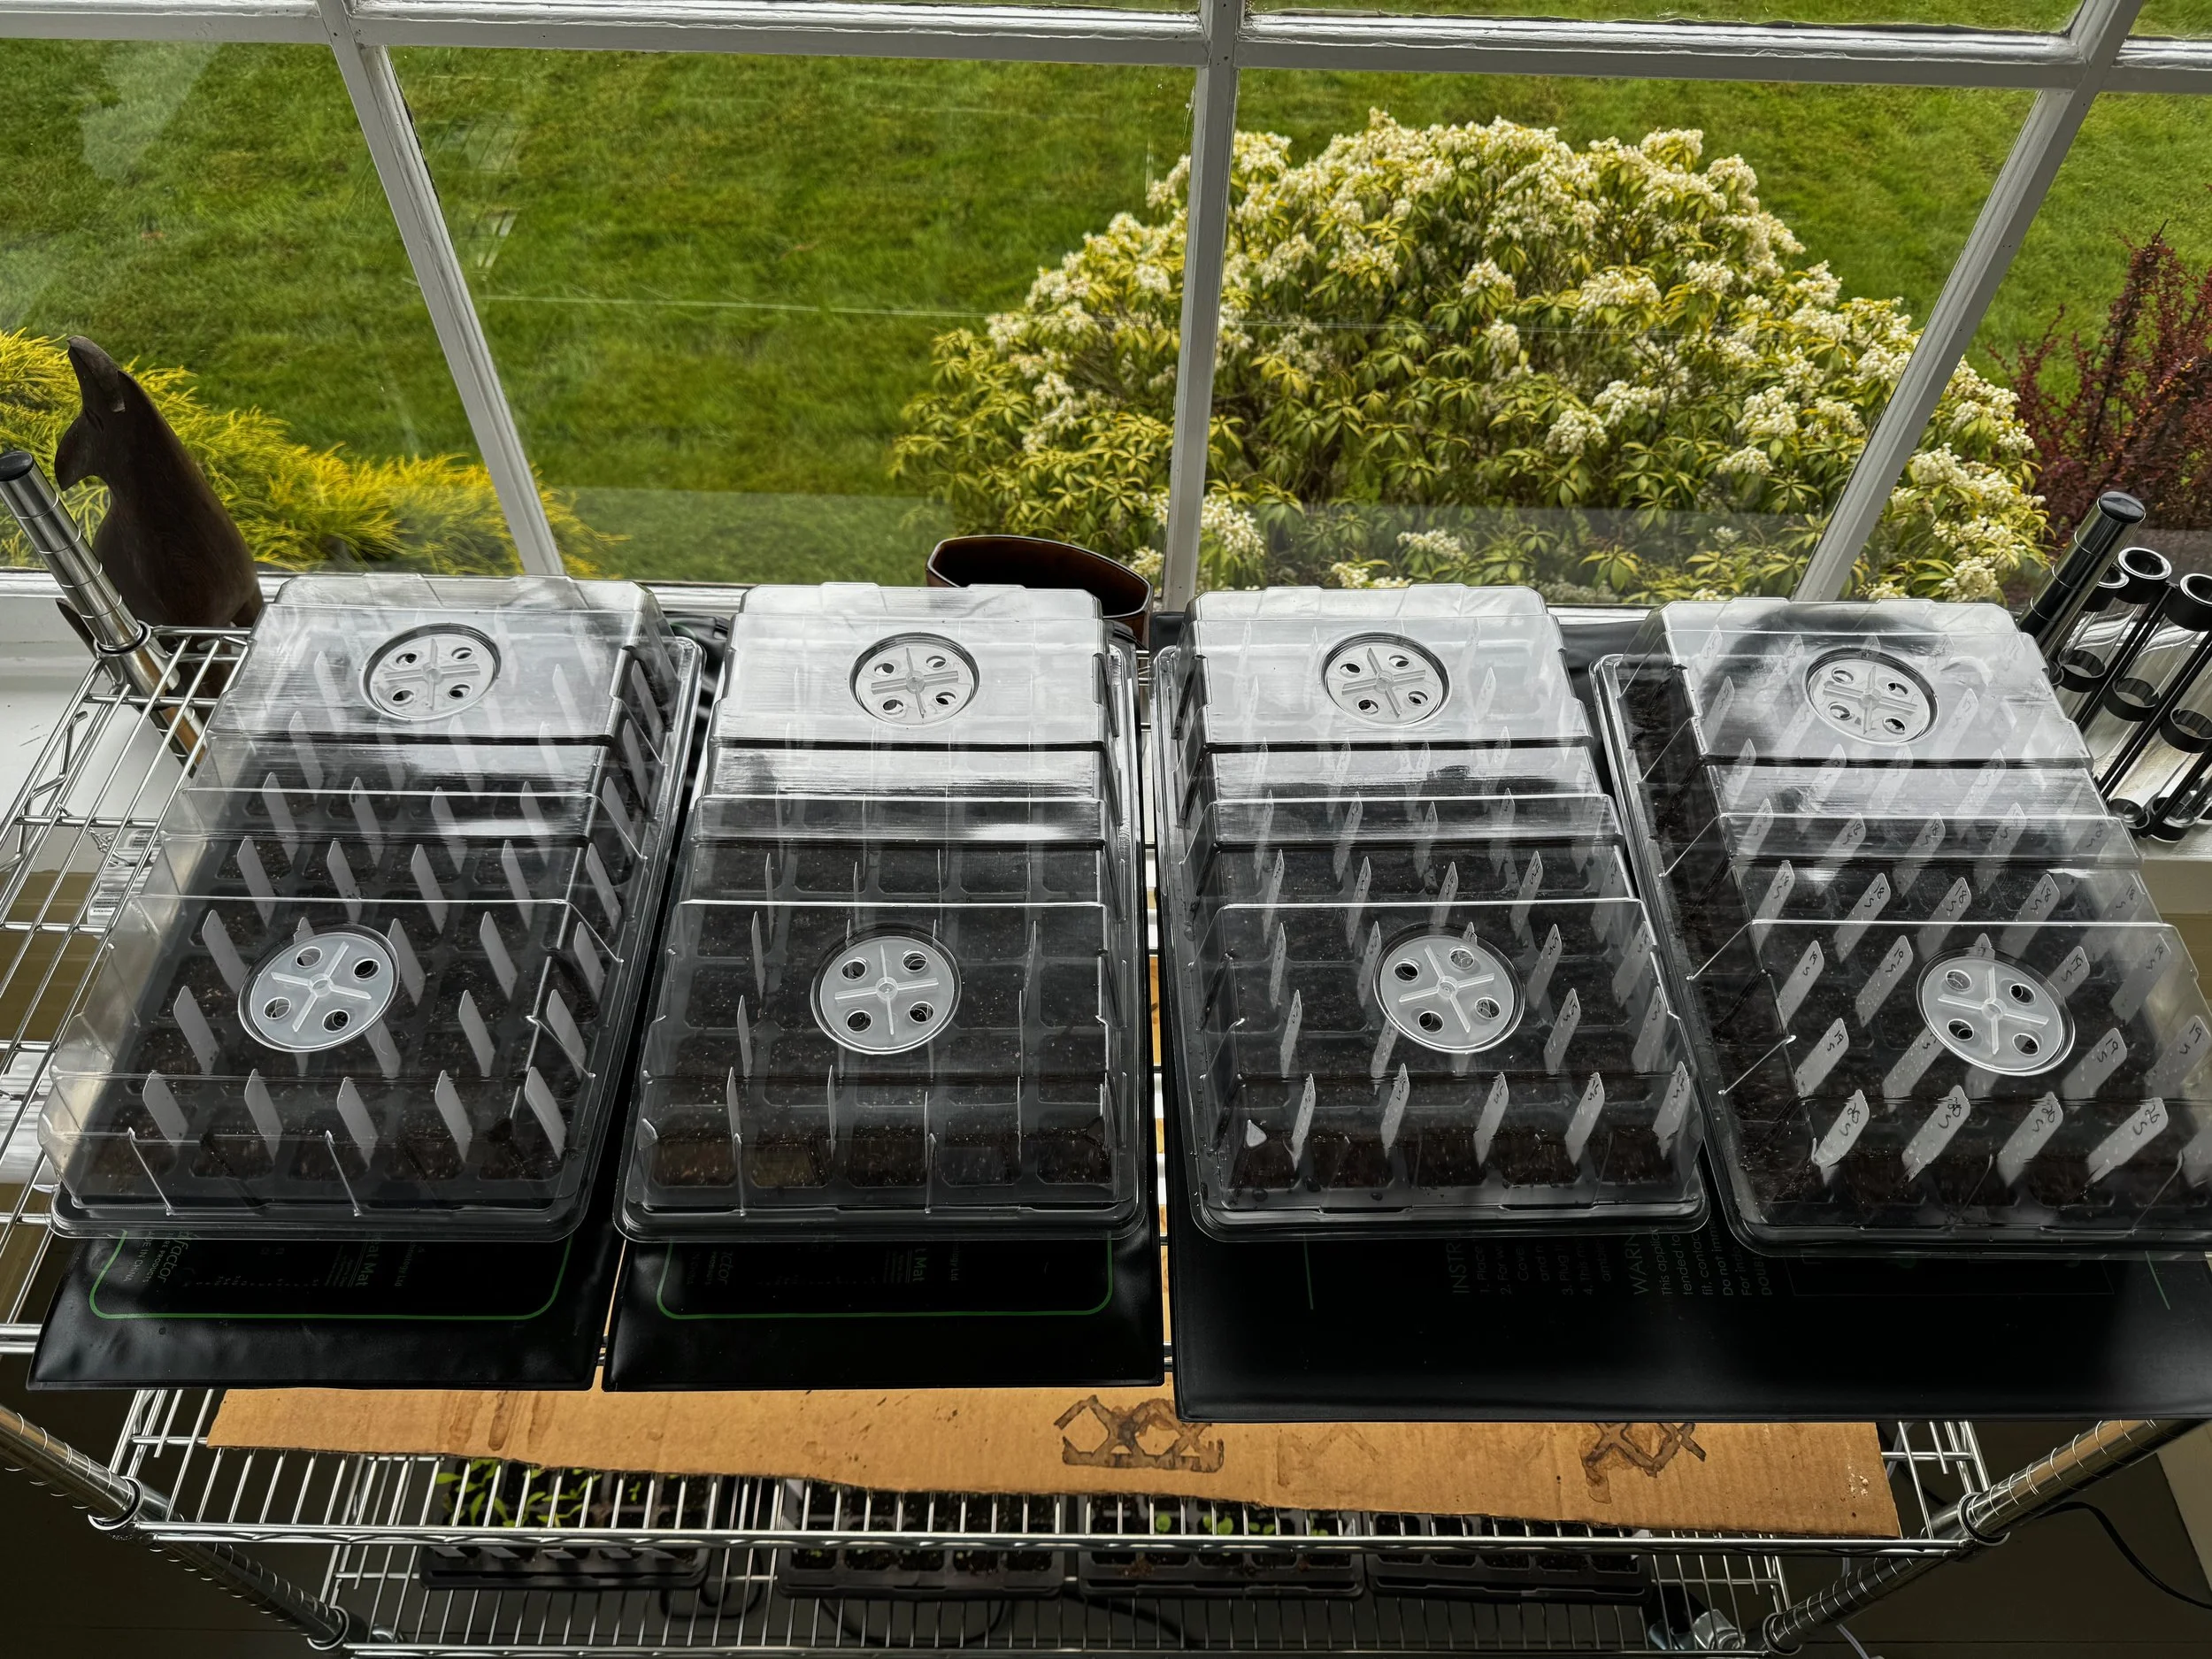
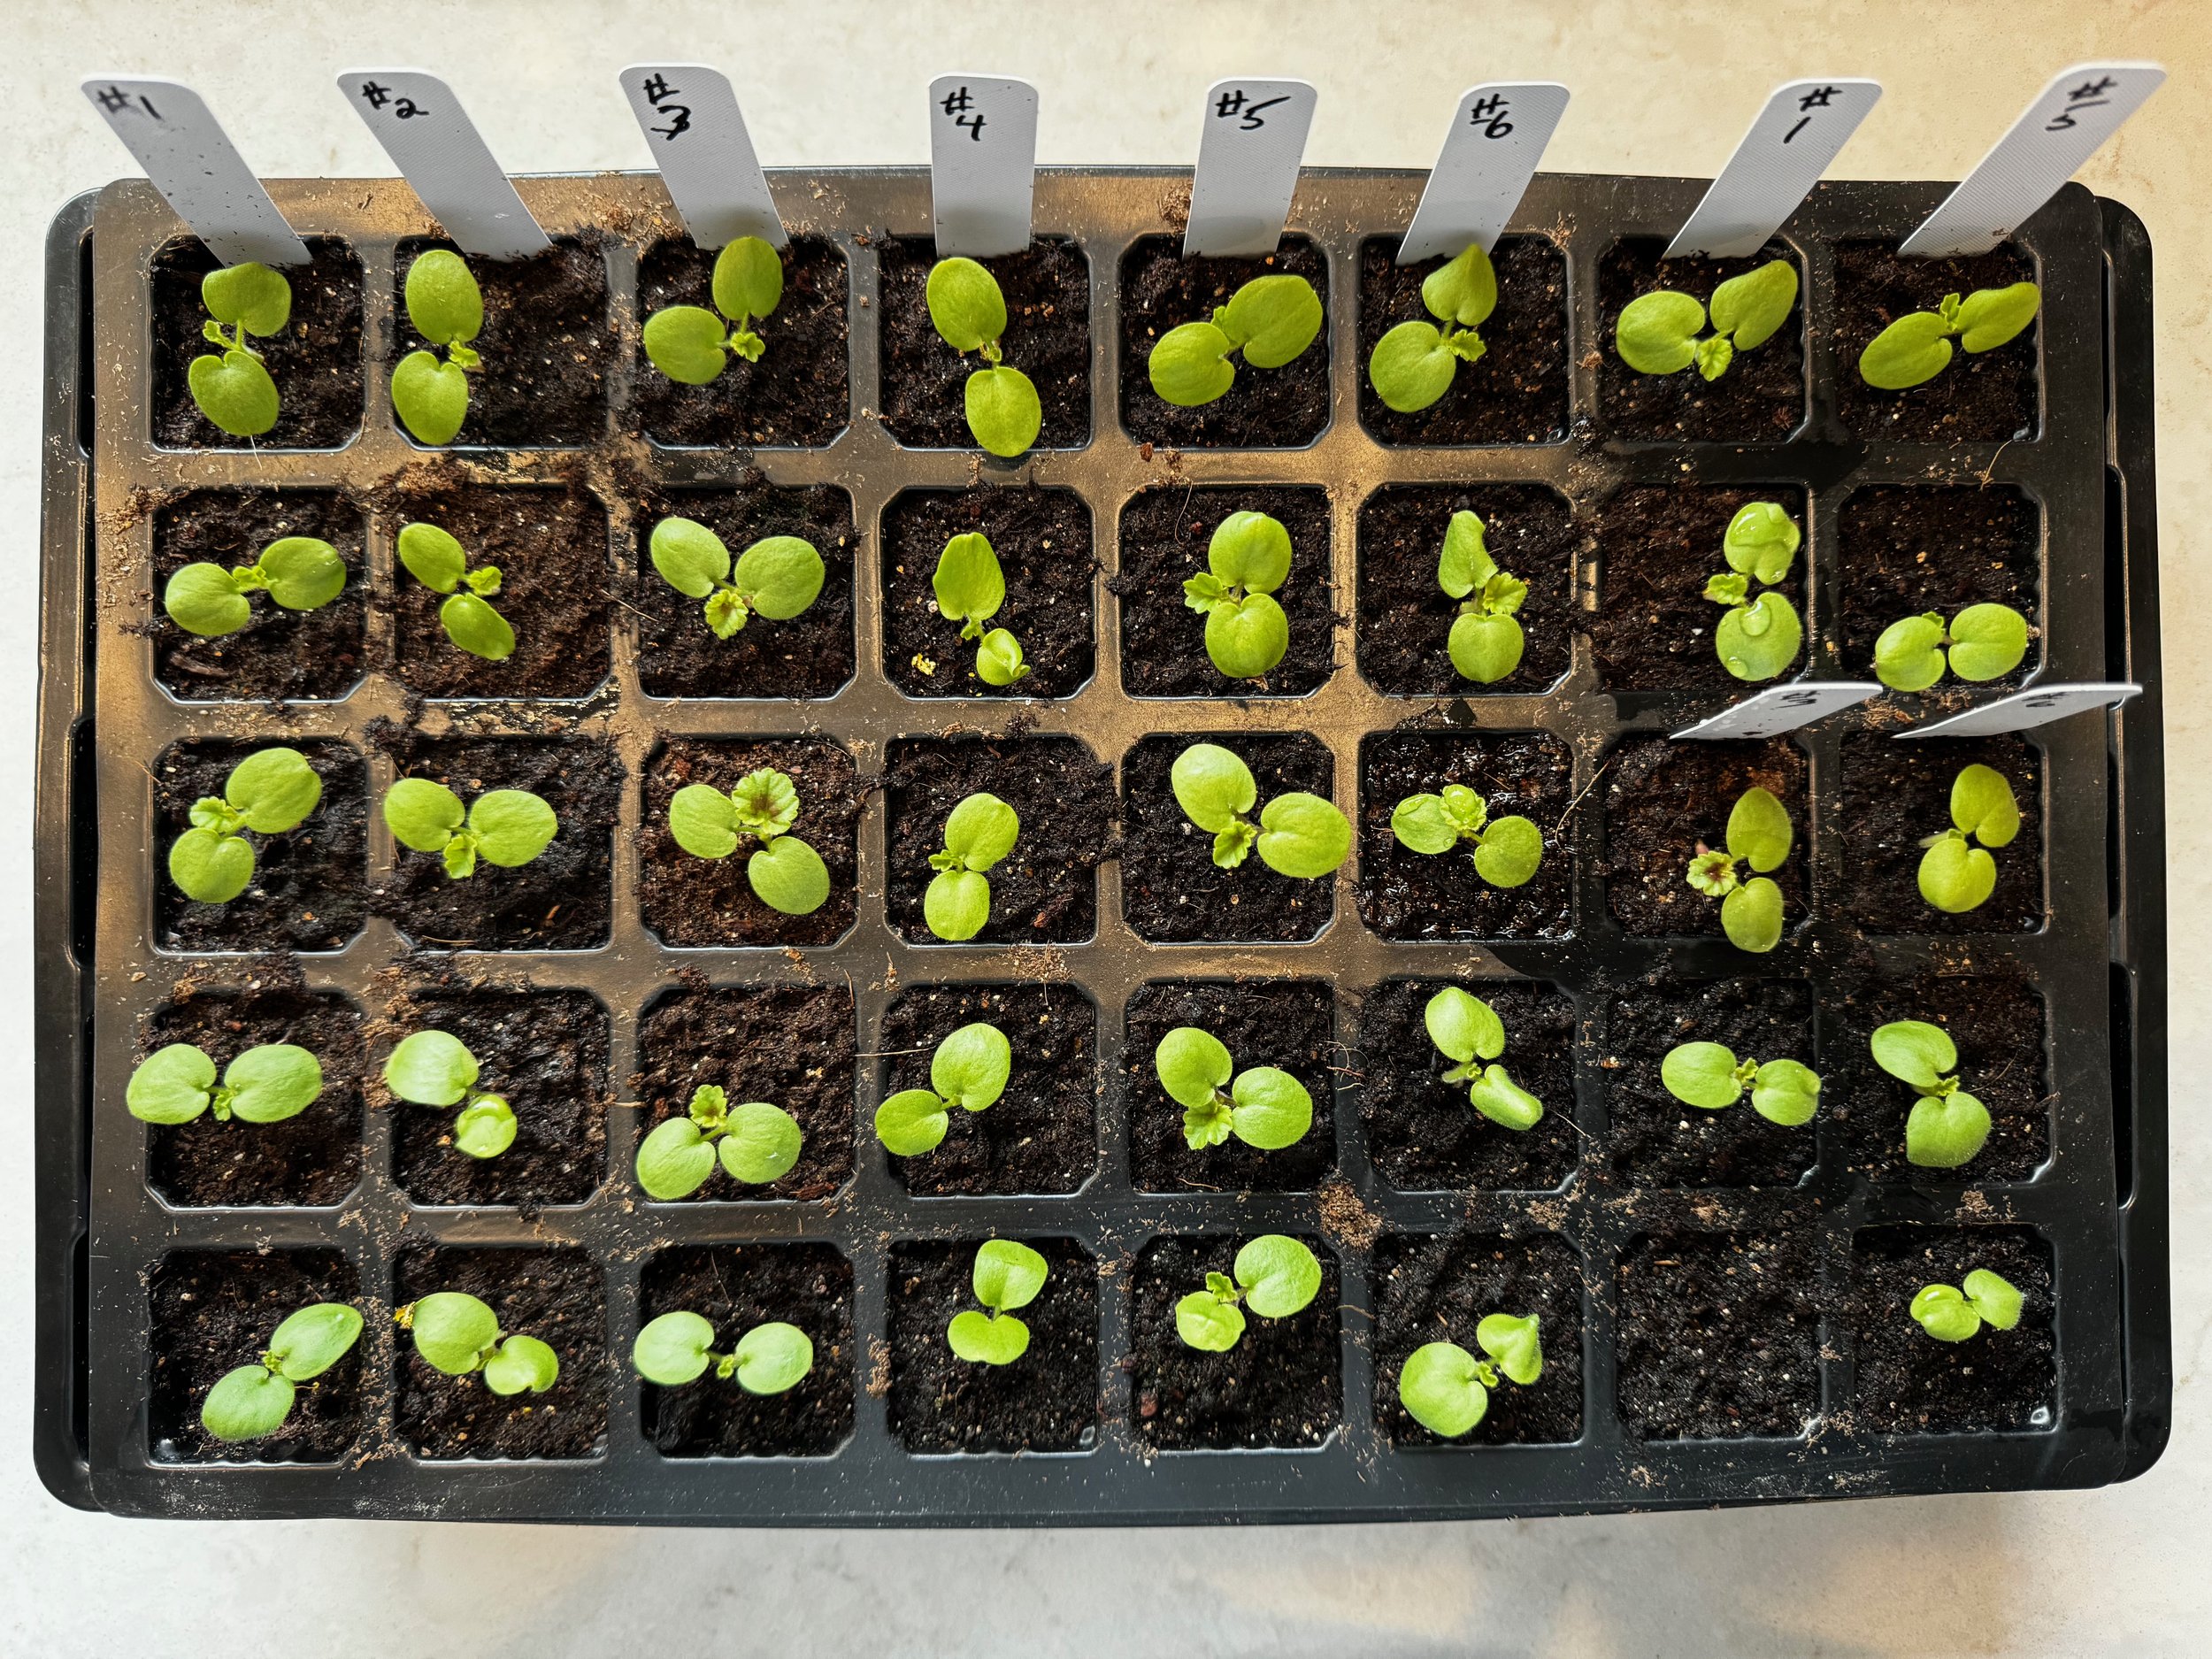
I use a seed-starting tray kit with a 40-cell insert tray. It’s a simple and reliable way to start seeds or root cuttings. The cells have drain holes in the bottom to help prevent overwatering, and the clear humidity dome makes it easy to monitor germination and moisture levels.
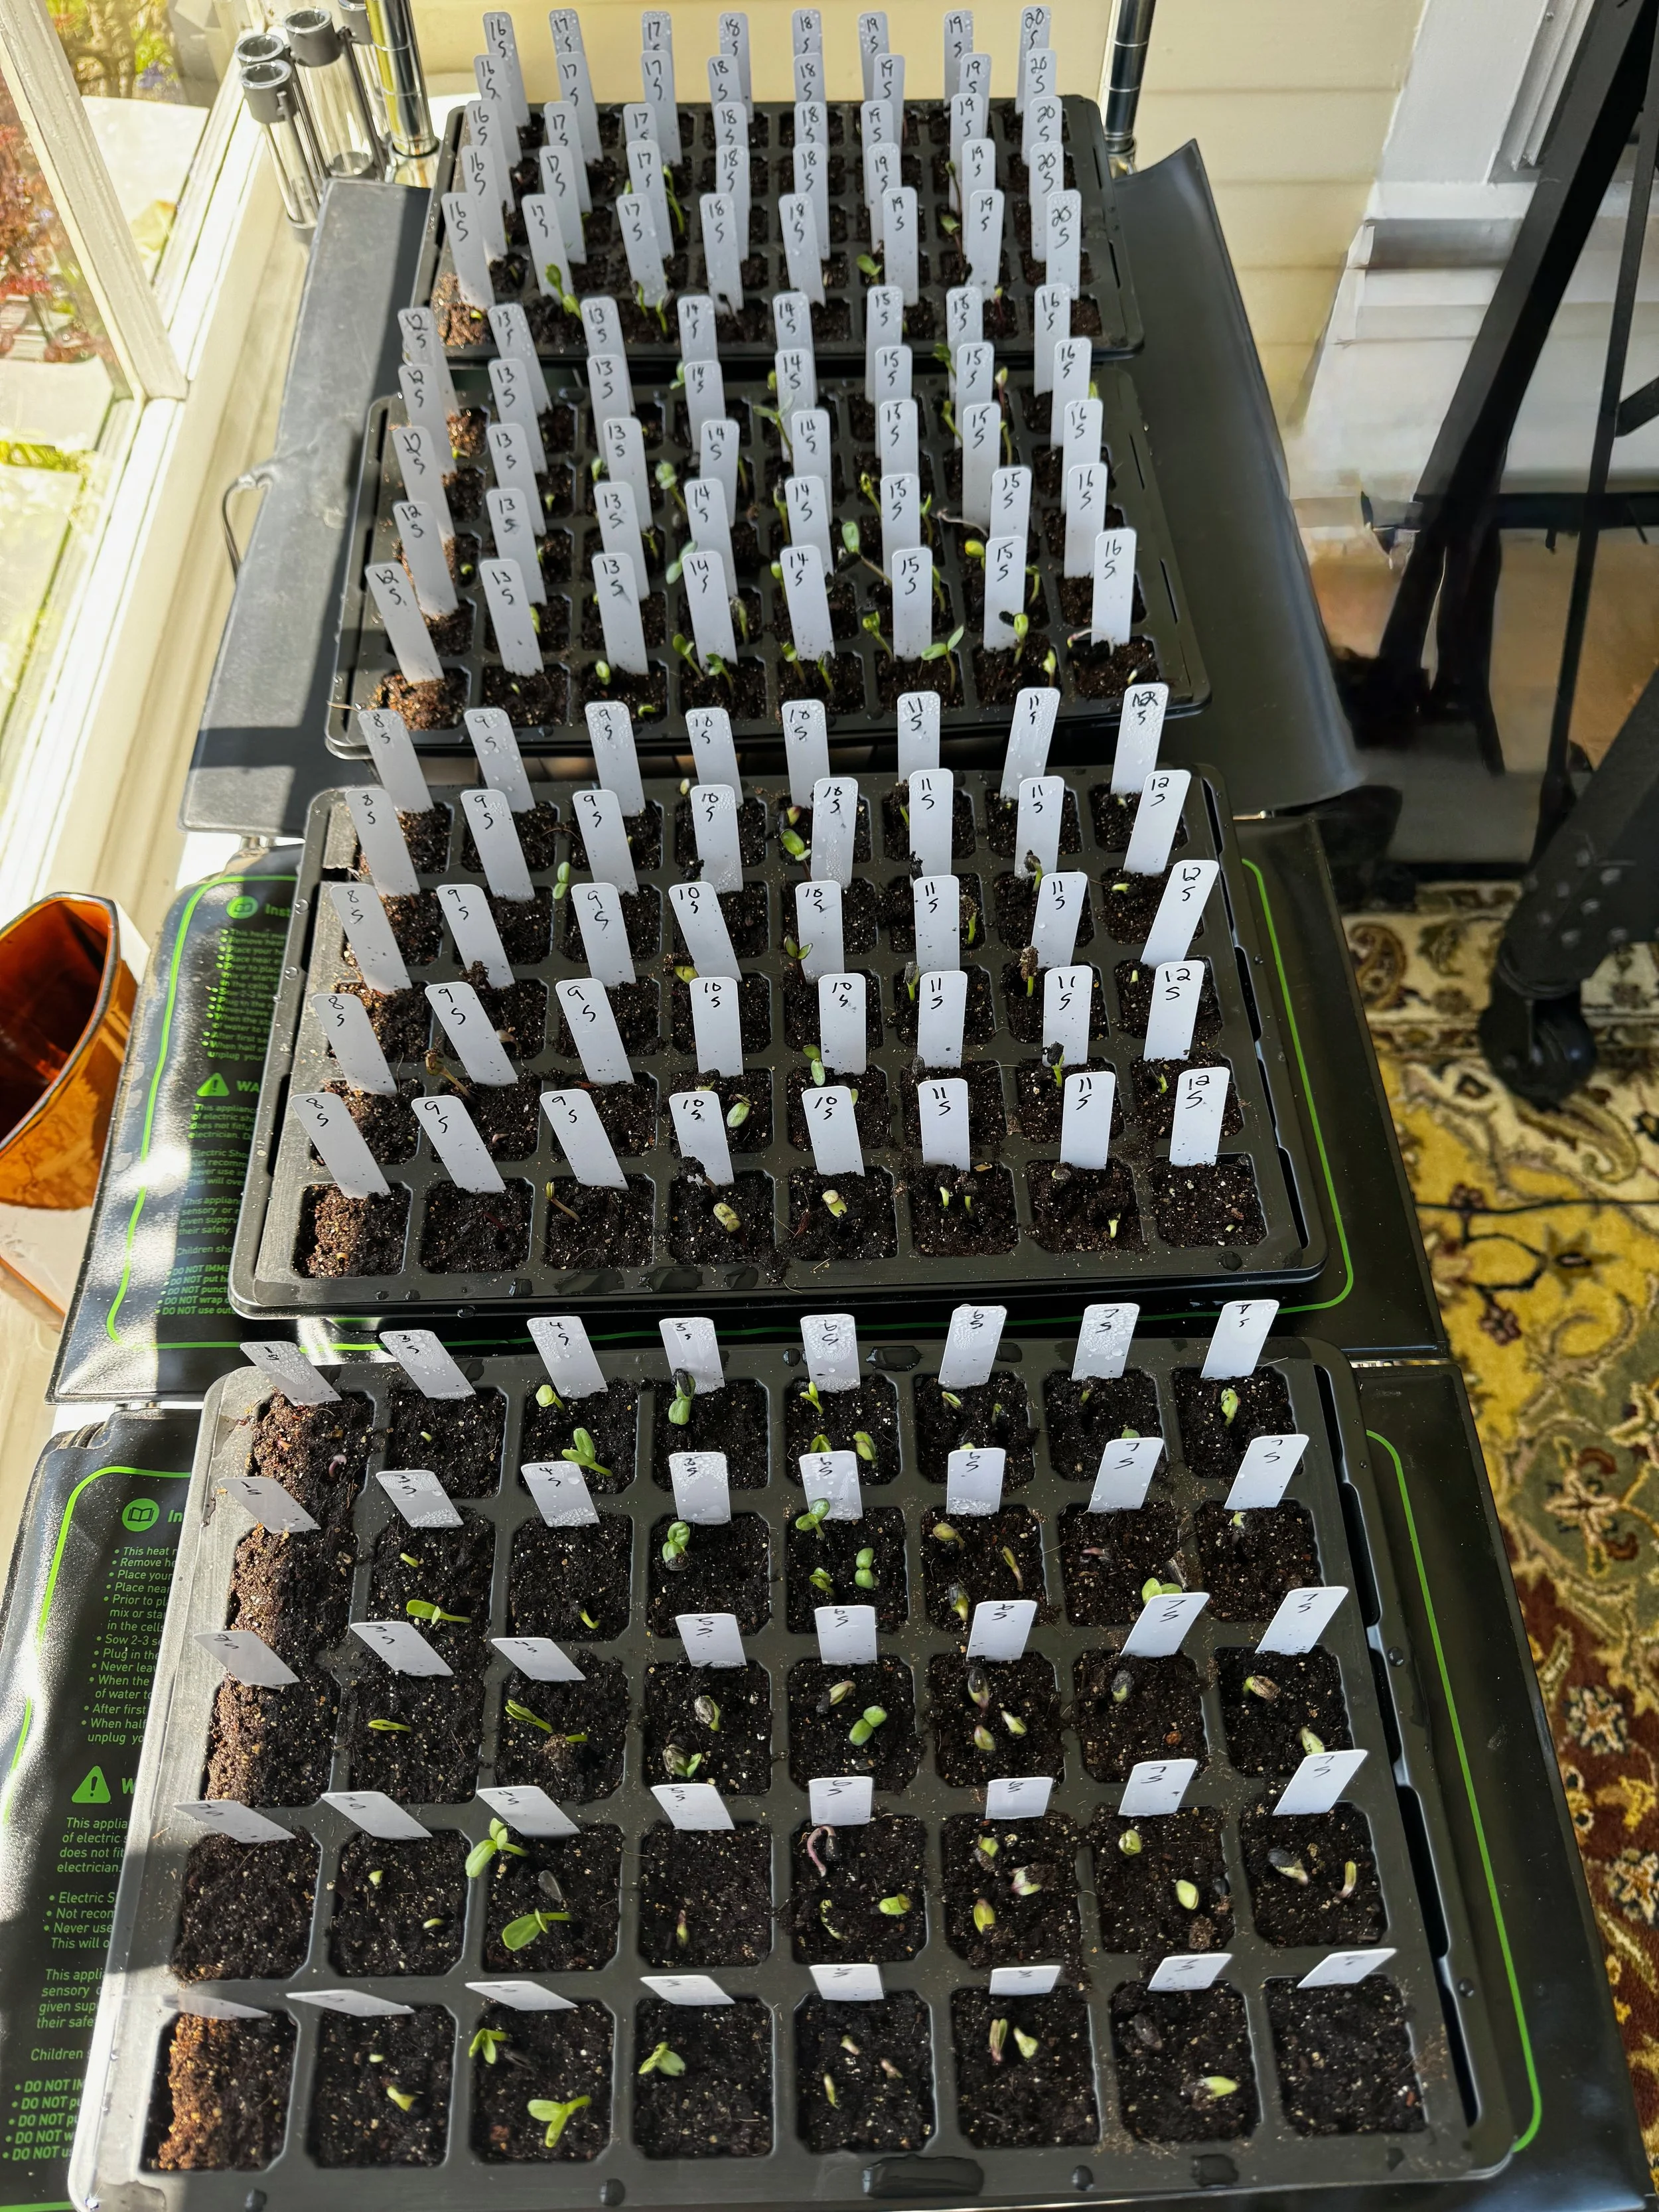
After sowing the seeds, I place the tray on a heat mat. Depending on the variety, most seeds begin to emerge within 4 to 10 days. Once about 50% of the seeds have germinated, I remove the heat mat and allow the seedlings to continue growing at room temperature.
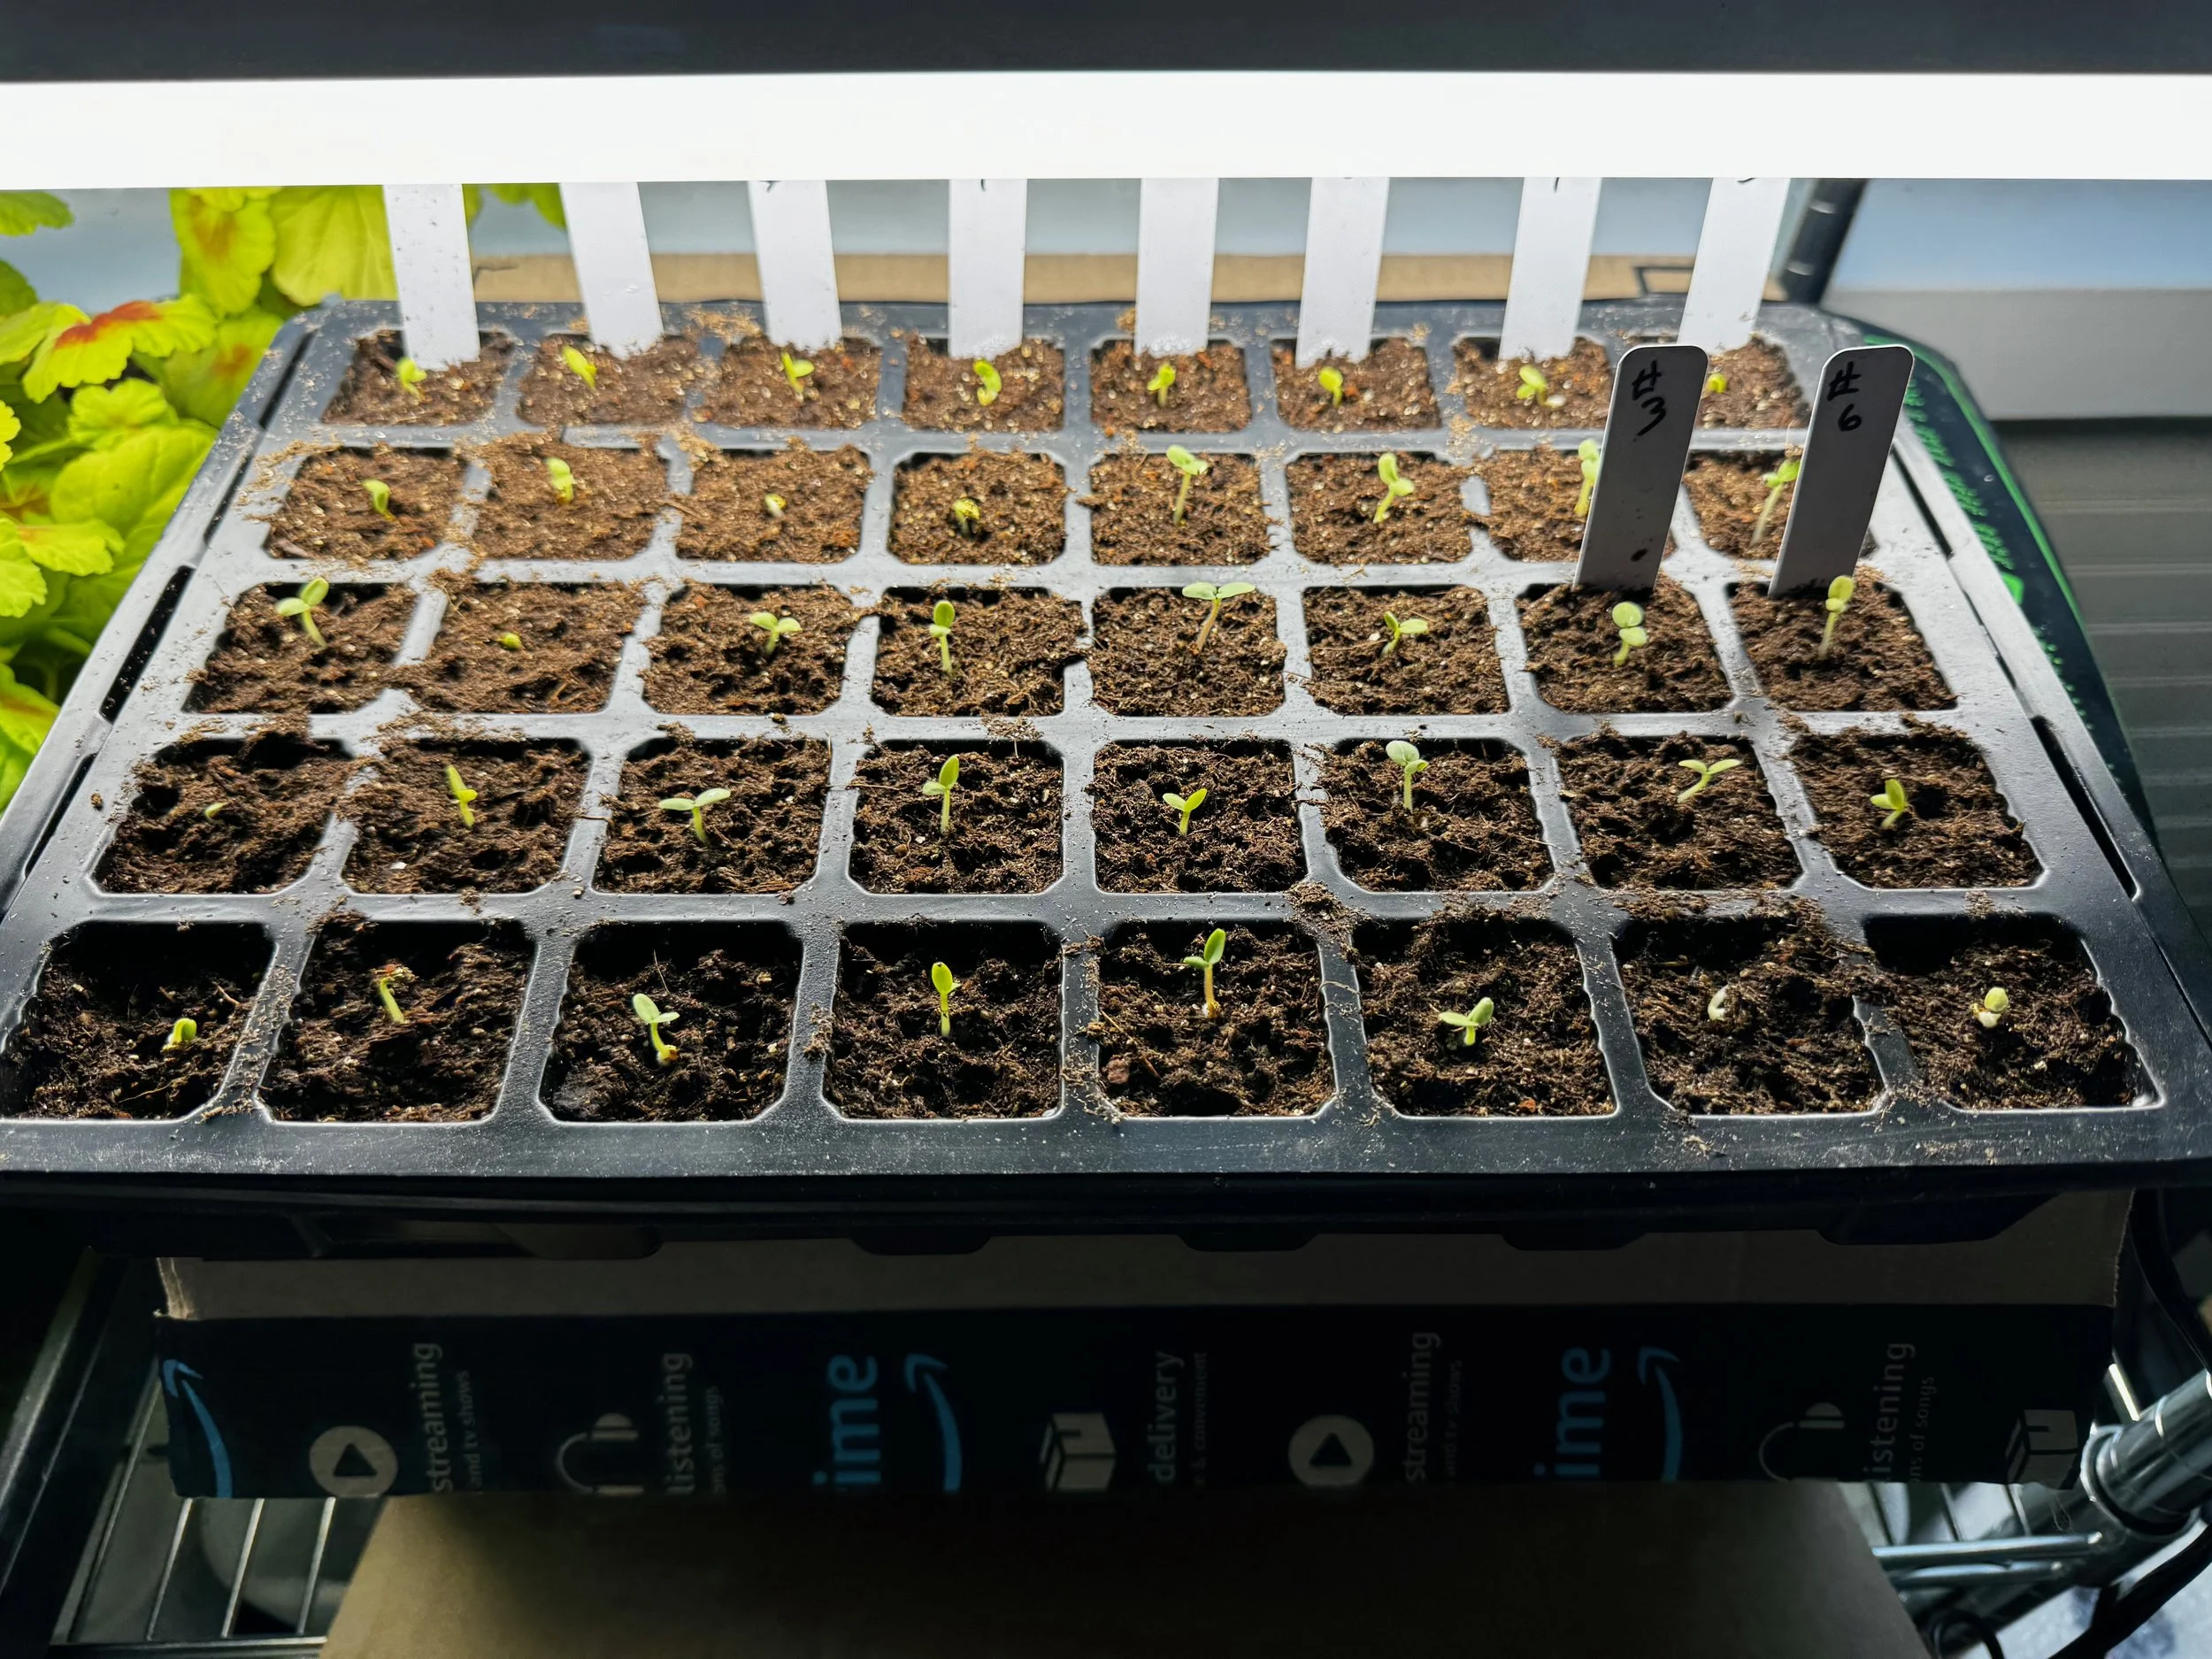
To improve my chances of success, I usually plant two or three seeds in each cell. After the seedlings develop their first true leaves, I select the strongest plant and remove the others.
When starting seeds early in the season, I keep the trays in a heated part of the house, or at least in an area where temperatures stay above 40°F. Once the seedlings are actively growing, I remove the humidity dome to increase air circulation and help prevent damping-off and other moisture-related problems.
Using this method has given me consistently good results and allows me to get a head start on the gardening season before our Pacific Northwest weather fully cooperates.


Providing Light for Your Seedlings
Once your seedlings emerge, they need plenty of light to grow strong and healthy. Natural sunlight works well if the weather cooperates, but here in the Pacific Northwest, that isn’t always the case. Most years, I rely on supplemental lighting to keep my seedlings growing.
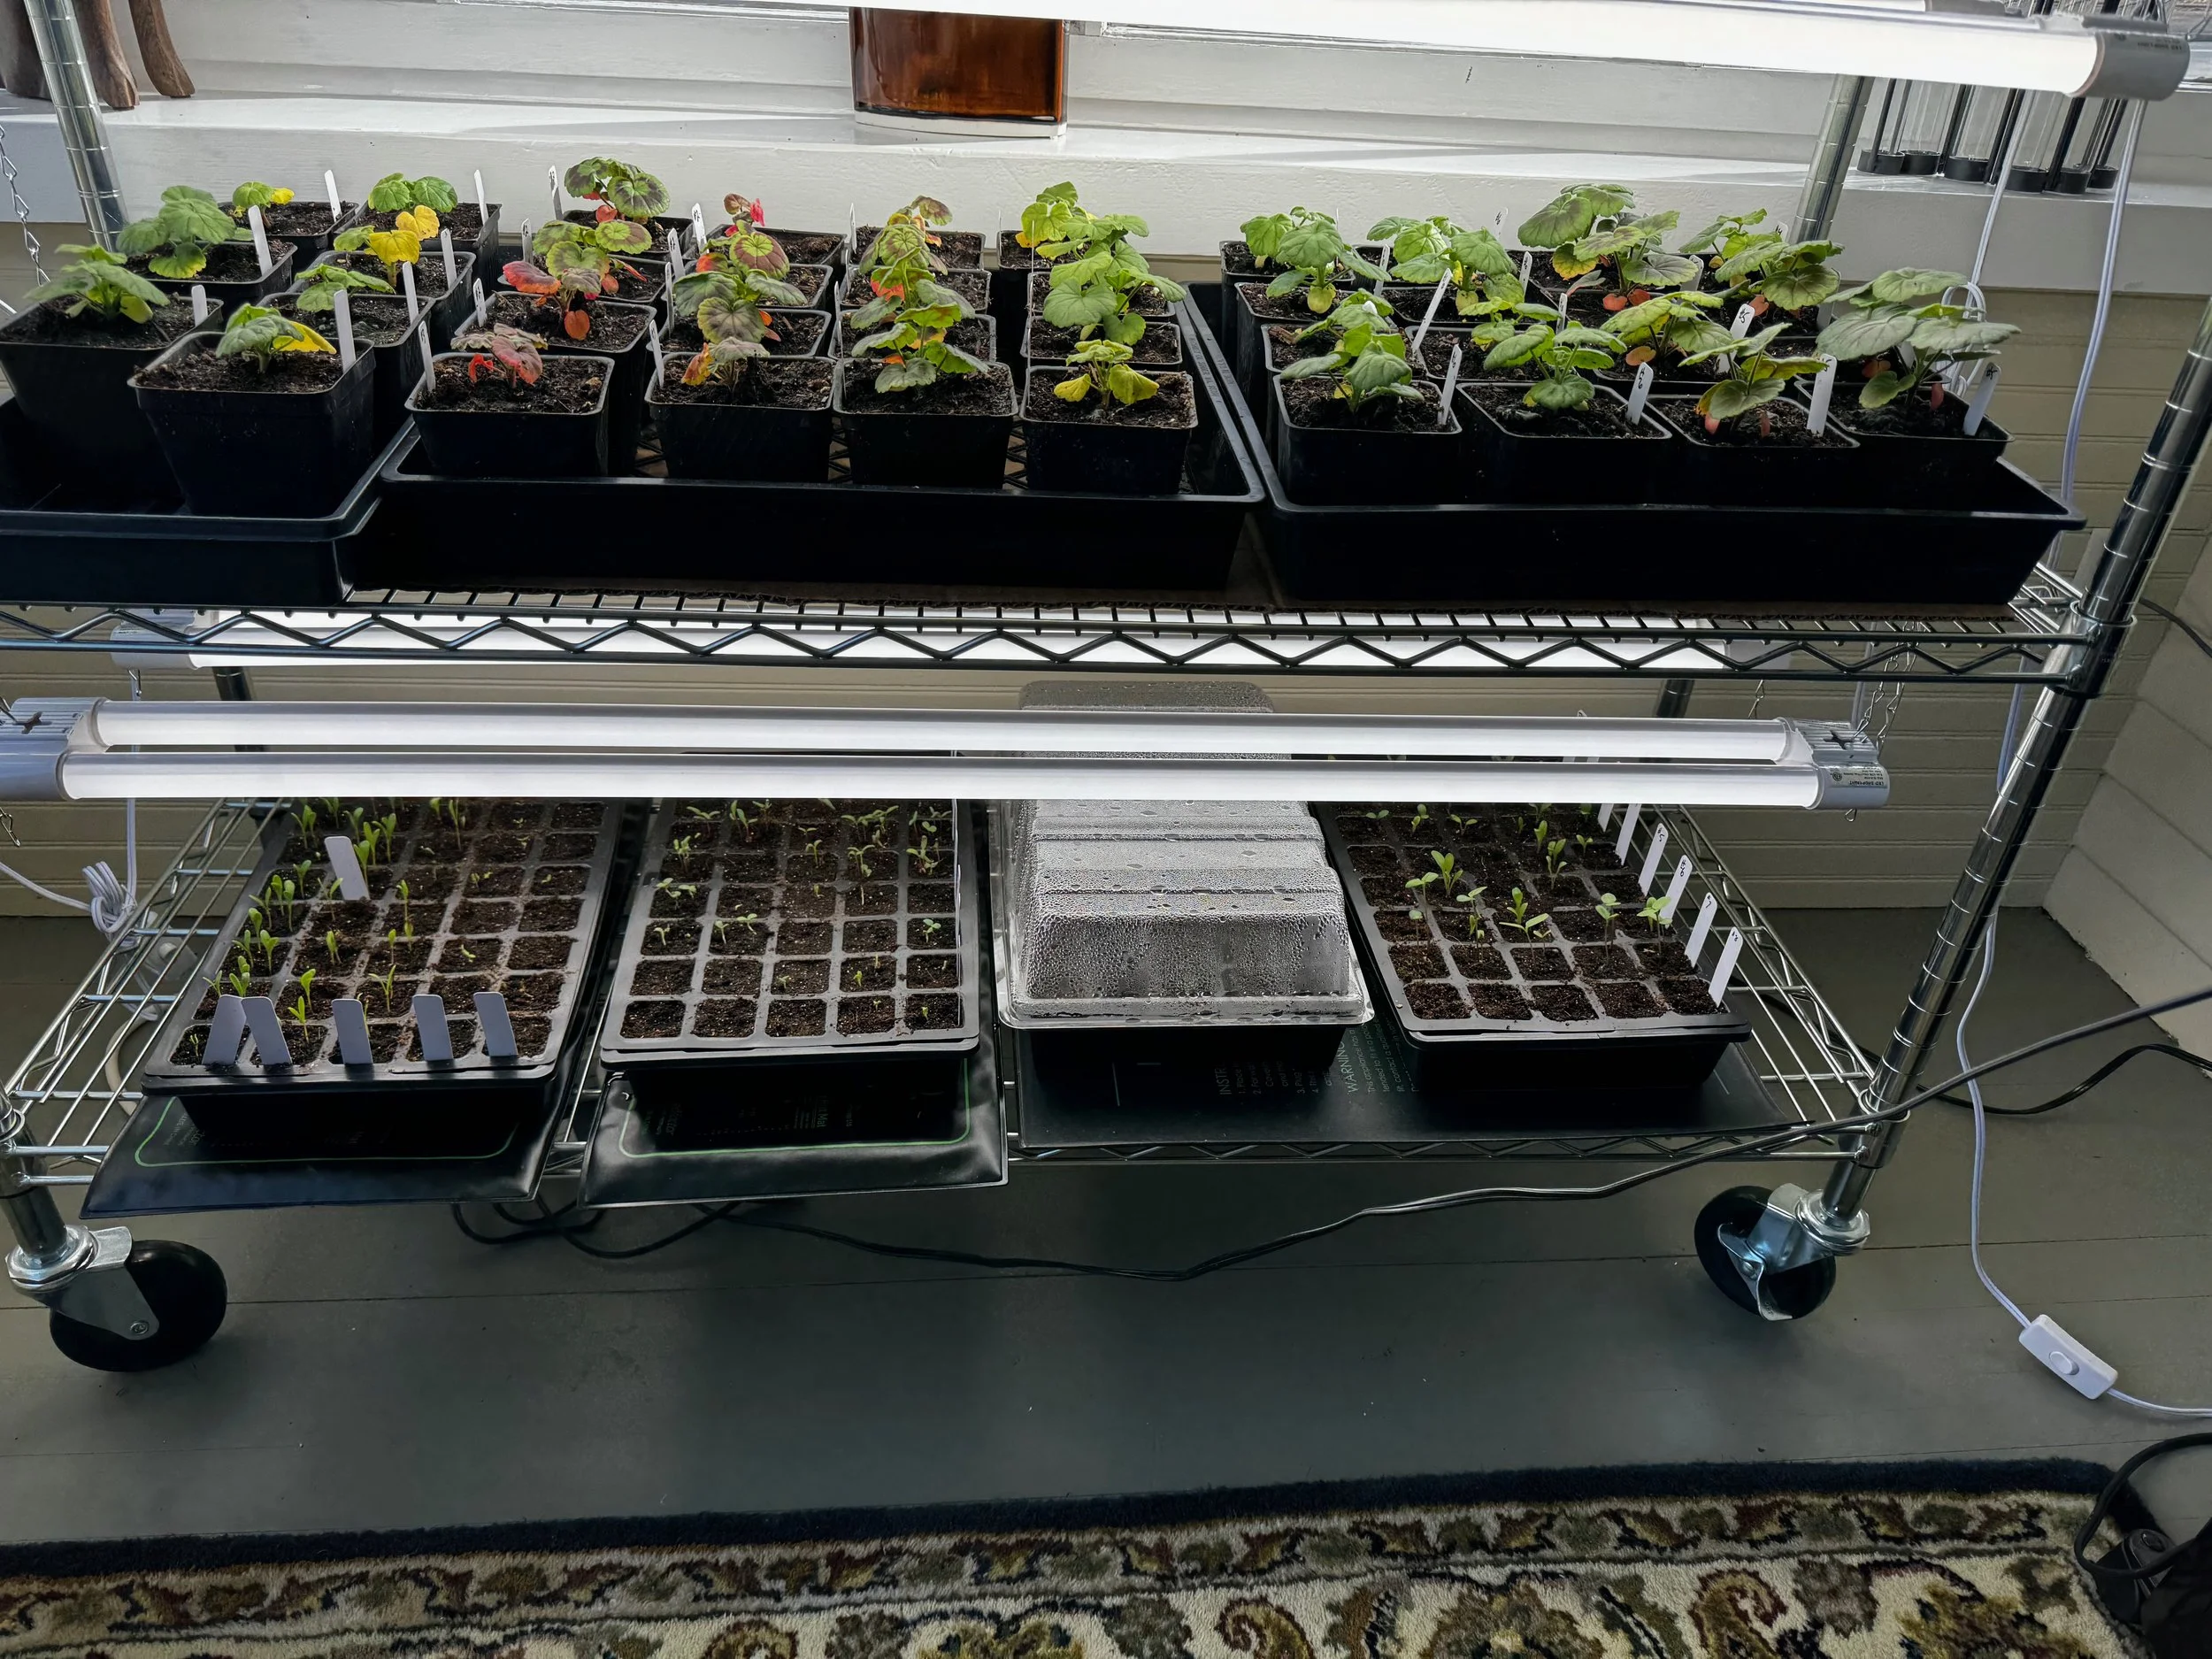
Grow lights can be expensive, but I’ve had excellent results using inexpensive LED shop lights. I suspend the lights about 5 inches above the tops of the seedlings and raise them as the plants grow. Keeping the lights close helps prevent seedlings from becoming tall, weak, and leggy.
I generally leave the lights on for 10 to 12 hours each day. A simple timer makes this easy and ensures the seedlings receive consistent light.
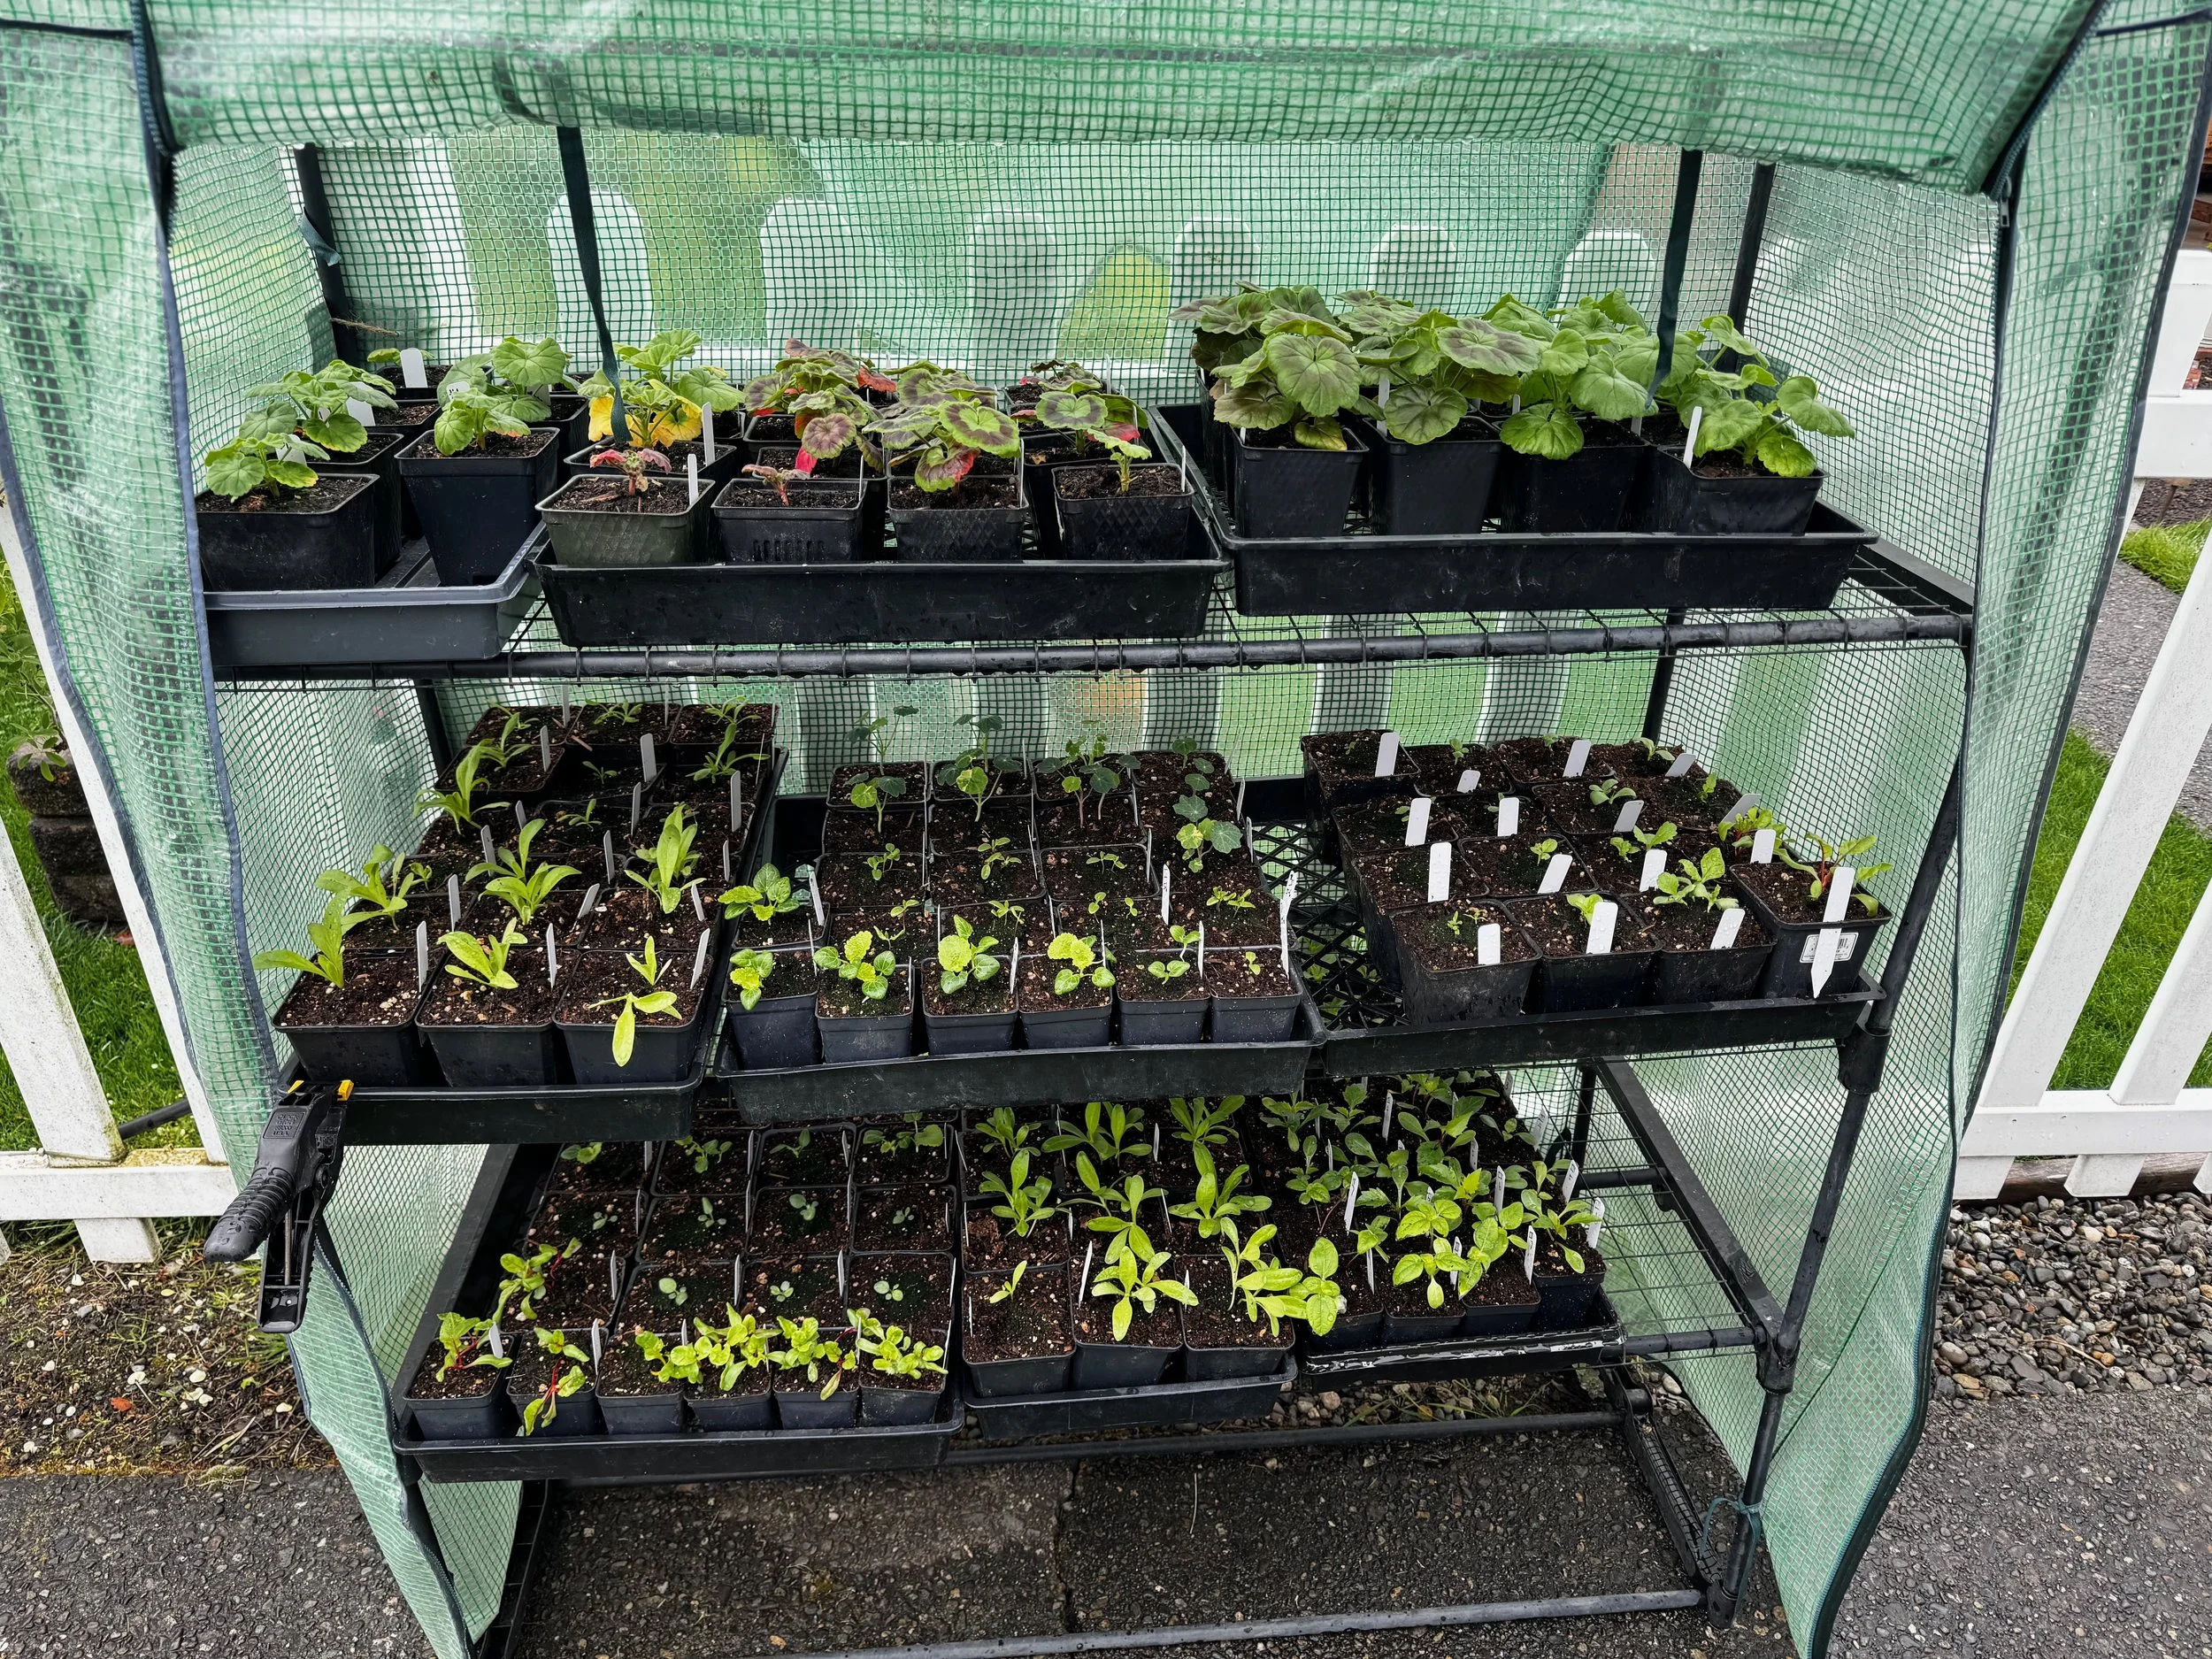
Depending on the variety and the weather, some seedlings can be planted directly into the garden once they have developed their first set of true leaves. Before transplanting, make sure the plants have developed a healthy root system capable of supporting new growth.
If the weather is still cool, wet, or unpredictable, I transplant the seedlings into 4-inch plastic pots and continue growing them indoors until conditions improve. At this stage, they may still benefit from supplemental lighting.
When daytime temperatures reach 50°F or higher and rain isn’t expected, I begin hardening off the seedlings by placing them outdoors during the day and bringing them back inside at night. This gradual transition helps the plants adjust to outdoor conditions and prepares them for a successful move into the garden.
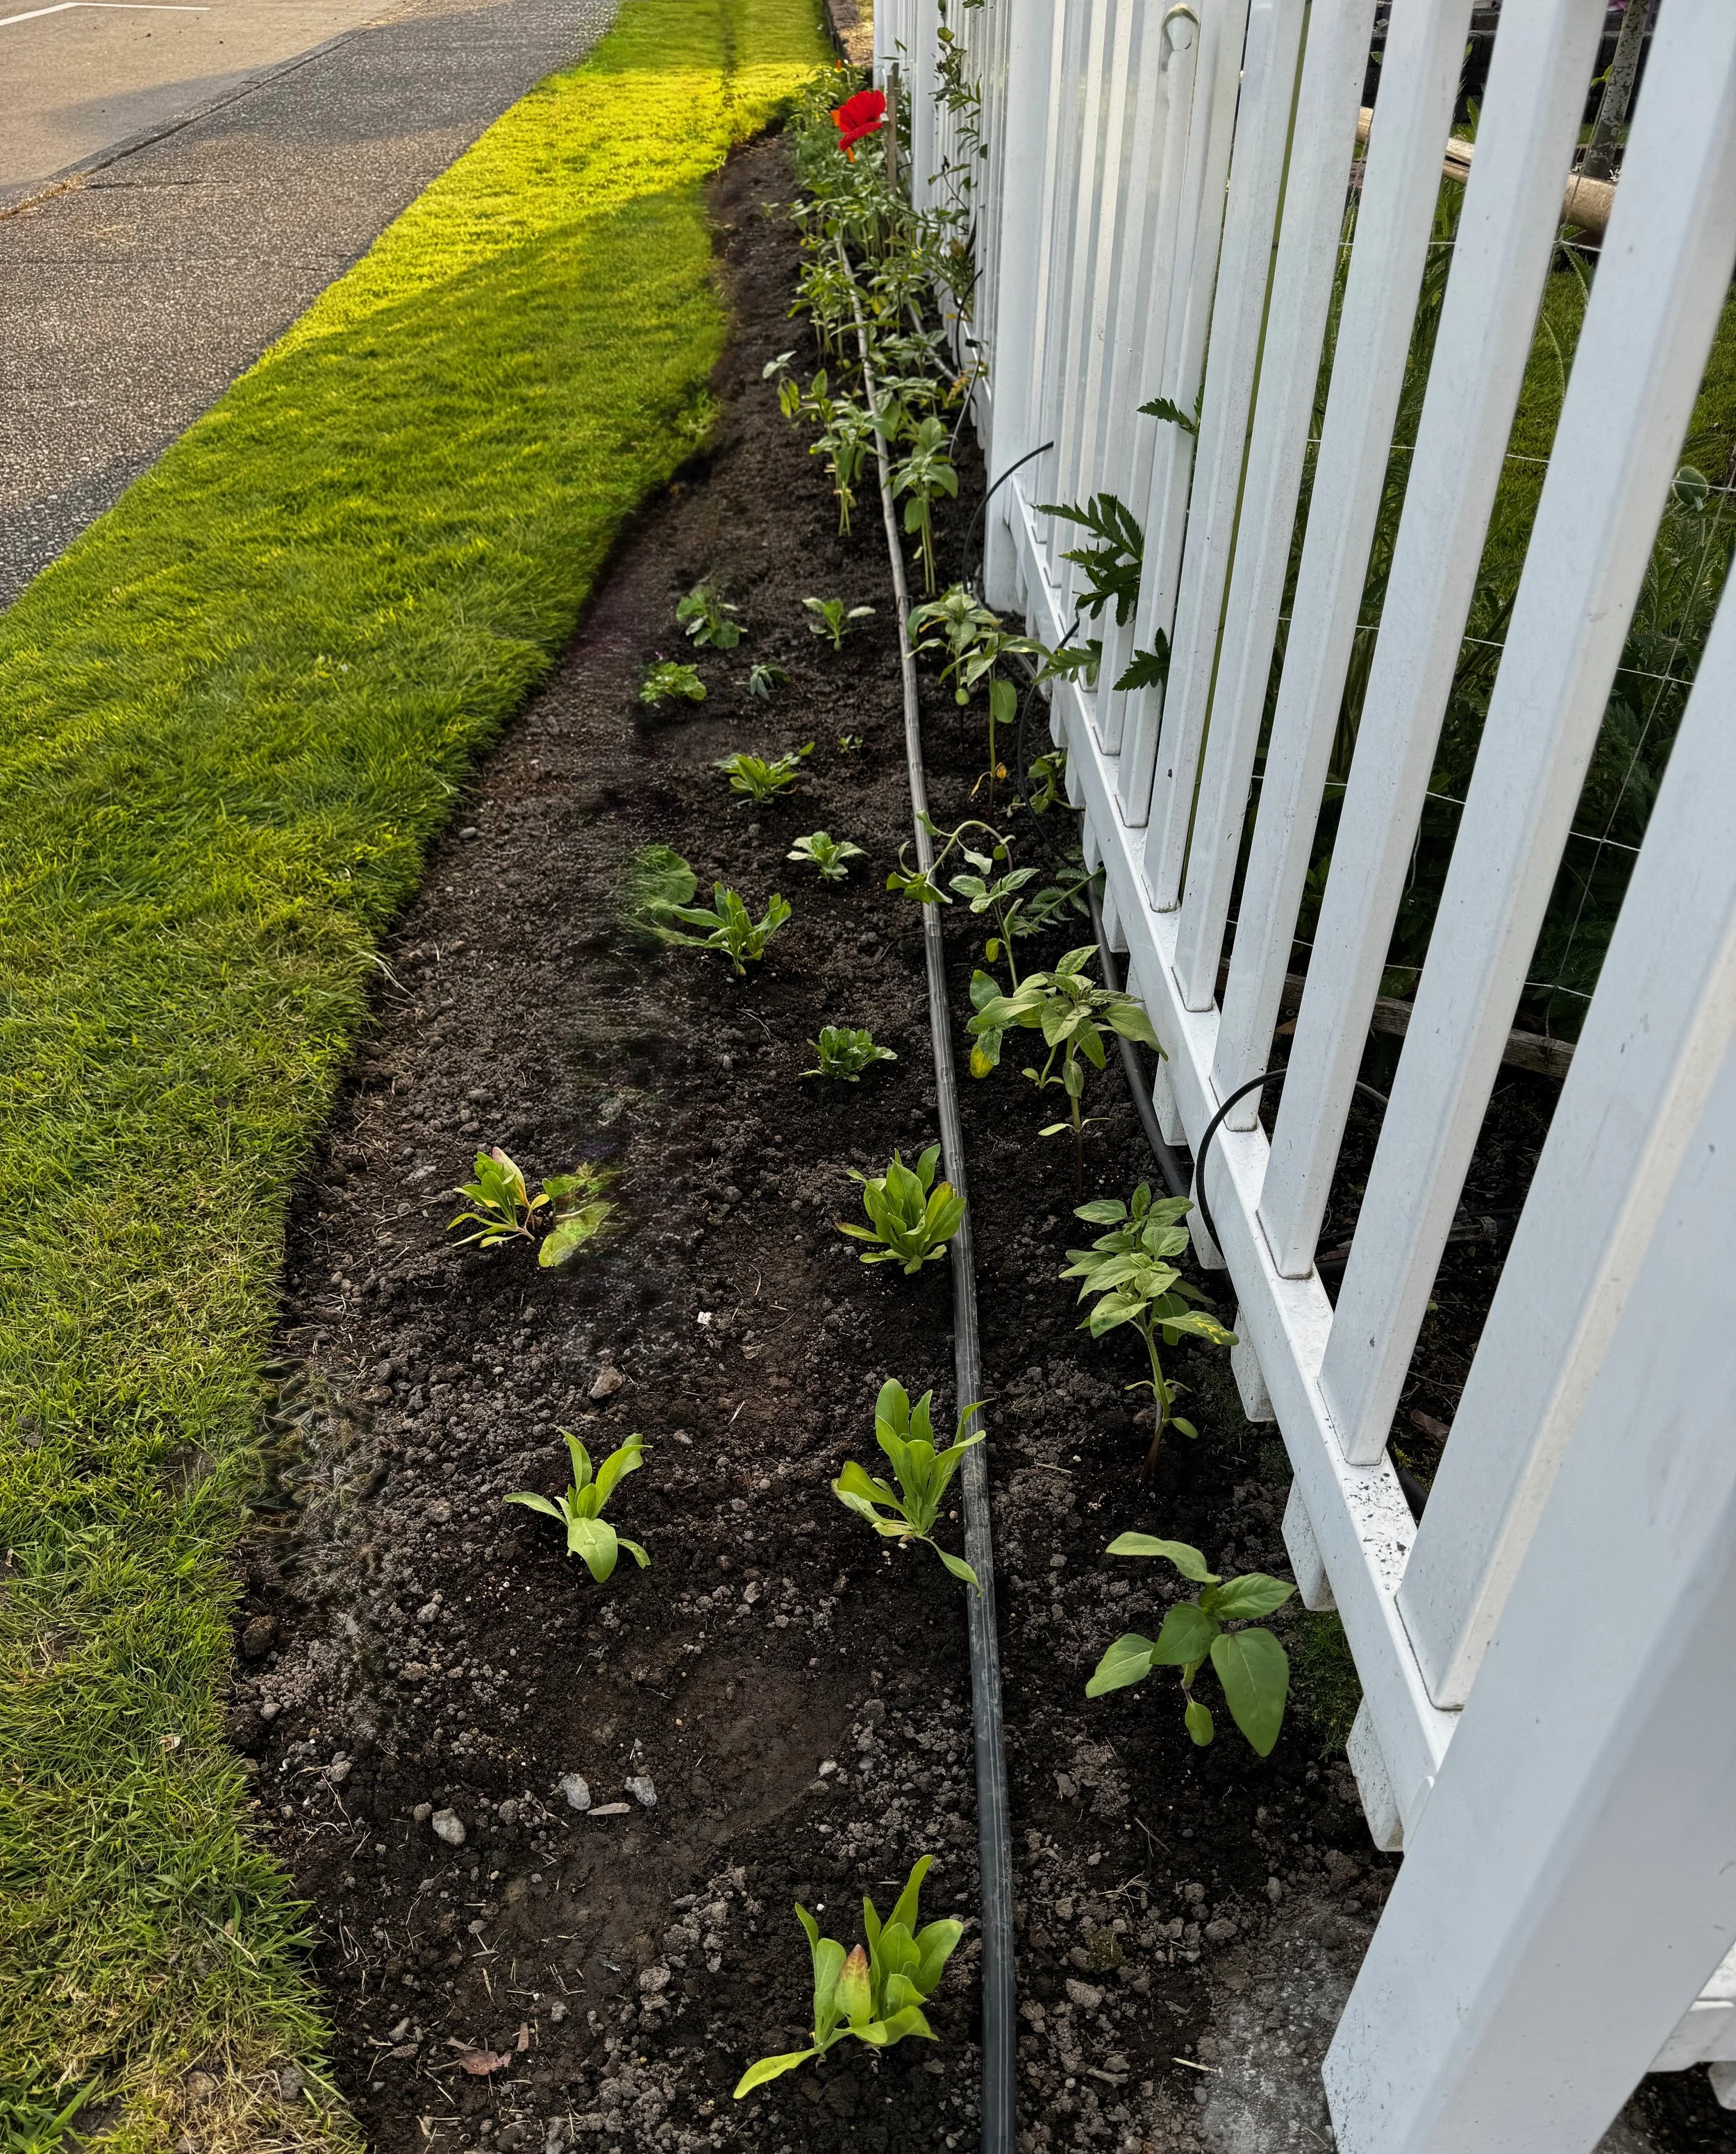
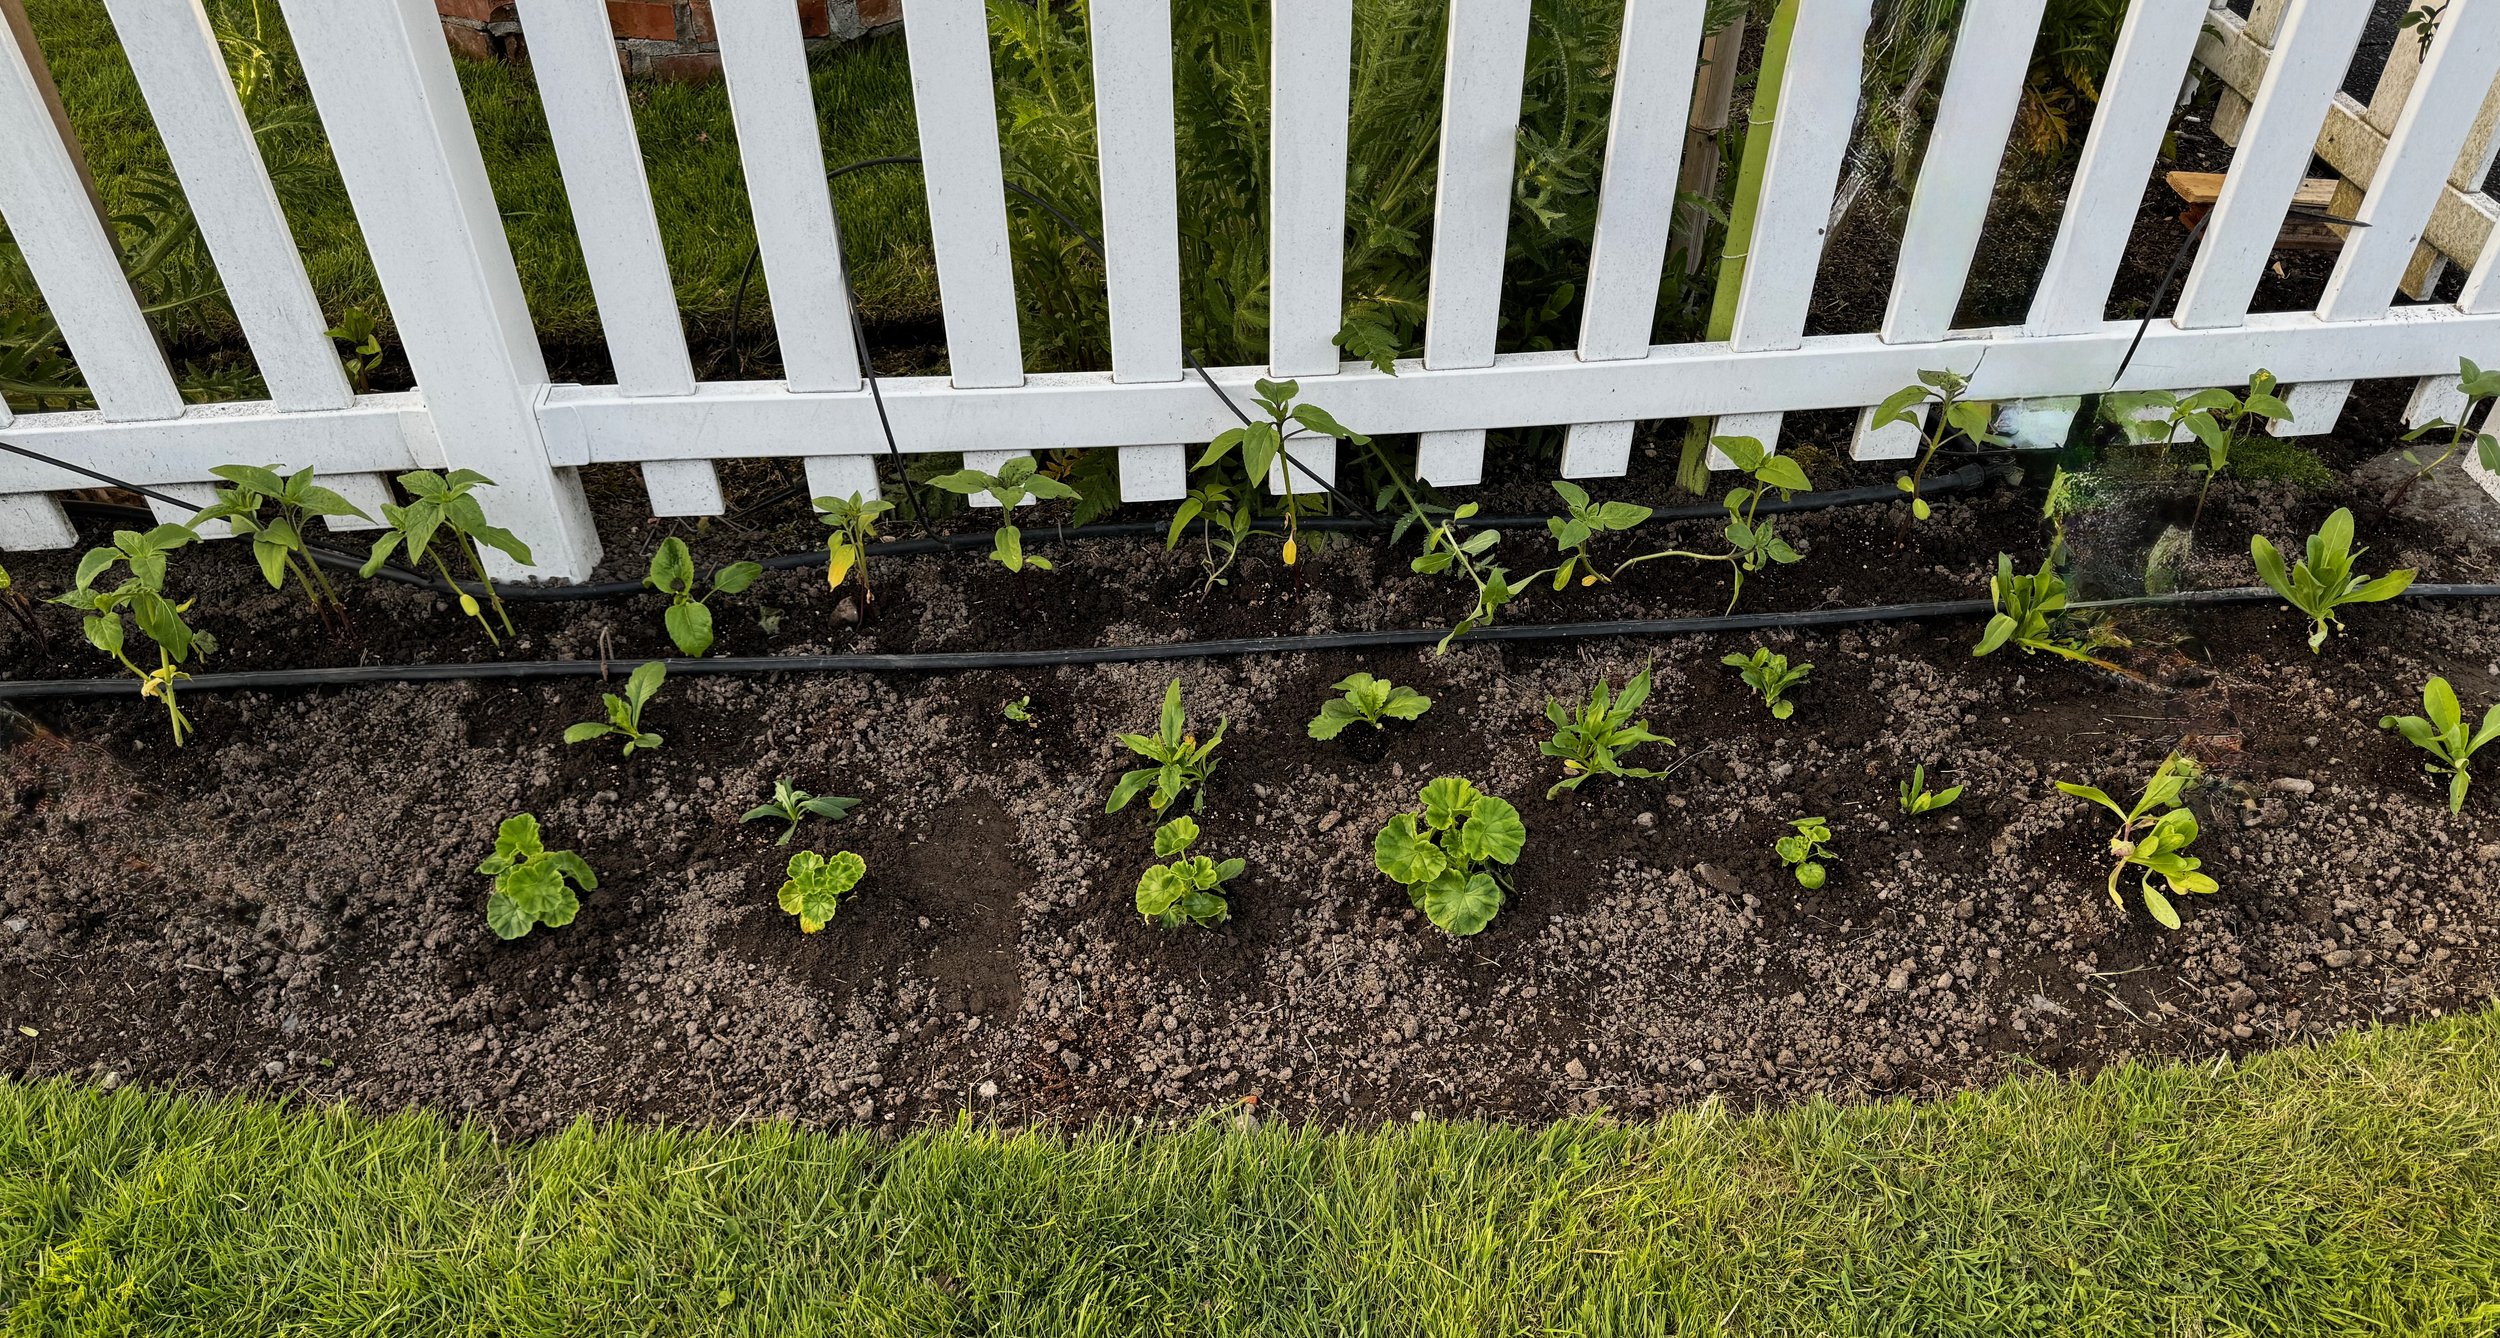
When planting day arrives, I try to choose a cool, overcast day whenever possible. If the weather doesn’t cooperate, planting in the early evening is usually the next best option.
I start by setting the plants, still in their pots, where I want them in the garden. Once I’m happy with the layout, I dig the planting holes, add a small handful of organic all-purpose fertilizer, and then place each plant in the ground. After firming the soil around the roots, I give them a thorough watering to help them settle in.
We’re fortunate not to have rabbits, gophers, or moles in our garden, and snails haven’t been much of an issue either. Slugs, however, are a different story. Depending on the location, I may apply a light sprinkling of Corry’s Slug & Snail Killer around newly planted starts. I’ve found it to be effective and a good option for use around food crops, pets, and people when used as directed.