
This Year’s Vegetable Garden: What We’re Growing and How It’s Doing
A Walk Through This Year’s Vegetable Garden


We completed the raised-bed vegetable garden in June 2024. It was a little late in the season to get everything planted, but we still ended up with a decent harvest. Now, heading into our third growing season, we’ve learned a lot along the way and made a few small improvements.
This year in the spring, we topped off the raised beds with fresh garden mix, as nearly half of the original soil had settled and broken down over the past three years. We also switched to a new organic fertilizer that we’re currently testing to see how it performs.
Next, I’ll share more about the varieties of vegetables we grow, how I select seeds, my seed-starting process, fertilizing both before and after planting, watering practices, and other tips that have helped make our vegetable garden more successful each year.


Tomatoes That Actually Ripen Here
When choosing vegetable varieties, it’s important to take your location and growing season into account. We are in USDA Zone 8b, and you can look up your own zone here.
Even though our growing season is fairly average, we are slow to warm up in spring and tend to cool down quickly once the fall rains arrive. Because of that, large beefsteak tomatoes are not always the best choice unless you are growing them in a hoop house or greenhouse.
We have much better luck with earlier-producing varieties that can handle cooler conditions. A few good choices are:
Early Girl — This one lives up to its name and produces fruit fairly quickly.
Oregon Spring — A determinate variety bred for cooler weather, and it usually gives a good crop.
Stupice — An heirloom variety known for early ripening and good flavor, even when the weather is less than perfect.
Sungold — A very sweet and productive cherry tomato that often does well even when other varieties struggle.
Glacier— Another good choice for cooler areas, known for its early and abundant harvest.
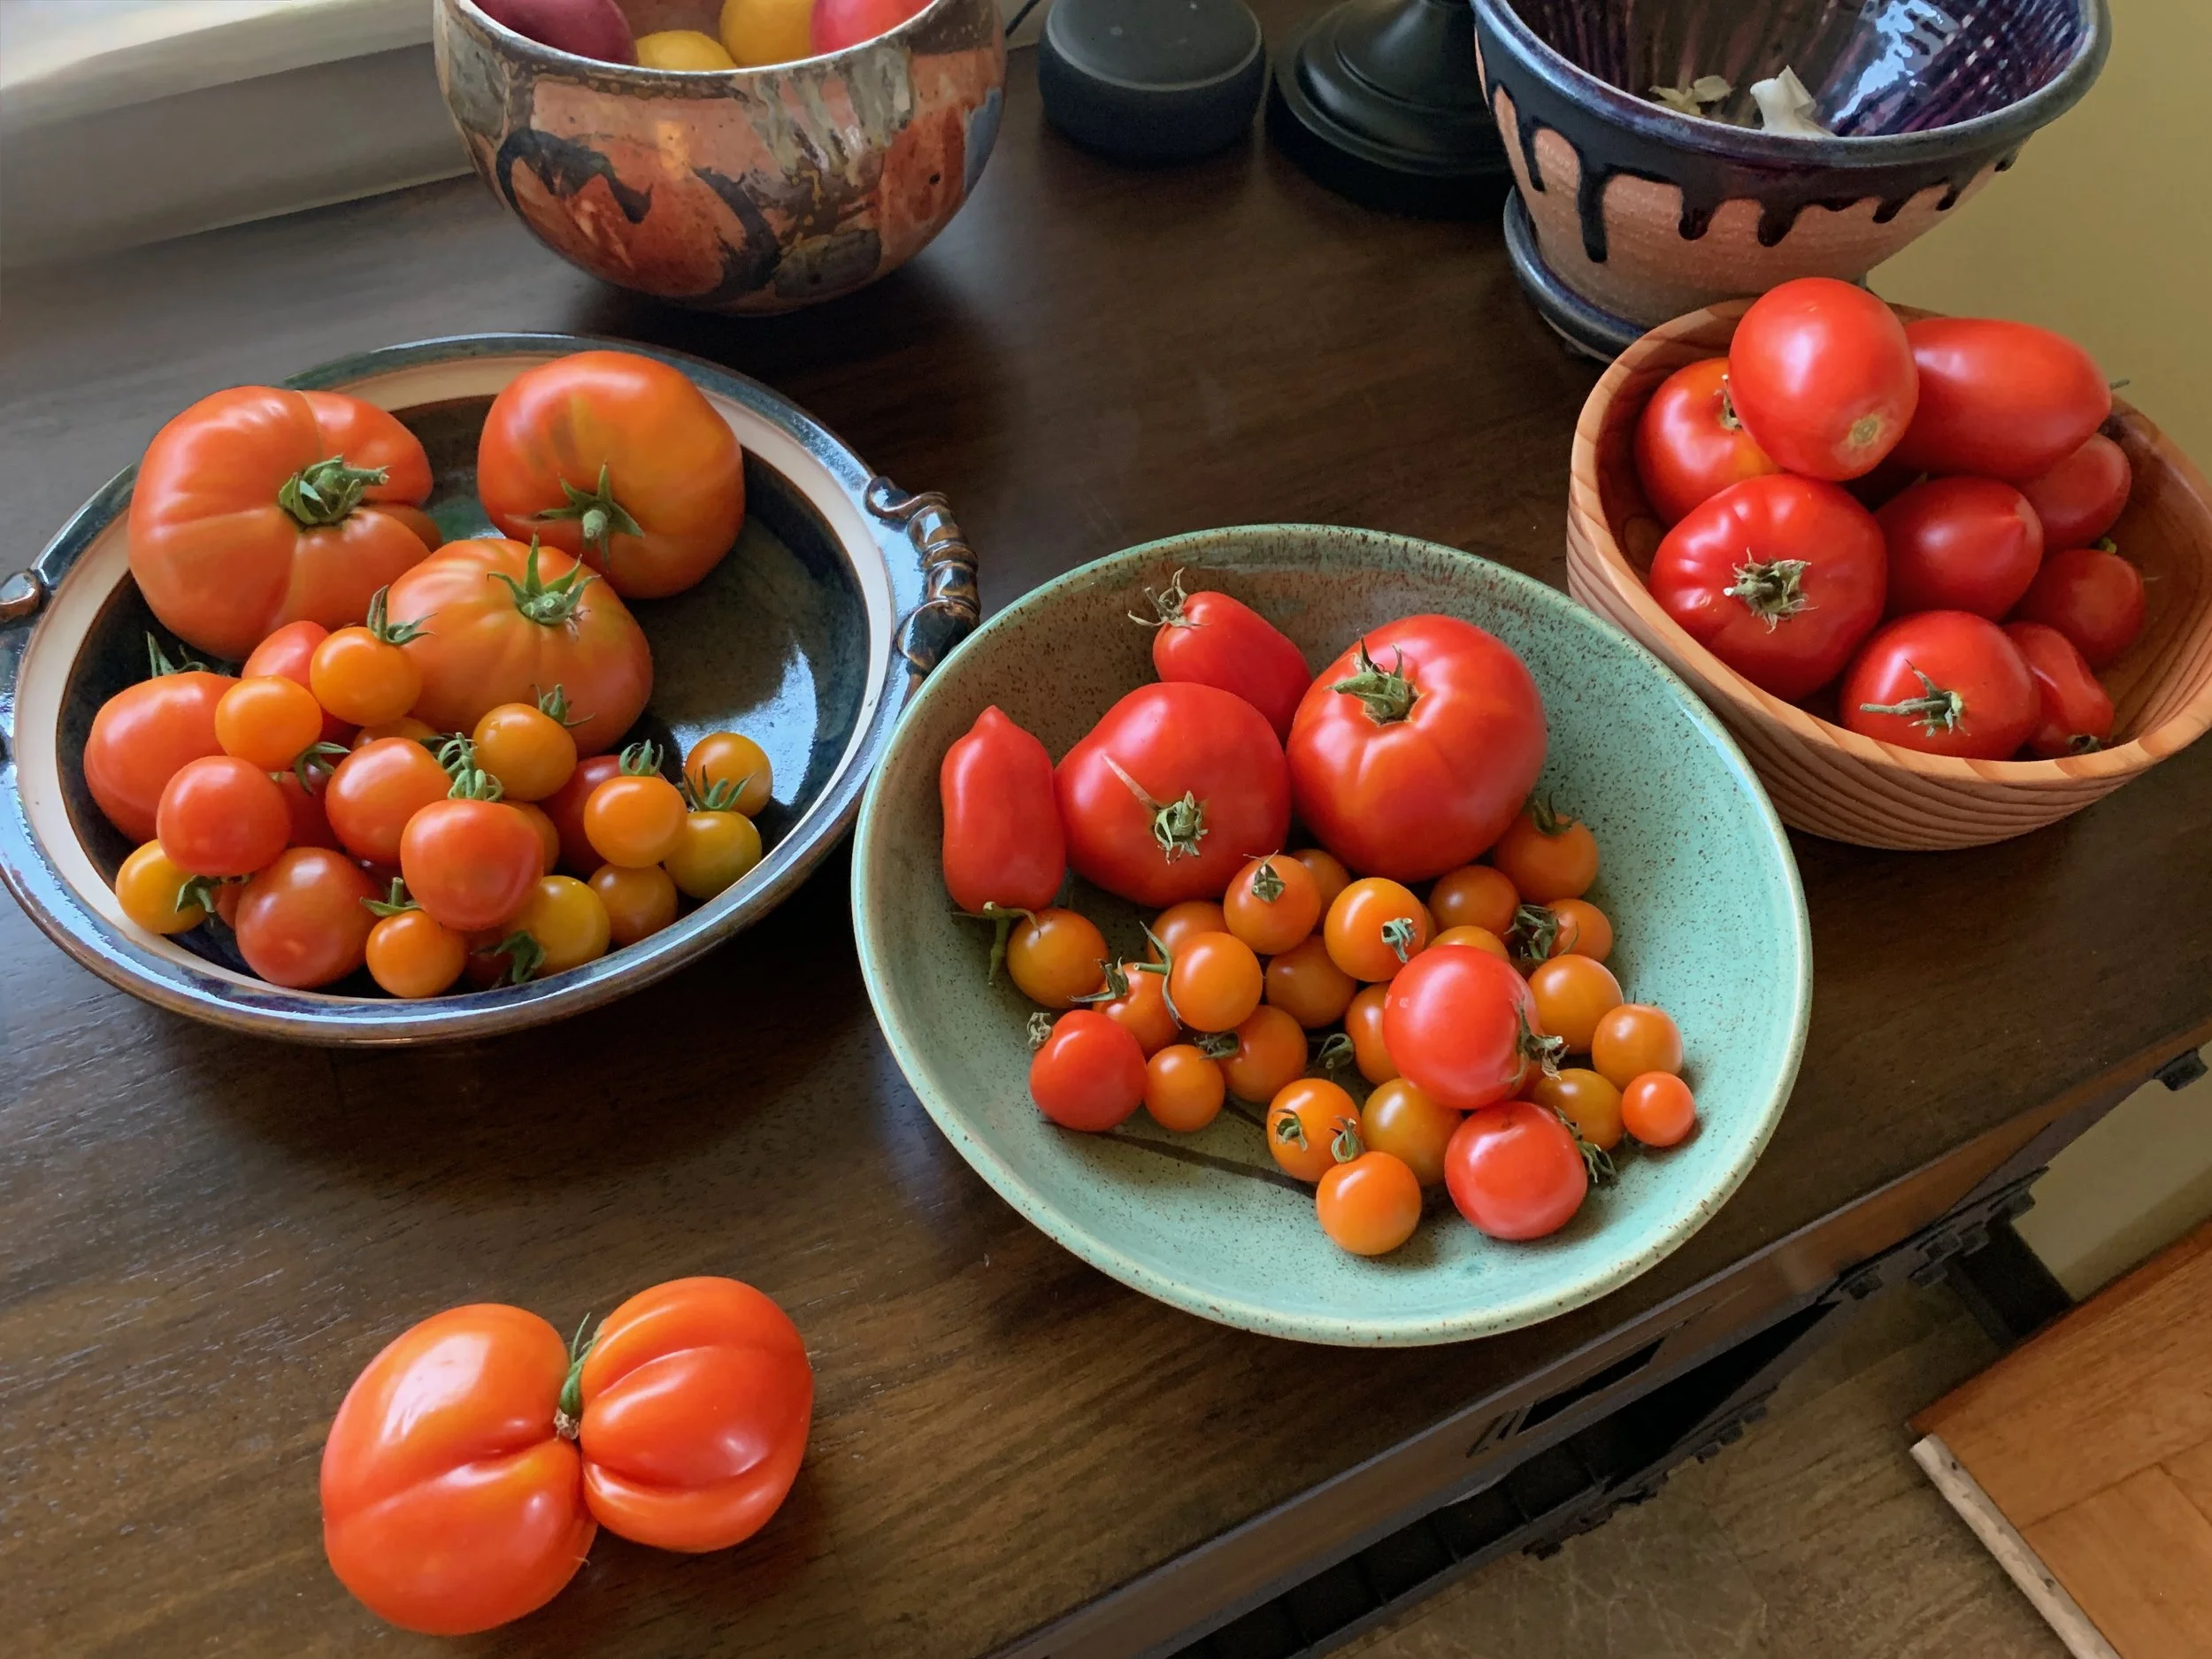
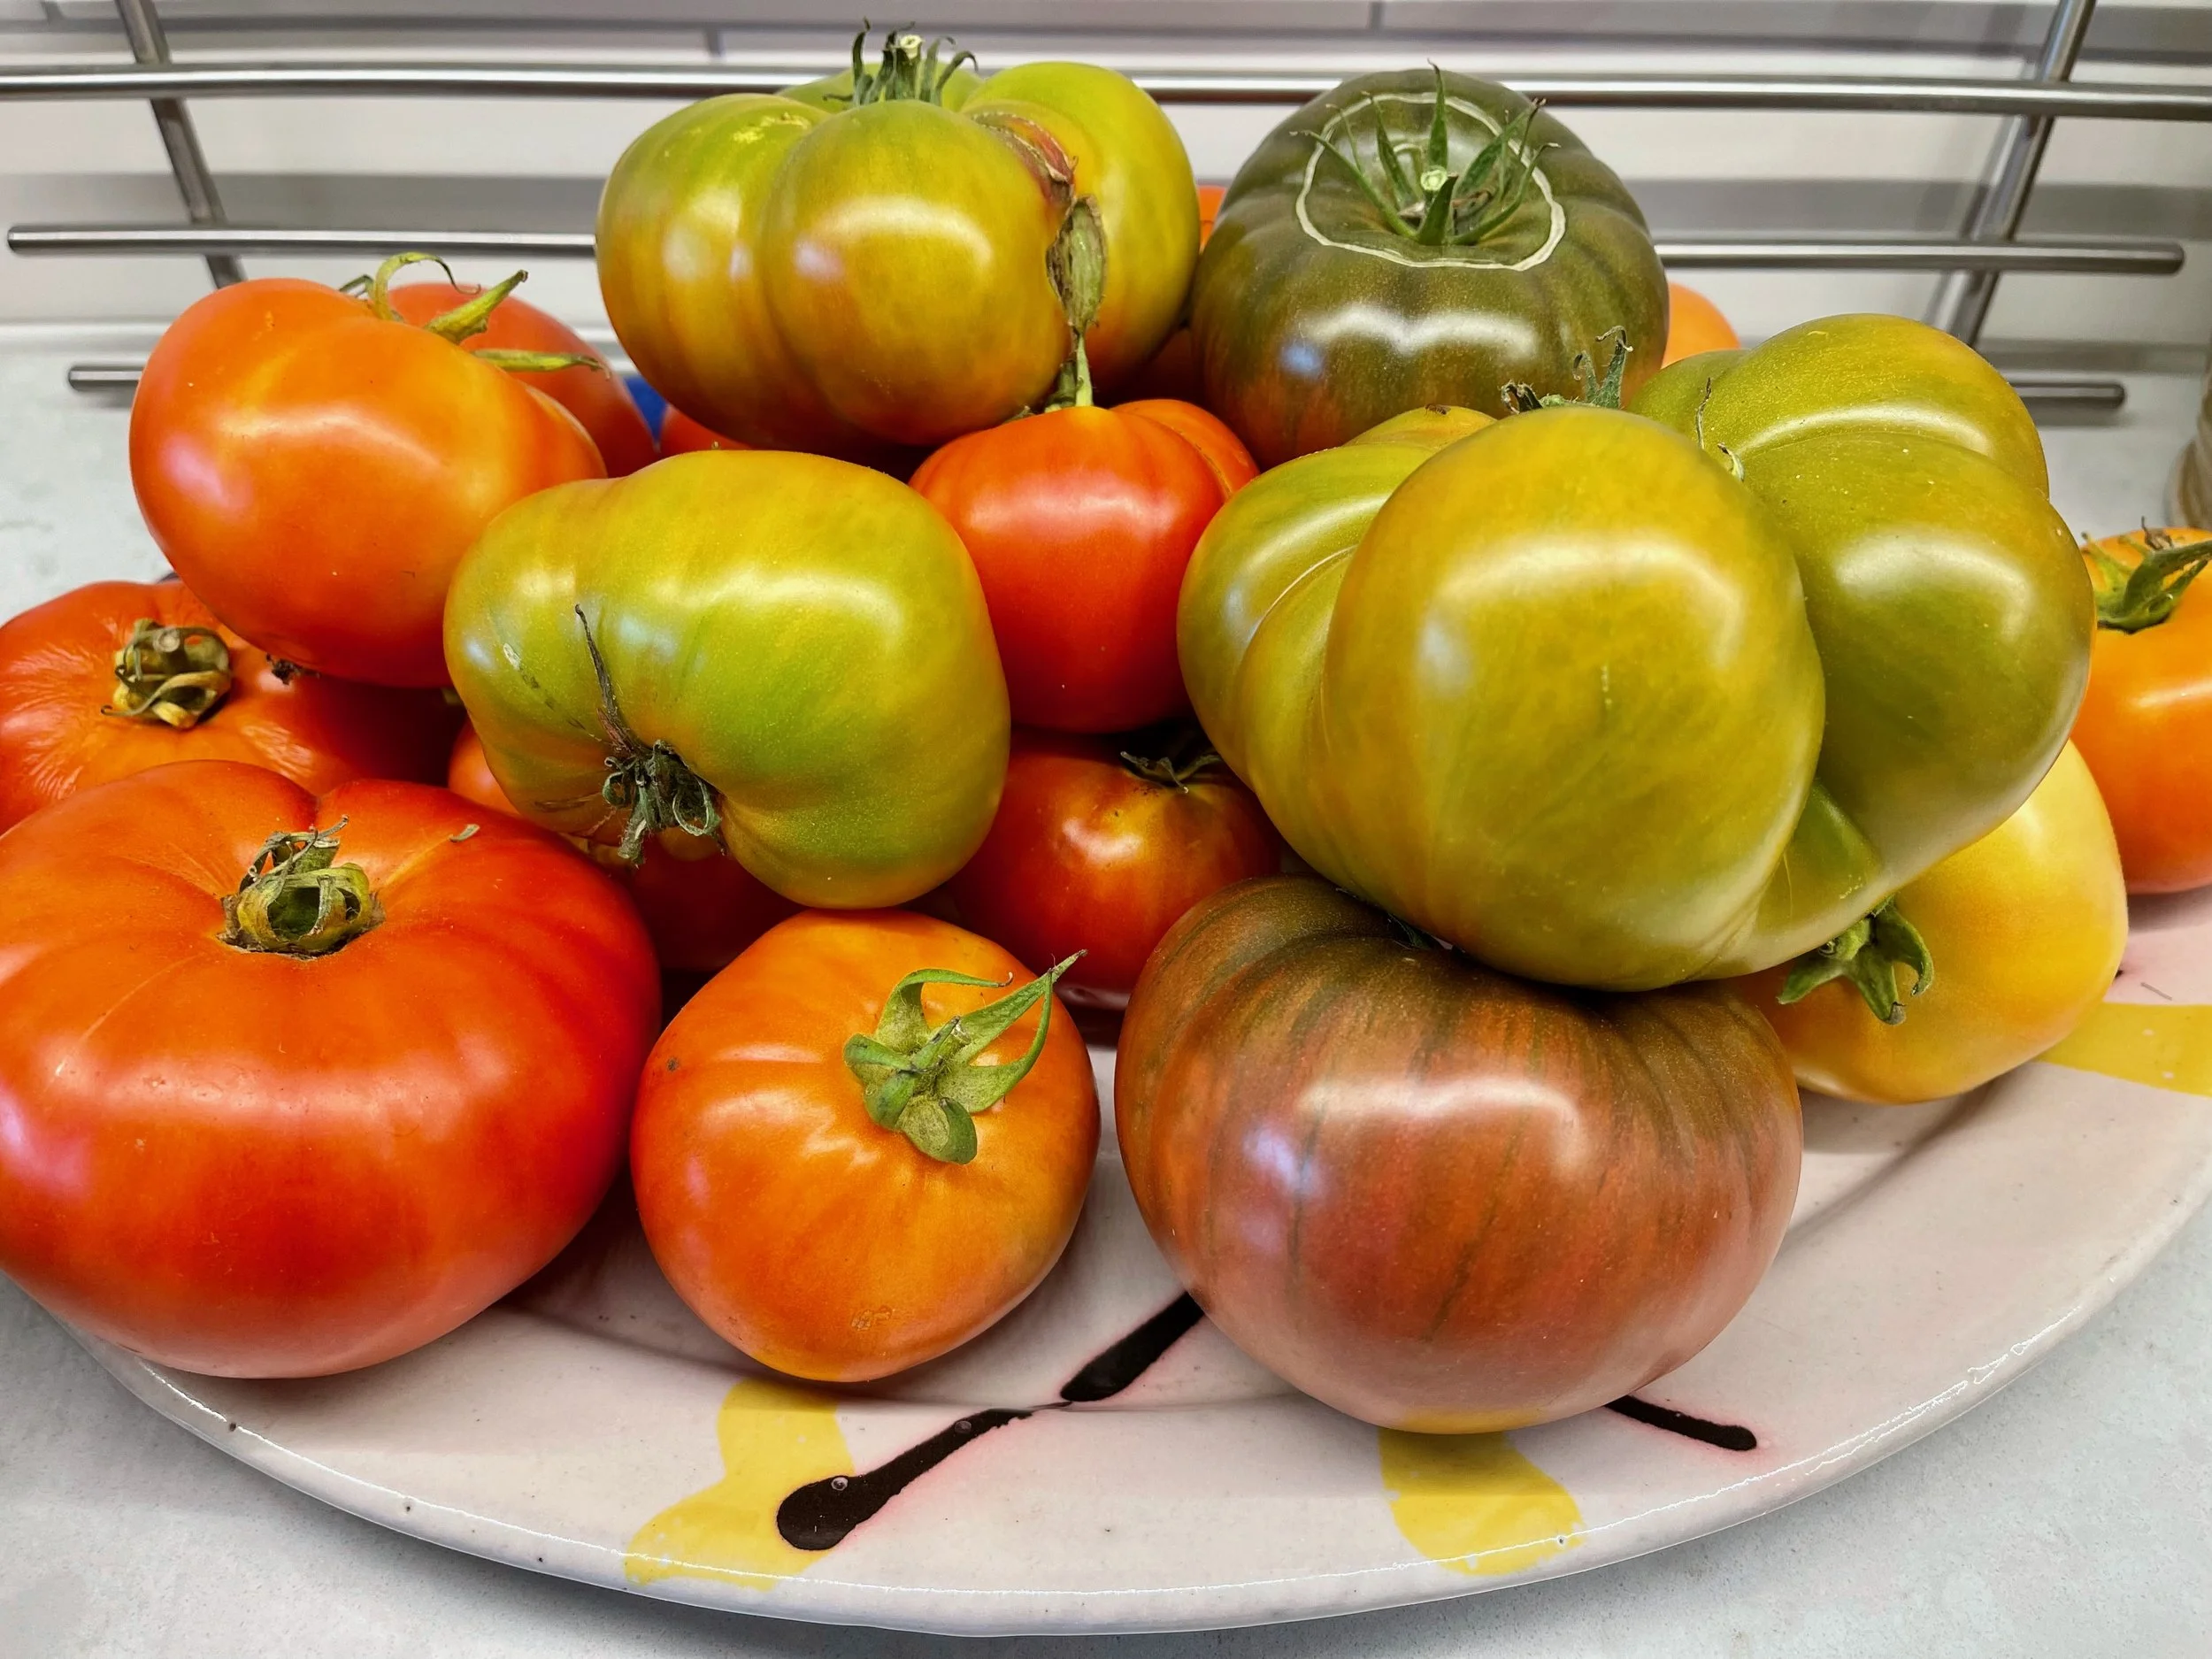
This year, I decided to try a few tomato varieties I’ve never grown before, with the exception of Sungold and Black Tomato, which I’ve grown in the past.
This year’s tomatos include:
All of my tomato starts this year, except for Sungold, were purchased by mail from Territorial Seed Company. Choosing varieties suited to our shorter, cooler growing season can make a big difference, especially when spring is slow to arrive and fall weather comes early.


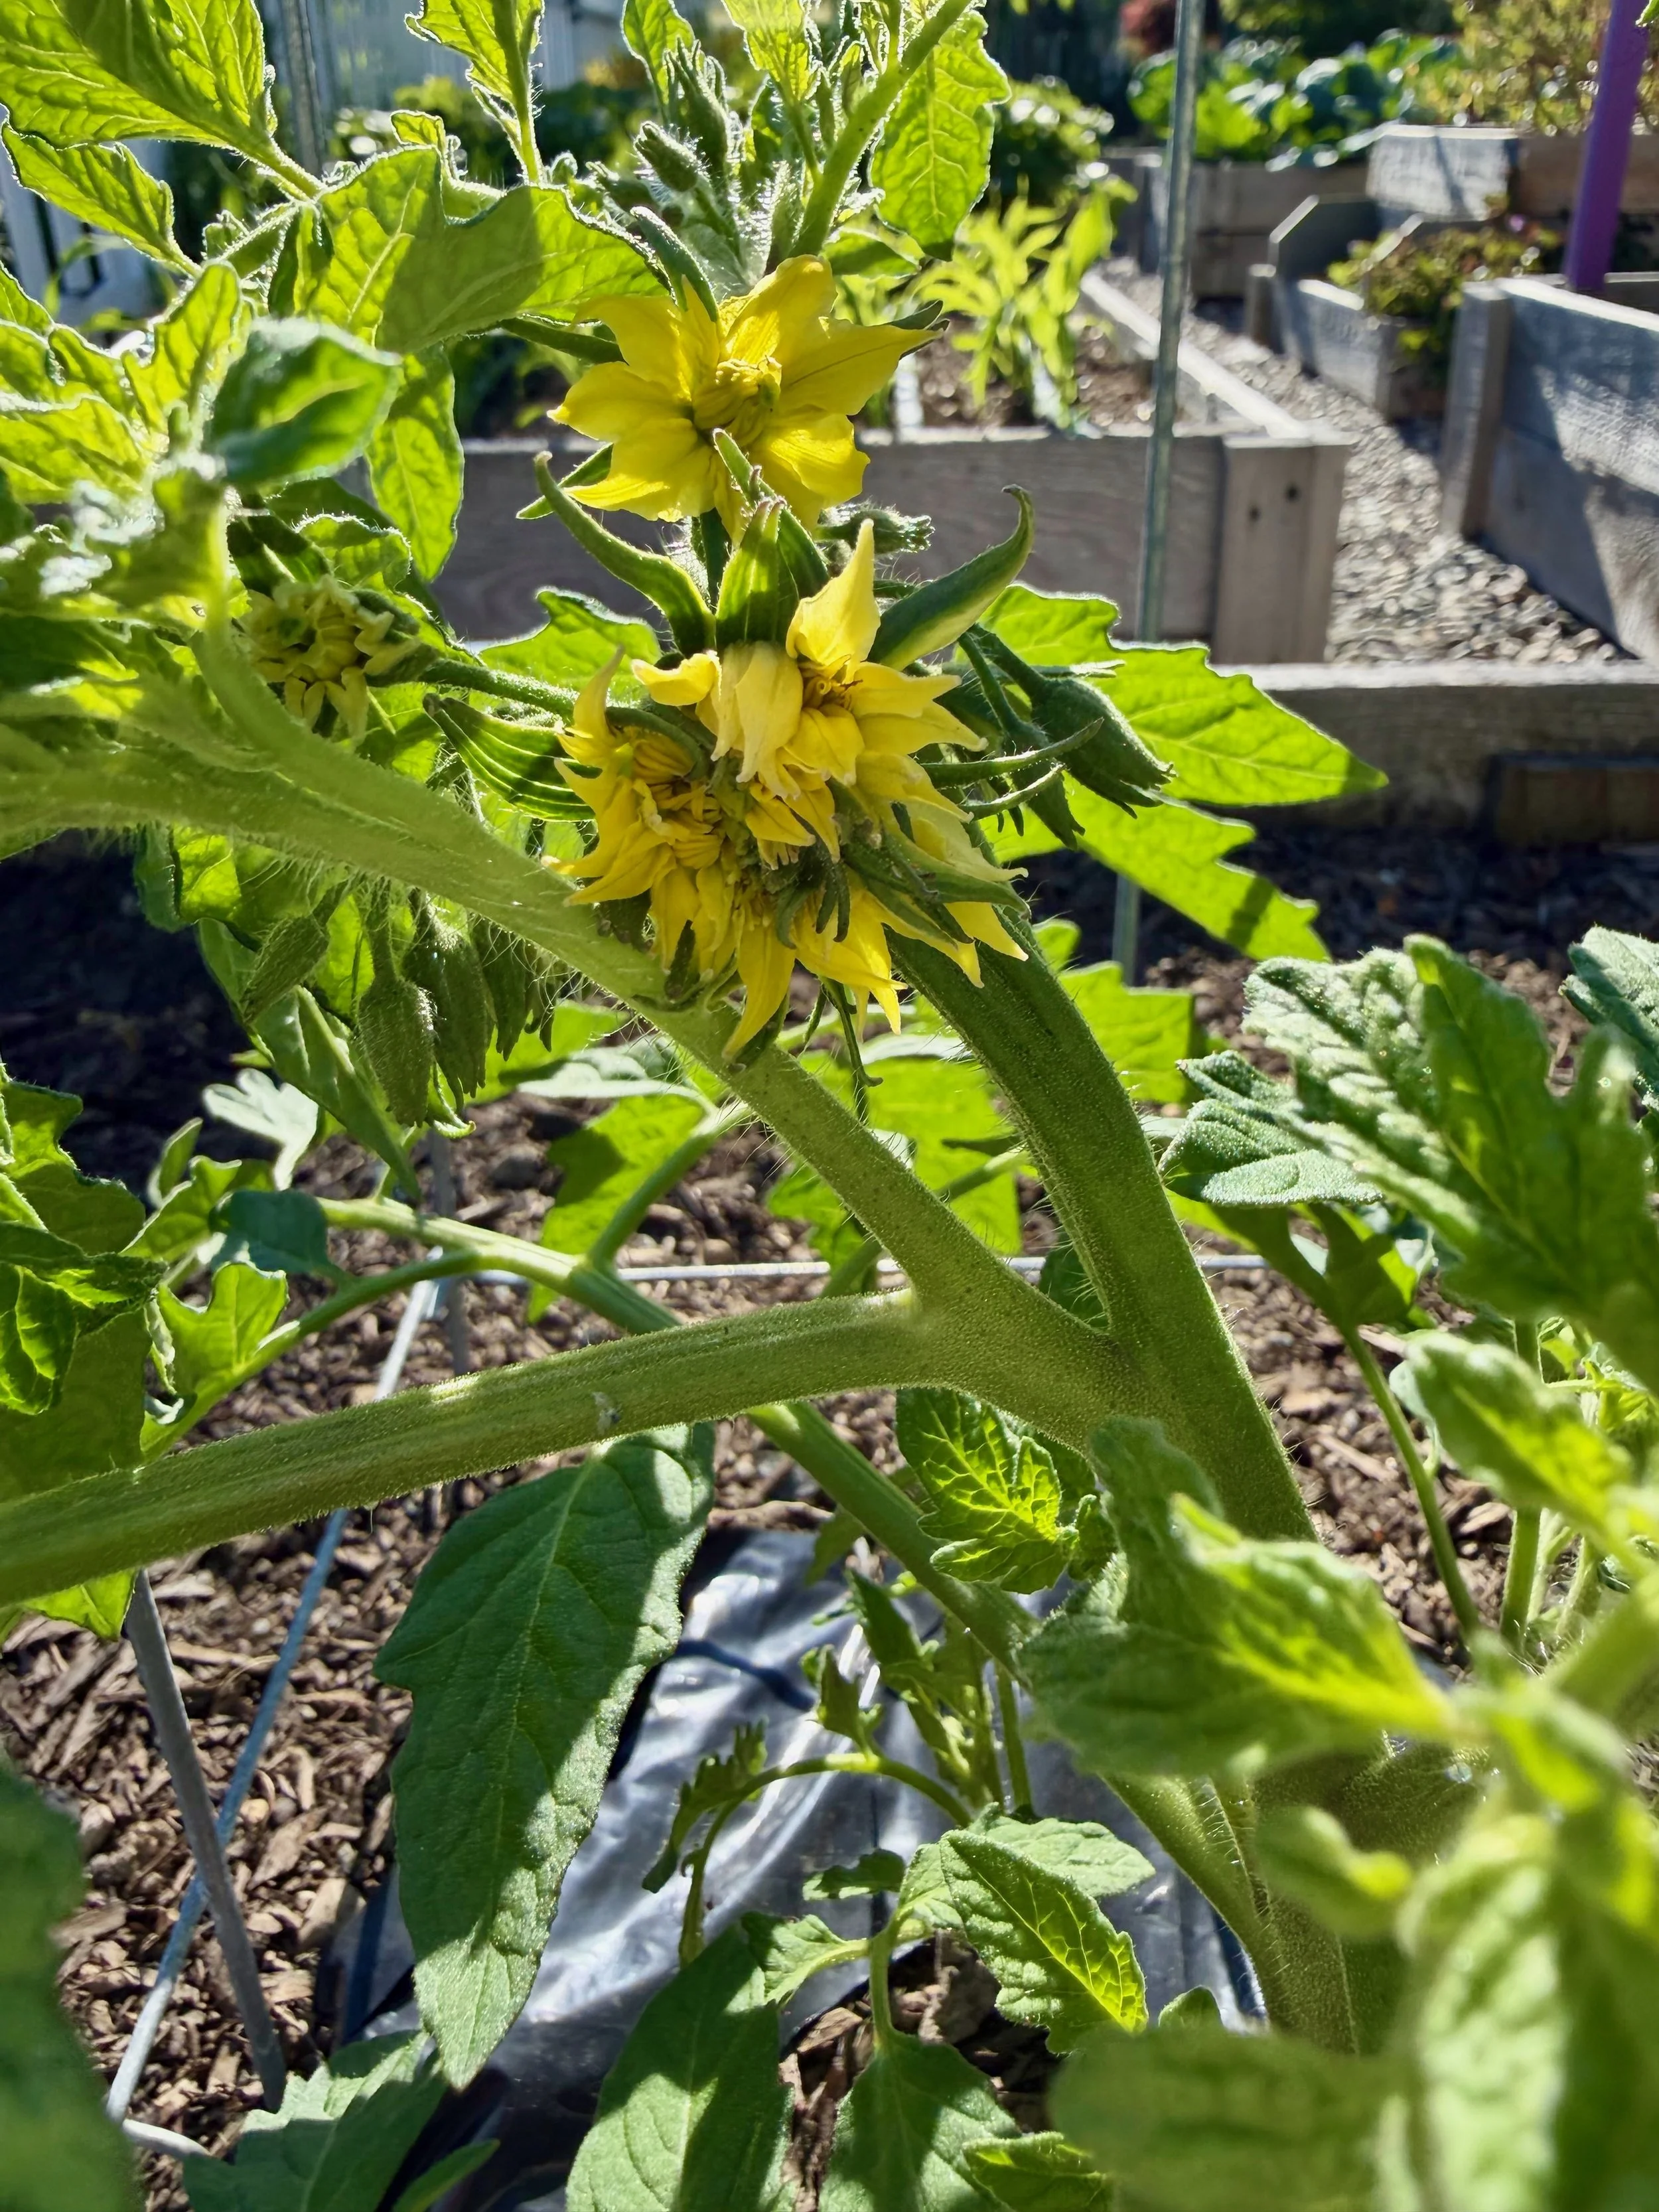
What Has Worked for Me Growing Tomatoes
What works best in my raised-bed vegetable garden has changed over the years as I’ve tried different products and techniques. For many years, I used a general-purpose organic vegetable fertilizer at planting time with good results. However, last year was not a great tomato season. It wasn’t just my garden—many gardeners in our area struggled with tomatoes.
When it was time to plant the tomato starts, I removed all of the lower leaves, leaving only the top two or three sets. I then dug a fairly deep trench and sprinkled a generous handful of the fertilizer pellets along the bottom.
The tomato plants were set deep in the trench, with only the upper leaves remaining above the soil line. I used a small wooden stake to support each plant and keep the leaves from touching the soil while they became established.
Tomatoes have the unique ability to produce roots along their buried stems. Planting them deeply encourages a much larger root system, which in turn helps create stronger, healthier plants that are better able to support a heavy crop of fruit throughout the season.
Gardeners in the Pacific Northwest tend to follow one golden rule: don’t plant warm-season vegetables outdoors until Mother’s Day. Our cool, wet springs and chilly nights are not what tomatoes, peppers, cucumbers, squash, and other heat-loving crops are looking for.
Even after Mother’s Day, I usually wait until nighttime temperatures are consistently around 50°F or higher before planting. Some years, even late May can be a little unpredictable.
I buy all of my tomato plants as starts rather than growing them from seed. I usually pick them up from local garden centers, but if I’m looking for something new or unusual, I’ll order from Territorial Seed. They offer a great selection of varieties that are well-suited to our Pacific Northwest growing conditions.
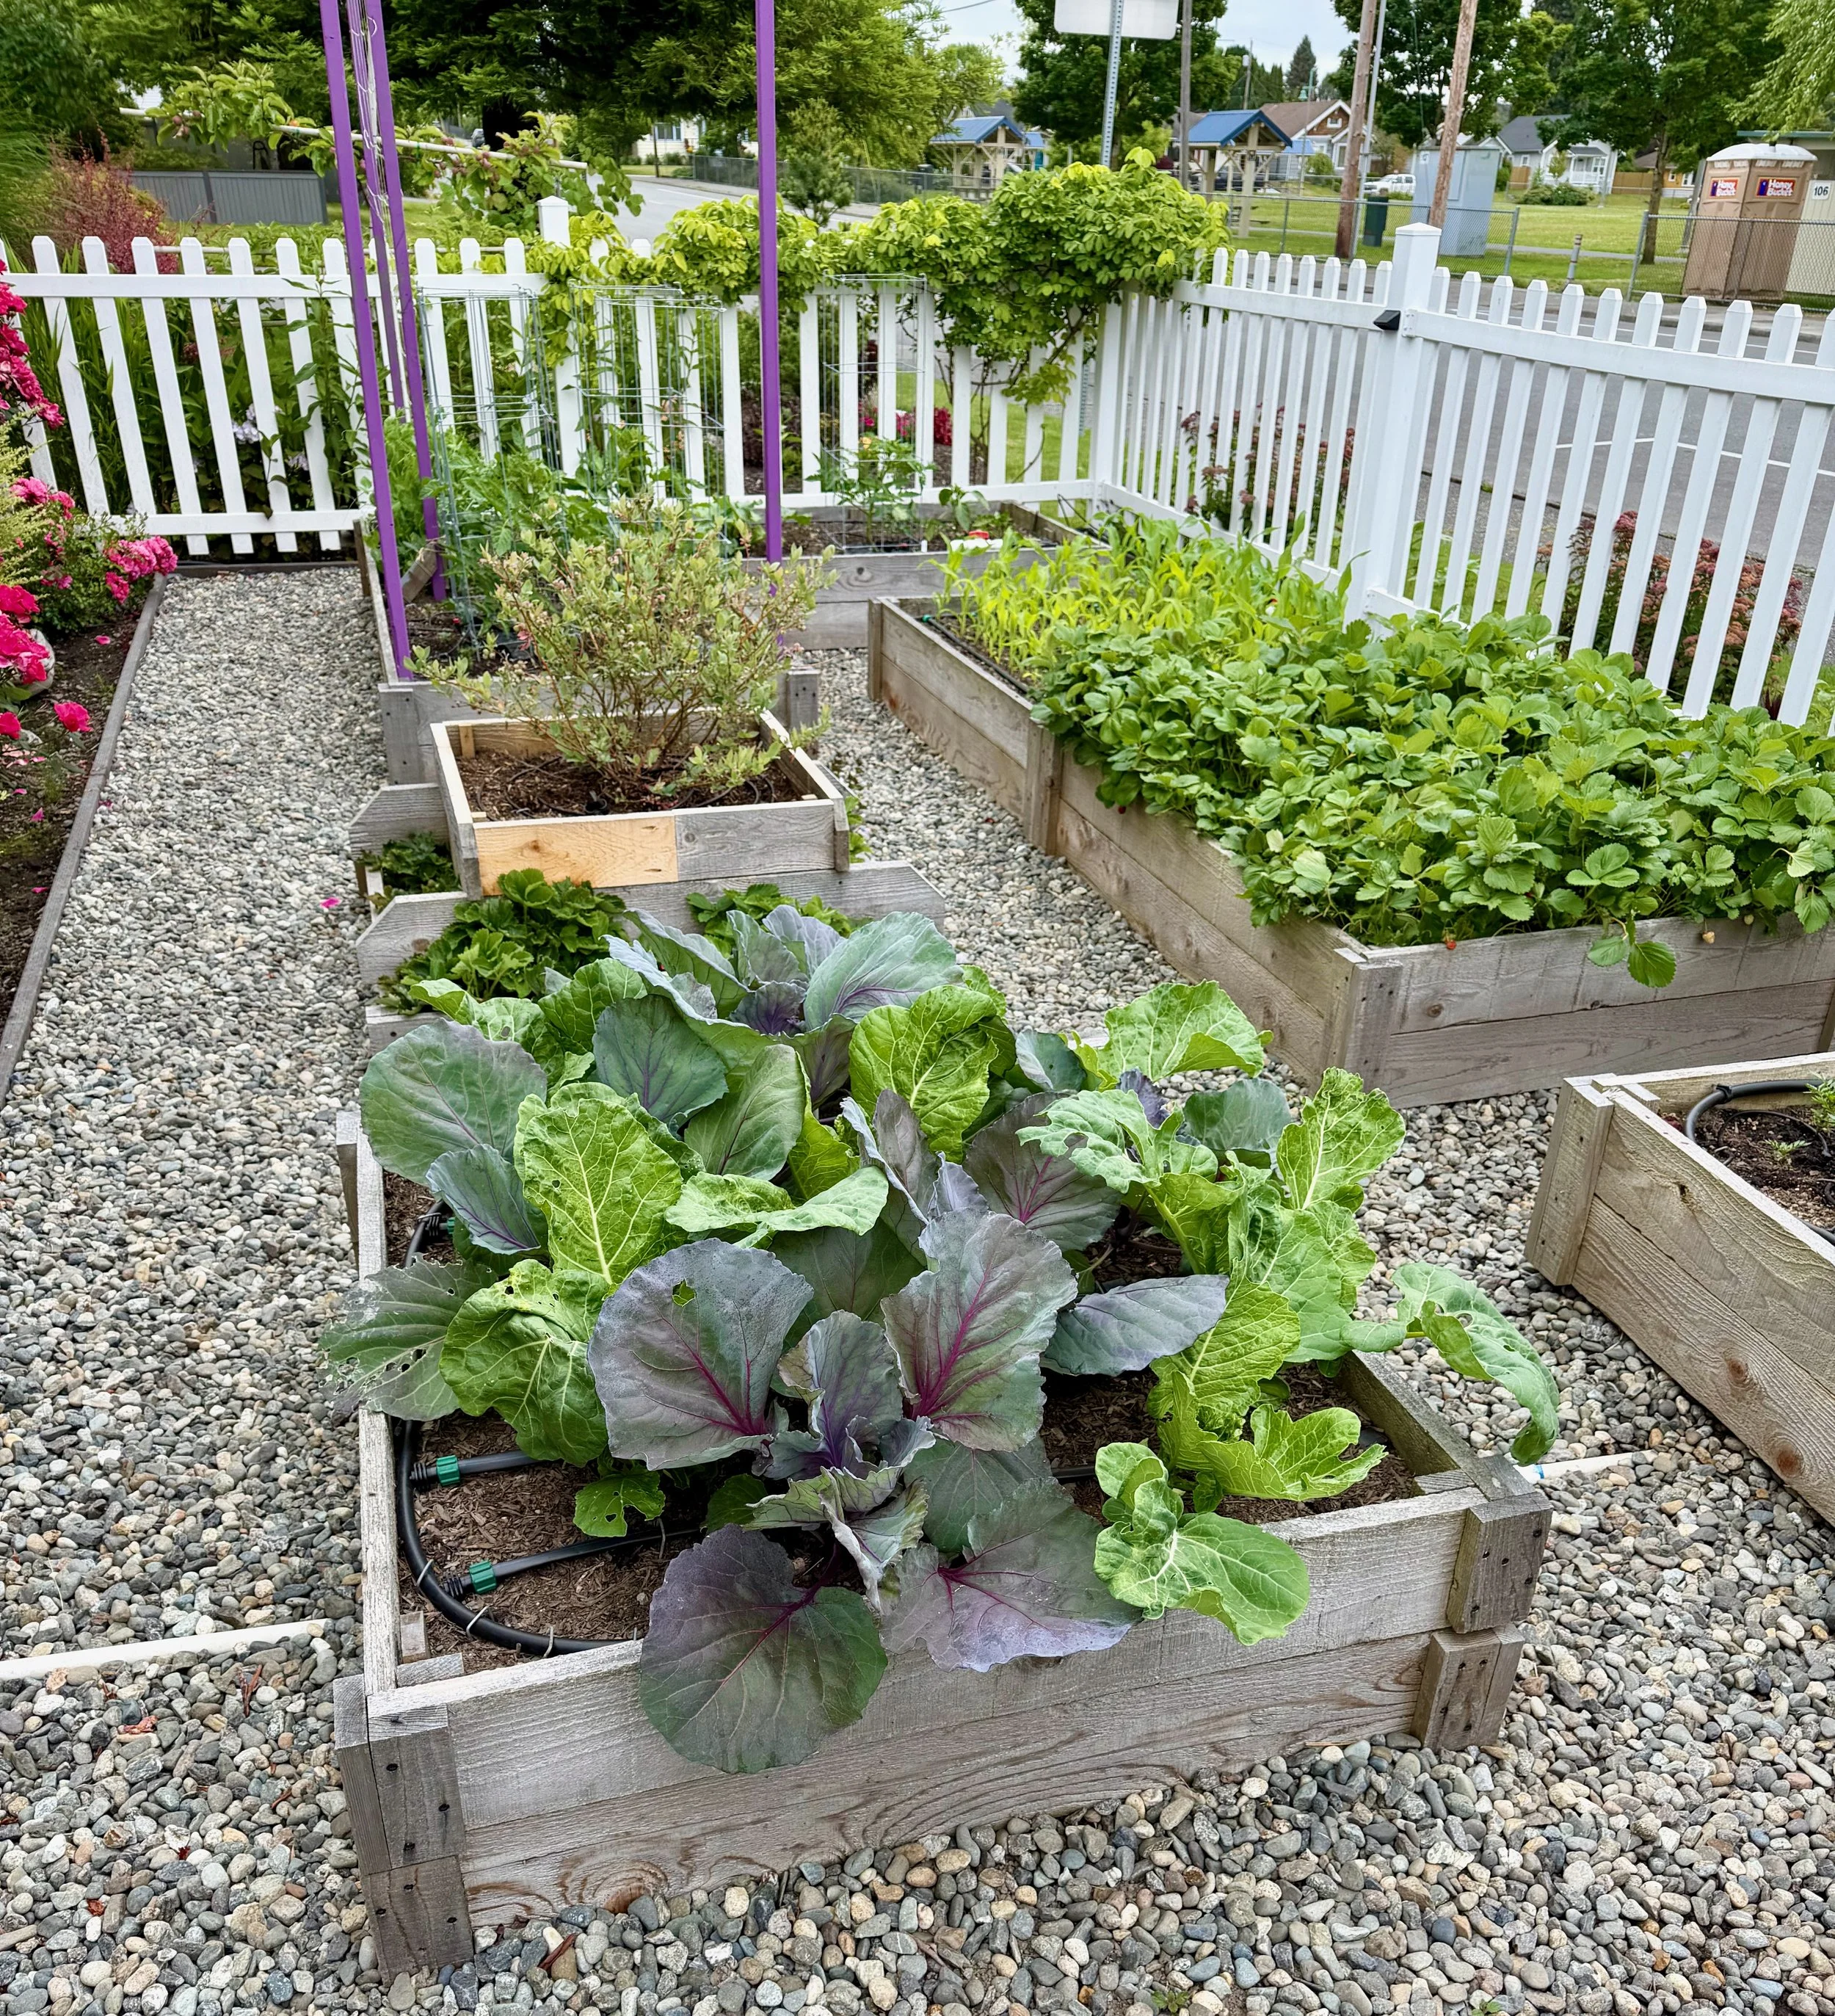


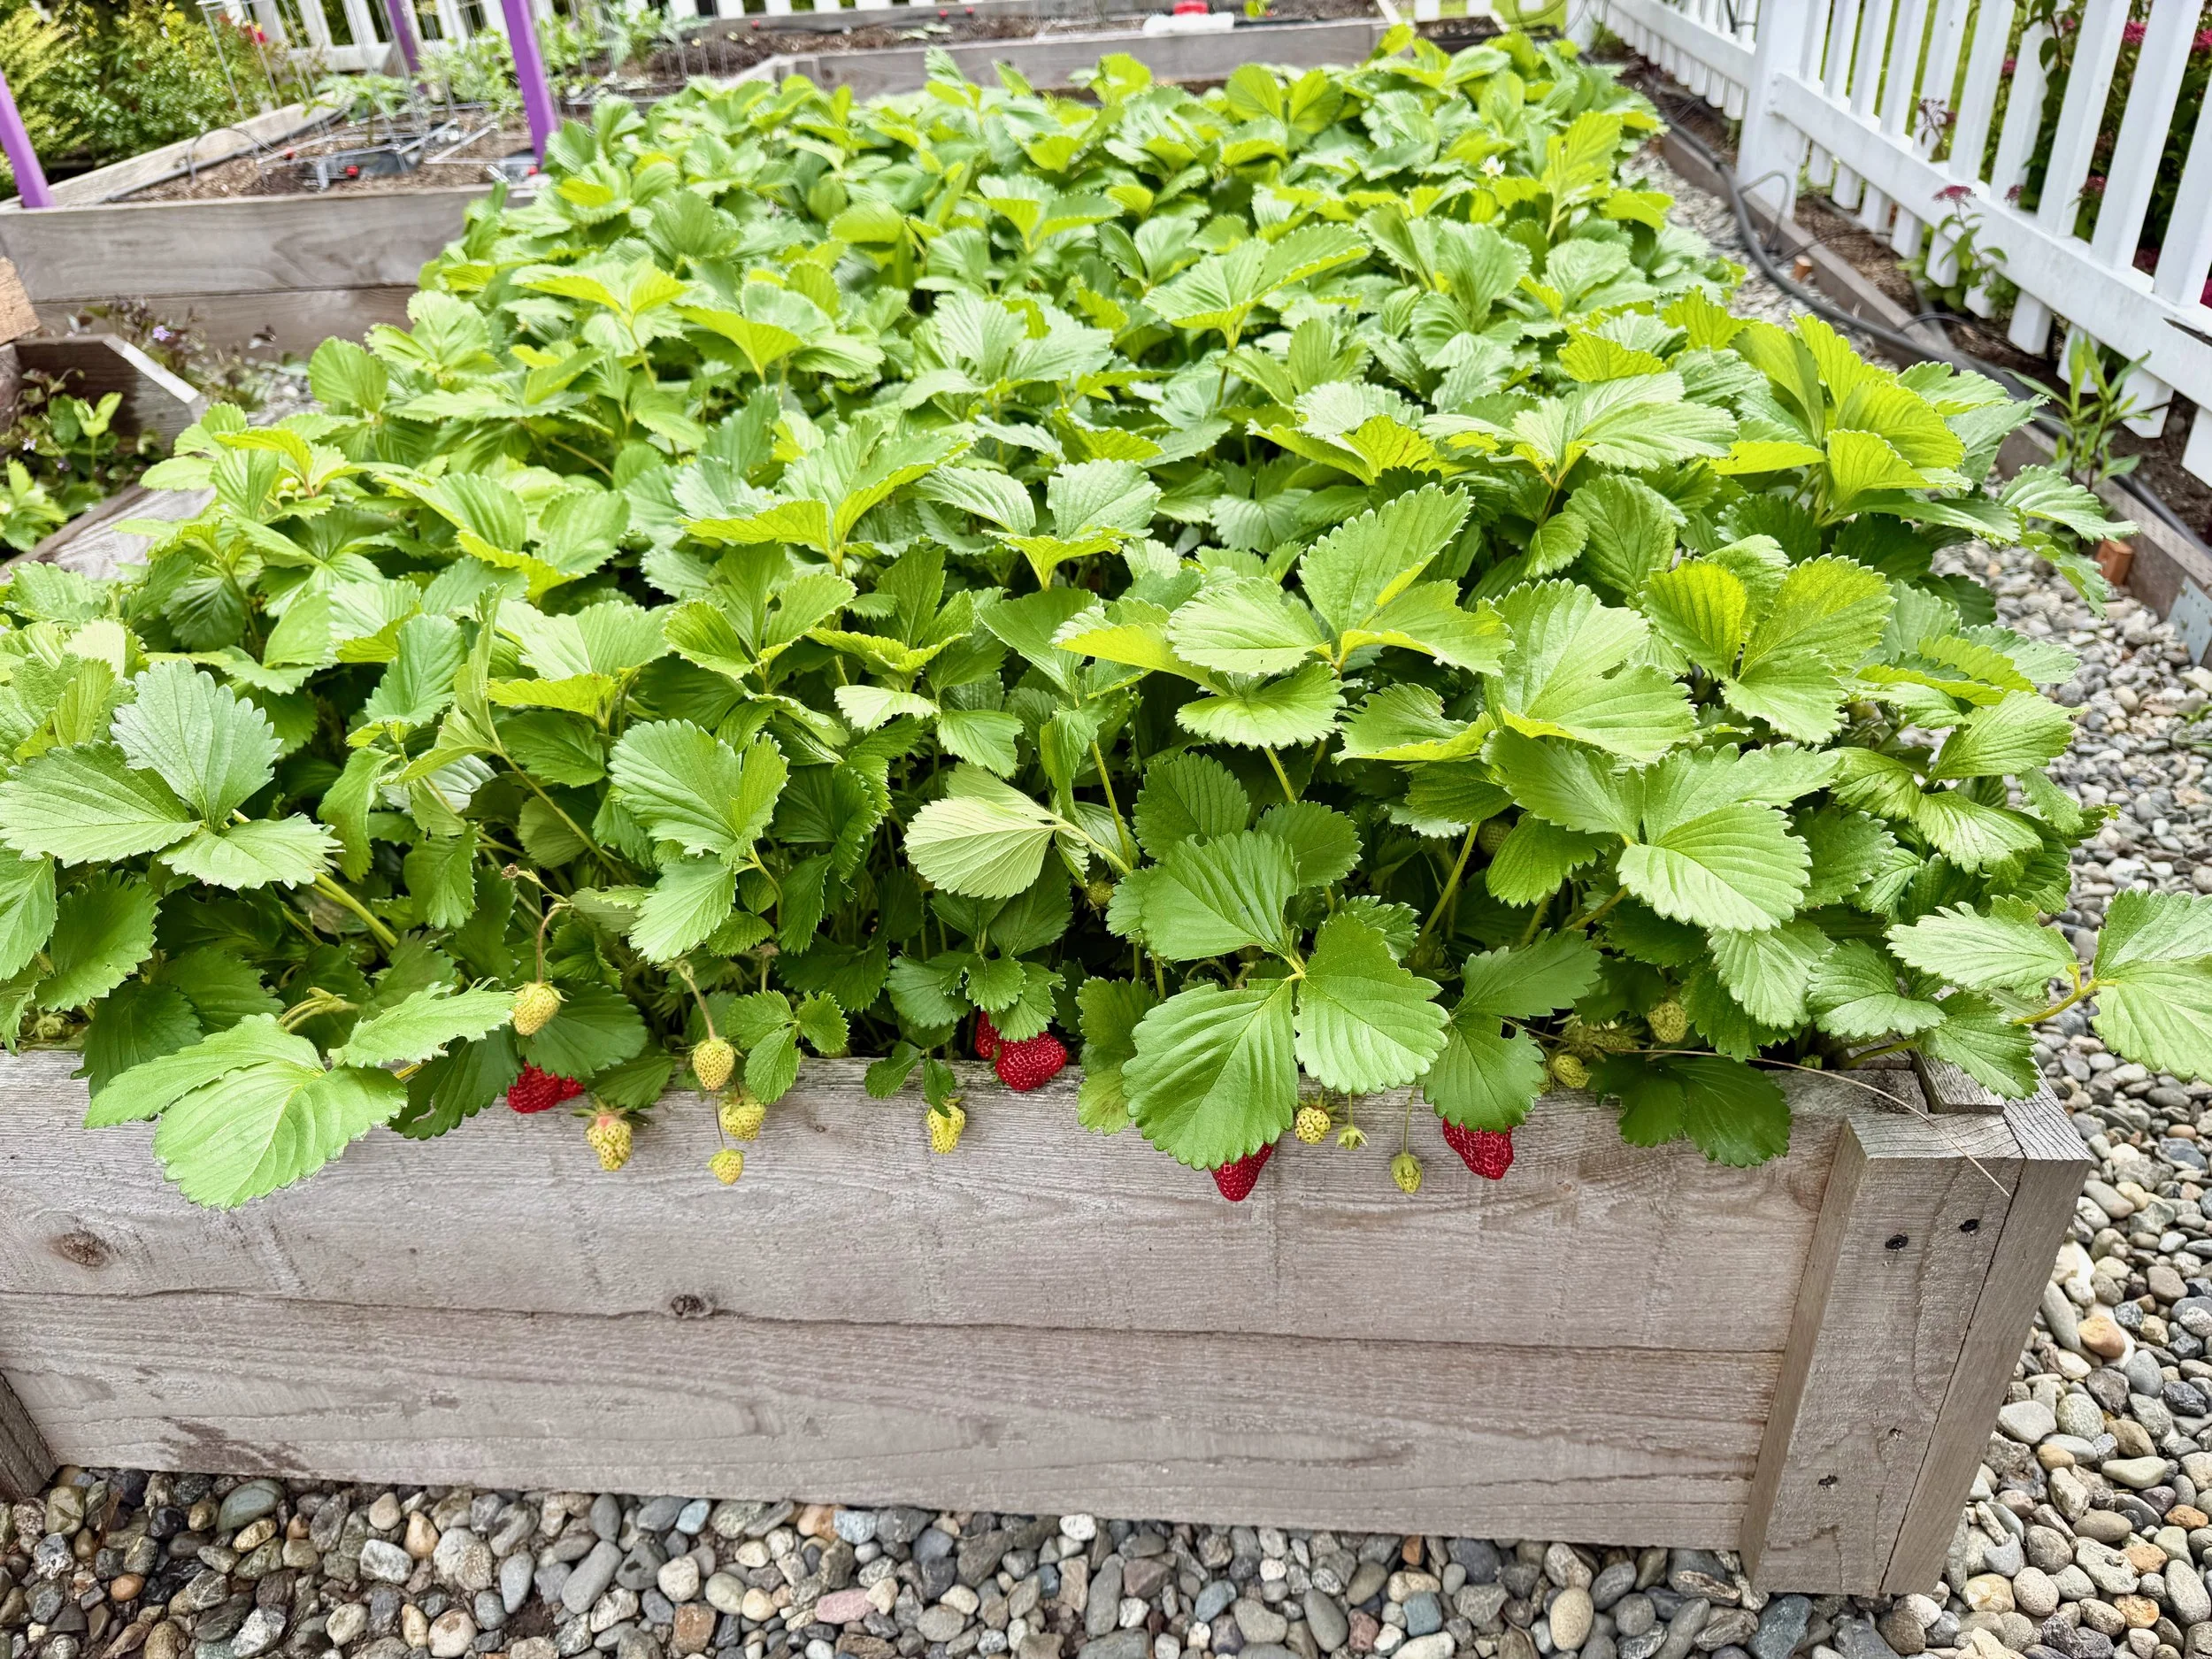
As for the other vegetables in the garden this year, there is a little bit of everything. The lettuce varieties include Merlot, Butterhead, Buttercrunch, Looseleaf, New Red Fire, and Arugula. In addition to the lettuce, we planted Swiss chard, two varieties of beets, jalapeño peppers, three types of summer squash, three varieties of cucumbers, red cabbage, and collard greens. We also dedicated an entire raised bed to sweet corn, which should provide plenty of fresh ears later in the summer, and a full bed of June bearing strawberries.
Most of these crops were direct-seeded right into the raised beds. The exception was the lettuce, which I started in seed trays before transplanting into the garden. The red cabbage and collards were purchased as nursery starts and planted directly into the beds.
Seed-Starting Process, Fertilizing and Watering Practices.
Seed starting is often based on personal experience and what has been successful in your own garden. Here is how I started this year’s vegetables.
Lettuce: I started the lettuce in seed trays on a heat mat. From germination to transplanting into the garden took about 20 days.
Carrots, beets, beans, snap peas, and squash: These were all sown directly into the raised beds.
Red cabbage and collards: I purchased these as nursery starts and planted them directly into the beds.
Tomatoes: The tomatoes were also purchased as nursery starts and planted directly into the raised beds.


Fertilizing the Raised Beds
When it comes to fertilizing, there are many different schools of thought. One thing I am completely on board with is using organic—or at least natural—products. Over the years, I have tried several brands of organic fertilizer, including products made specifically for vegetables and others designed for general garden use.
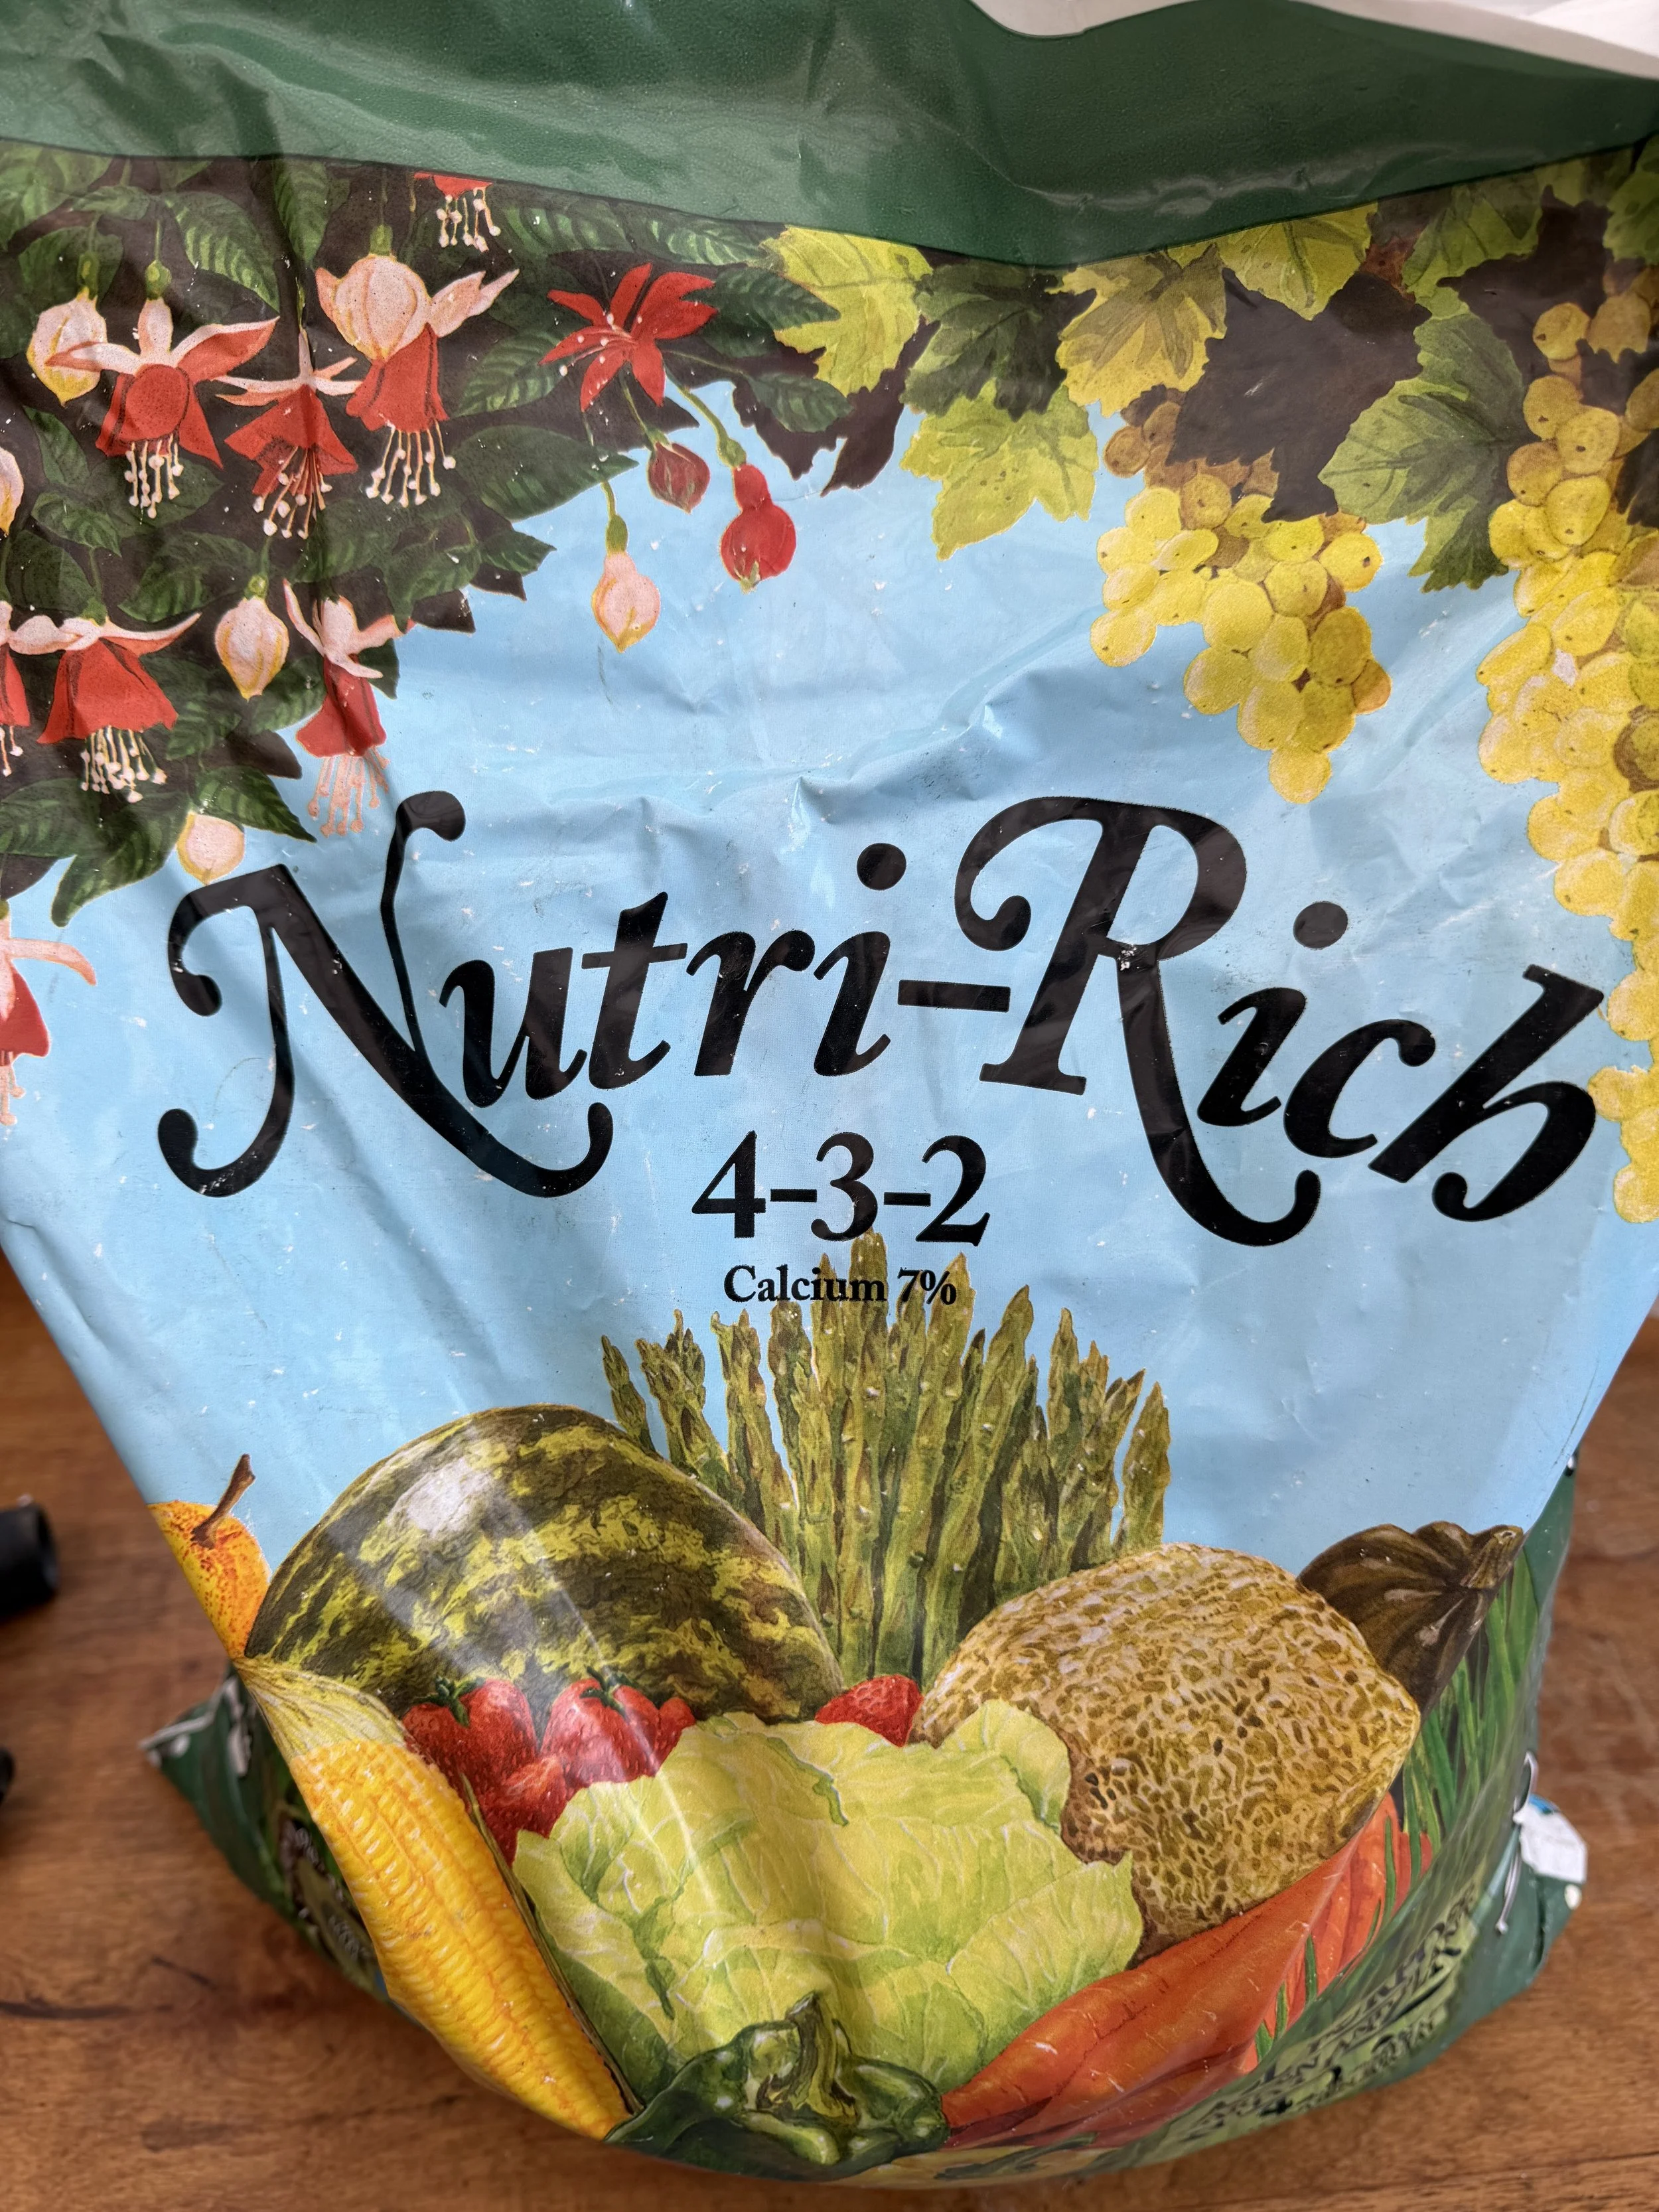
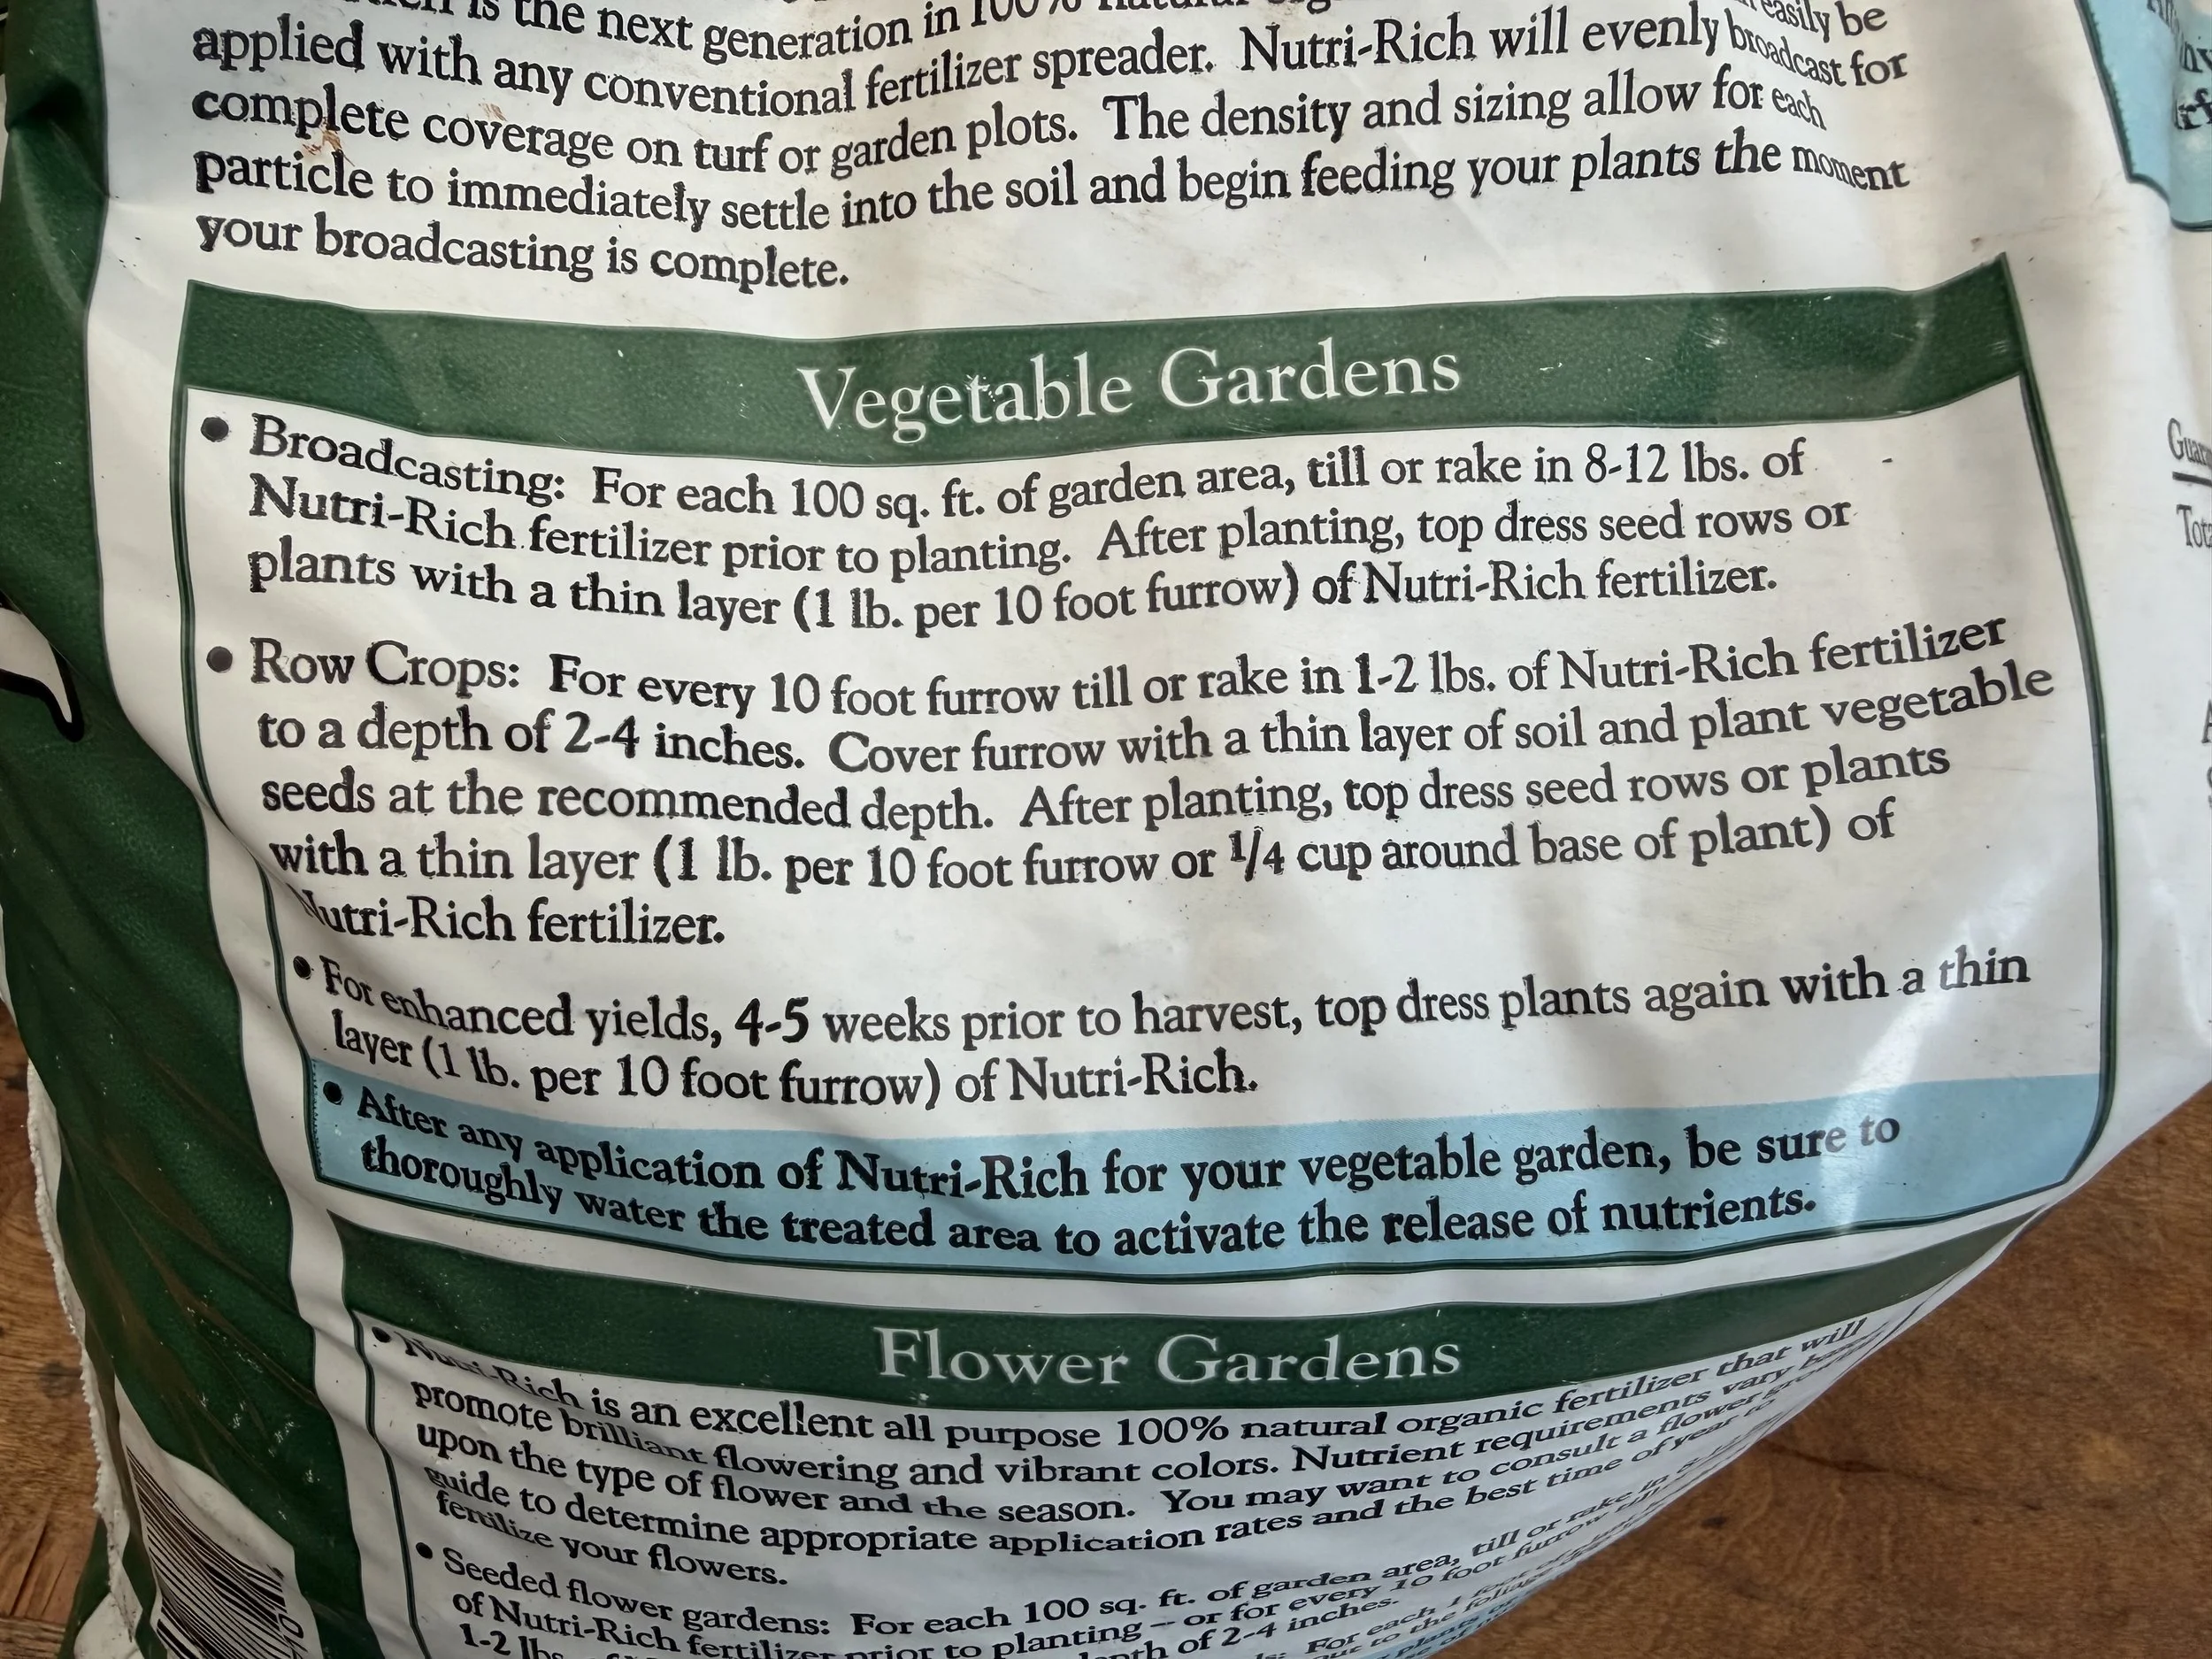
This spring, while talking with the owner of Snohomish Garden Center, one of my favorite family-run garden centers, he suggested I try Nutri-Rich 4-3-2 Fertilizer Pellets. Made in Canby, Oregon, the product is essentially pelletized, aged chicken manure. It is a slow-release fertilizer designed to provide steady nutrients throughout the growing season.
Following the label directions, I spread the pellets at a rate of 10 pounds per 100 square feet, right in the middle of the recommended 8-to-12-pound range. I lightly worked them into the top couple of inches of soil and then watered the beds thoroughly. After letting the pellets absorb moisture for about an hour, I gave the beds a final raking to break up any remaining pellets and distribute the fertilizer evenly.
I applied the fertilizer about a week before planting. When setting out larger plants, I also add about 1/4 cup of pellets to the planting hole before putting the plant in place.
So far, I have had remarkable success with everything in the garden. Of course, it is still early in the season, and the true test will be how well the tomatoes perform.
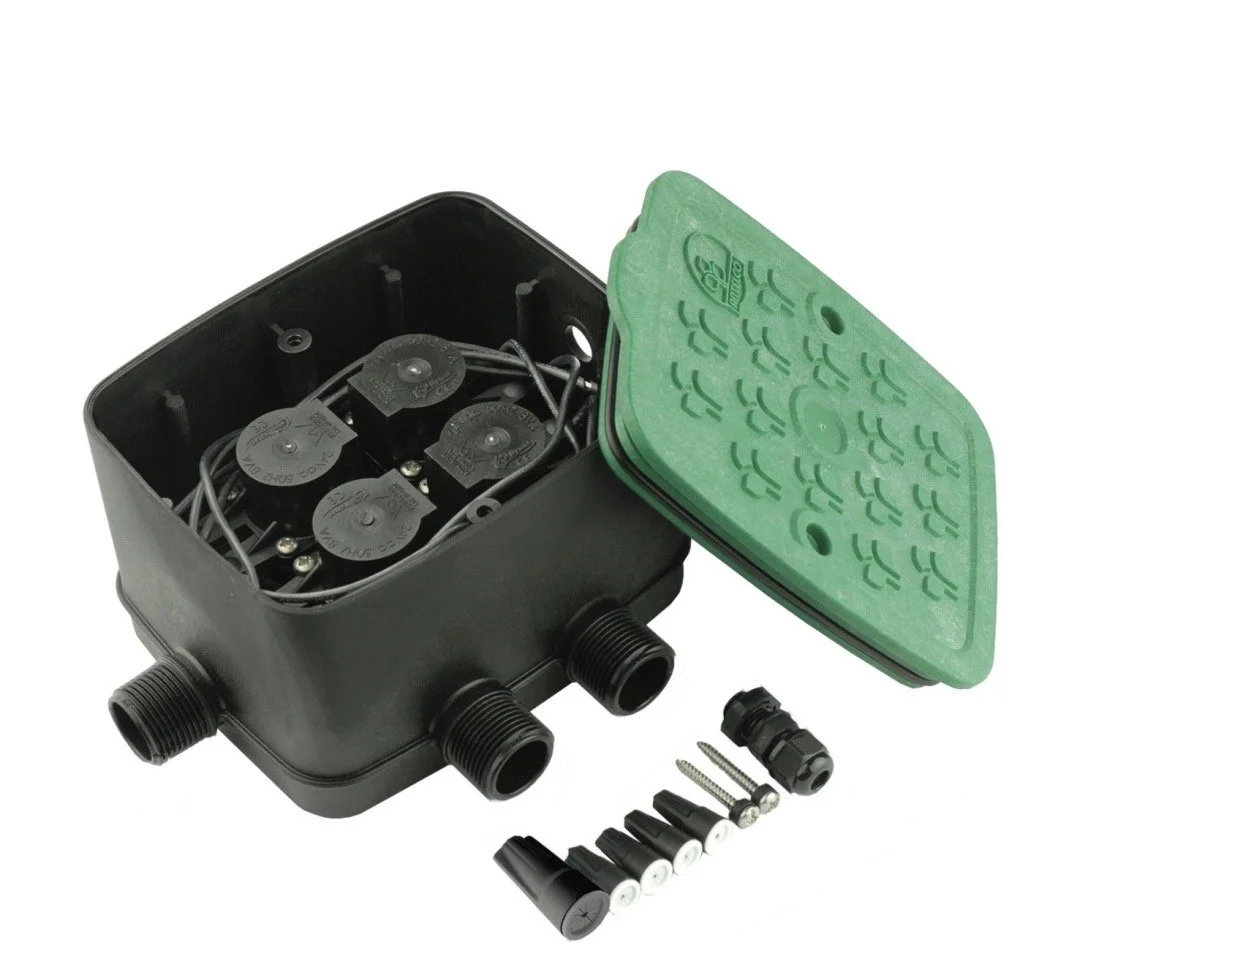
Watering the Vegetable Garden: Drip Irrigation and Hand-Watering
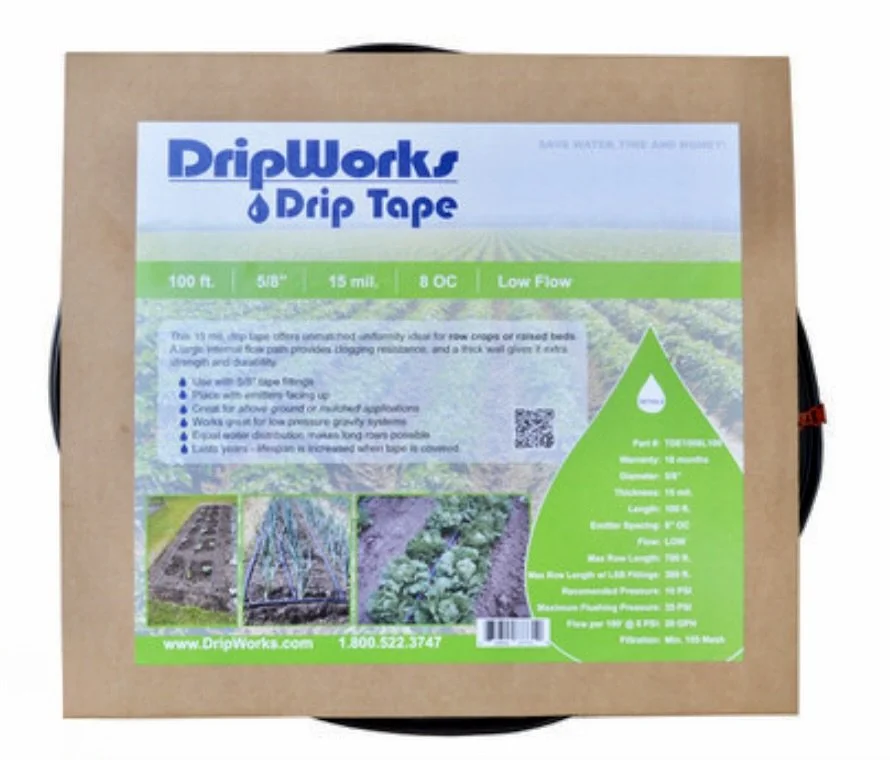
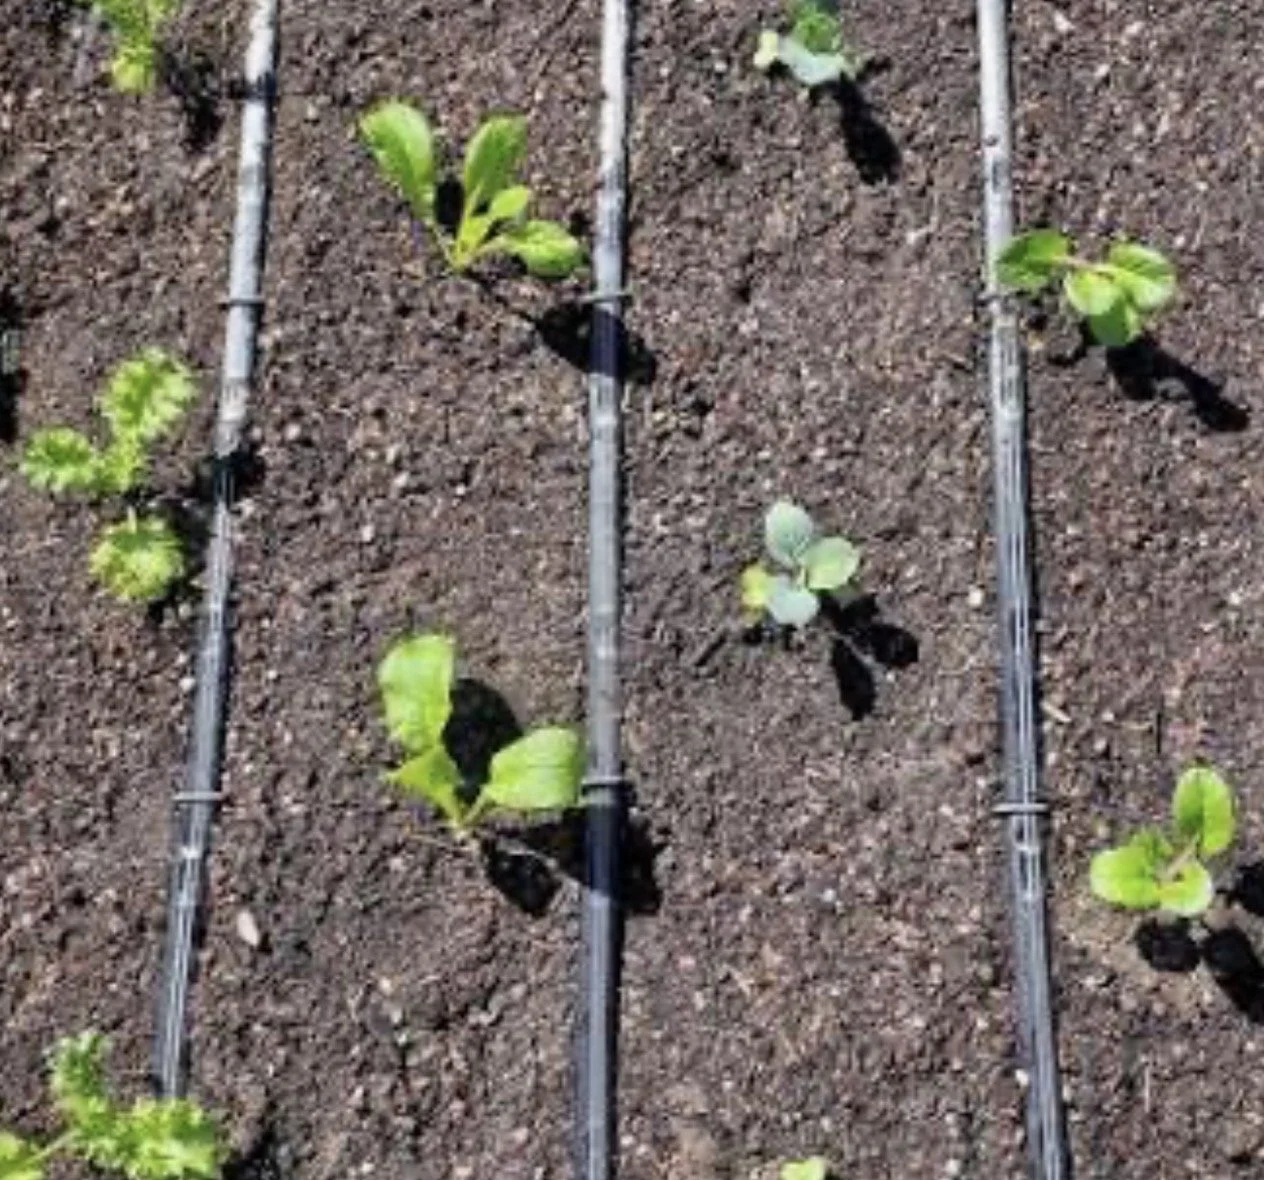
Watering a vegetable garden is not a one-size-fits-all process. In my raised beds, I use a combination of adjustable stream emitters with a 360-degree spray pattern and drip tape. I use the individual stream emitters for larger, full-season vegetables such as tomatoes, squash, and peppers. Drip tape works better for vegetables planted in rows, including lettuce, kale, carrots, beets, and other similar crops.
When I first plant vegetable starts in the beds, I hand-water them for about a week to make sure each plant is getting plenty of moisture while its roots become established. I also hand-water directly seeded vegetables with a light spray until they emerge, and sometimes until they develop their first set of true leaves.
Carrots are among the trickiest seeds to germinate. They need only a very light covering of soil, along with steady moisture. If the surface dries out and forms a crust, the seeds may not sprout at all.
I get my drip-irrigation supplies from DripWorks, Dripdepot, Amazon, and in a pinch one of the big box stores like Home Depot or Lowes’s.
How often and how long you need to water depends on several factors, including your soil type, sun exposure, temperature, wind, and how much rainfall you receive.
Right now, I water each raised bed every other day for about 15 minutes, starting early in the morning. Having a smart irrigation controller makes that especially convenient. On hotter days, I may run the system manually for an additional 10 minutes. I also supplement with hand-watering when needed, particularly around newly planted seeds and young seedlings that are just beginning to emerge.
Click any of the photos for more information.


Learning From Each Growing Season
There you have it—my tips and tricks for growing vegetables in raised beds here in the Pacific Northwest. These are the methods that have worked well for me, but every garden is different. Your location, USDA growing zone, soil, gardening style, vegetable choices, and experience will all play a part in what works best for you.
I also keep notes throughout the season, including planting dates, how long seeds take to germinate, when seedlings are transplanted into the garden, and when harvesting begins. Those notes give me a helpful guideline for the following year and make it easier to decide what I want to change or do differently next season.
Vegetable gardening is a learning process, and each season brings something new. Try different methods, pay attention to what works, and do not be afraid to make changes along the way. That is all part of the fun of gardening.
The Rewards—and Realities—of Growing Your Own Vegetables
Growing your own vegetables allows you to choose the varieties you want and gives you more control over how they are grown. However, it also requires attention to detail. If you are hand watering and a hot spell arrives while the plants are young, missing even one day can sometimes be the end of them.
Your soil or planting mix also makes a big difference. If your raised-bed mix or in-ground soil is not fertile and healthy, your plants may struggle and not perform as well as you had hoped.
And don’t assume that growing your own vegetables will always save you money. By the time you add up the cost of soil, seeds, plants, fertilizer, water, and supplies, it may not. But if you enjoy gardening and appreciate harvesting fresh vegetables from your own backyard, saving money probably isn’t the main reason you are doing it.